
After building some Adirondack chairs, I decided that an accompanying side table would be an ideal mini-project for using up the left over cedar lumber. So, I looked around a bit to get some ideas and settled on a fairly simple design that is similar to one that Norm Abram used but with longer legs. My table is 22″ high, 24″ long and 17″ wide. The top is about 2″ below the arm rests on the chair – a perfect height for easily reaching drinks or a book.
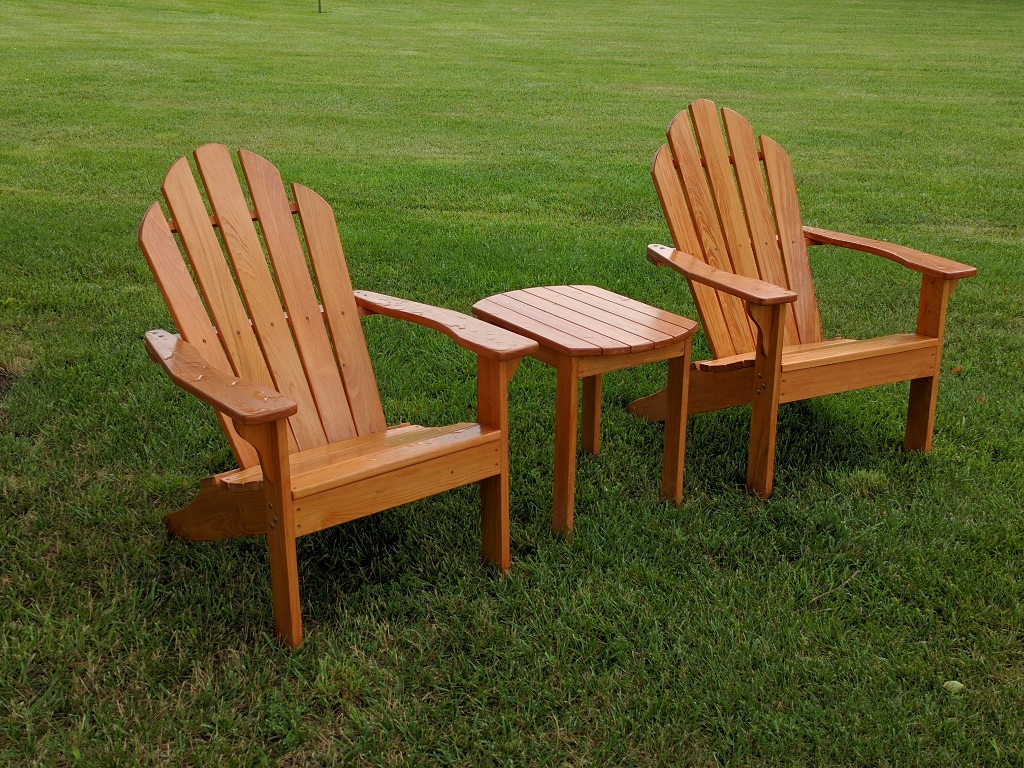
Adirondack chairs and side table
The table consists of six top slats, an apron, and the legs. The complete parts list is shown below. I opted to make most of the parts the same width (2 5/8″) just to make things easier. The table requires about 5-1/2 board feet of lumber.
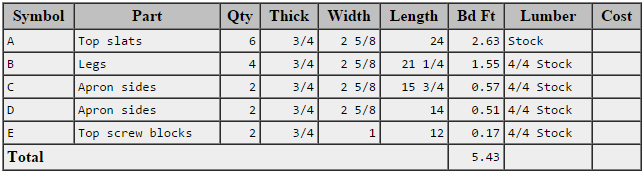
Lumber requirements for Adirondack side table (from Tabulator)
The first step was to construct the rectangular apron. The joinery here is nothing to brag about – butt joints with screws and waterproof glue. Then 1″ wide blocks were attached to the inner sides of two apron pieces. These were used as screw blocks to secure the slats from underneath, thereby avoiding the necessity to plug screw holes on top (another departure from the Norm design). The top slats were laid flat on the work surface with 3/16″ spacers between them and the apron was centered on top of it. Although not shown, the slats were all the same length – the curved ends were added later. The slats were then attached to the apron via the screw blocks. The two end slats were secured using 2-1/2″ screws that passed through the full width of the end aprons. After this, the legs were glue-screwed to the end aprons.
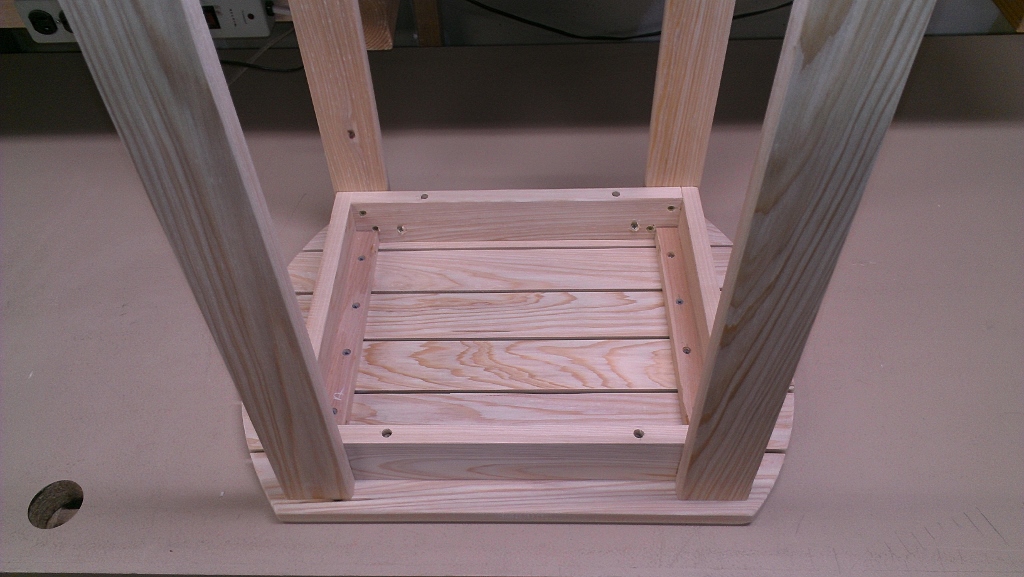
Table top secured to apron with screws from underneath
The last step was to curve the ends of each slat. With the slats in place, I marked a line 3″ back from each end of the two outer slats and used a flexible curve to layout a curve that intersected these lines (resulting in the end slats being 6″ shorter on the outter edge). The slats were unscrewed, curves were cut with the bandsaw and sanded smooth. Then the slats were reattached using glue and screws. For a finish, I’ll probably apply an oil stain and spar varnish.
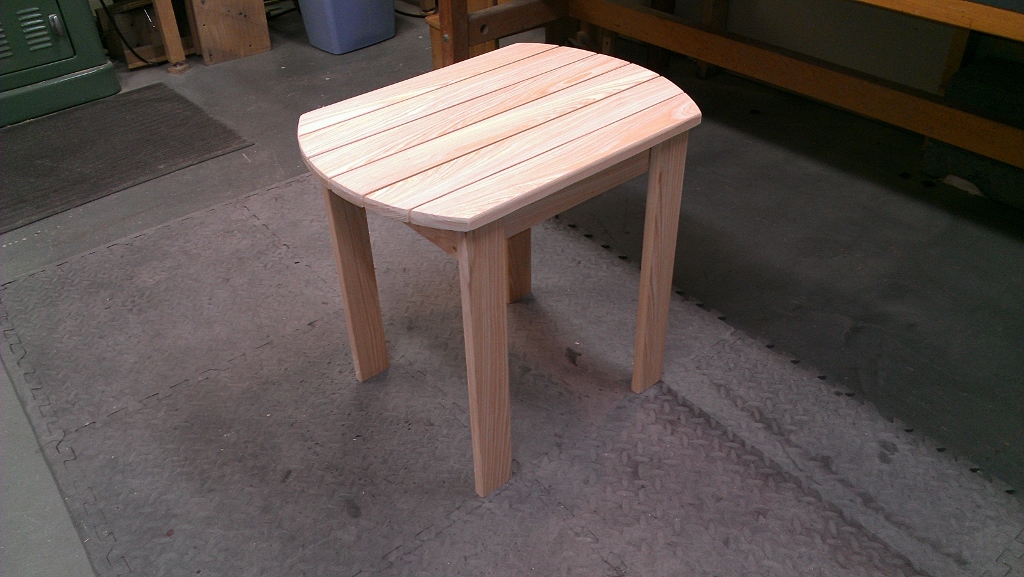
Adirondack side table made from solid cedar
I can’t wait to try out this table. If I like it, I may have to build another one for the other set of Adirondack chairs…