
After completing my first carved owl masterpiece, I decided to give it another shot. This time I opted for another owl but larger and more intricate than the first. Here’s what I ended up with:
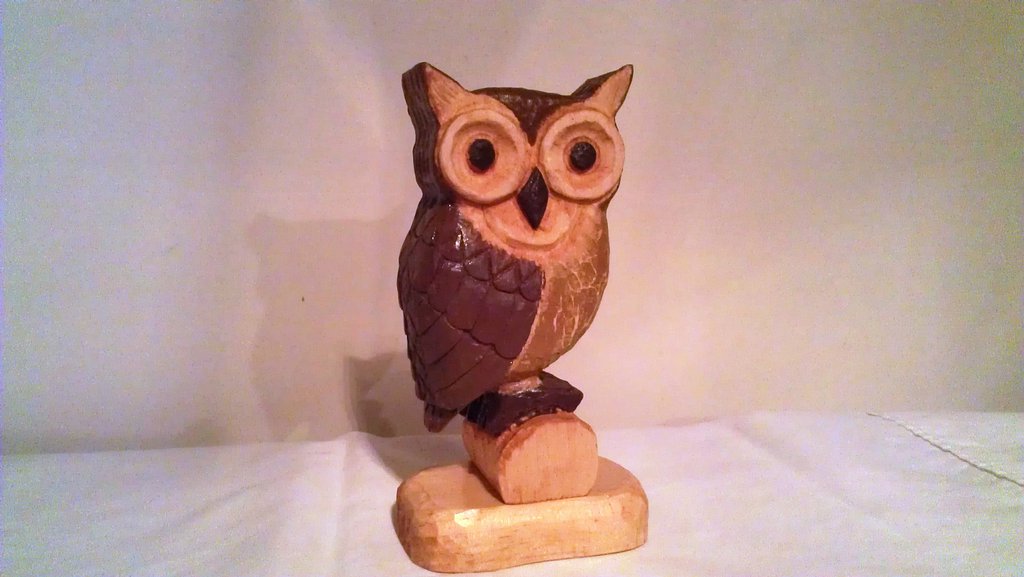
My second attempt at a carved owl
The basic design for the owl came from an image I found online. I converted the image to a black and white drawing using a filter in Photoshop Express. I taped this drawing to the top of a piece of 2″ thick by 6″ high basswood, placed a piece of carbon paper underneath the drawing, and traced the lines on the drawing to establish layout lines for the carving on the basswood block. Then, I used the band saw to to cut along the layout lines to form the basic outline of the carving.
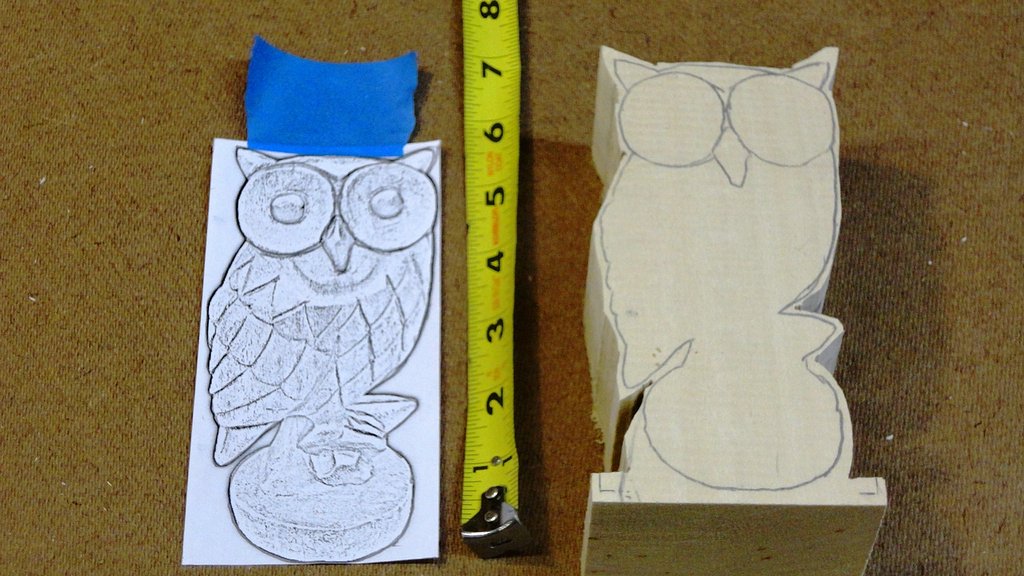
Owl cut to rough shape with the band saw
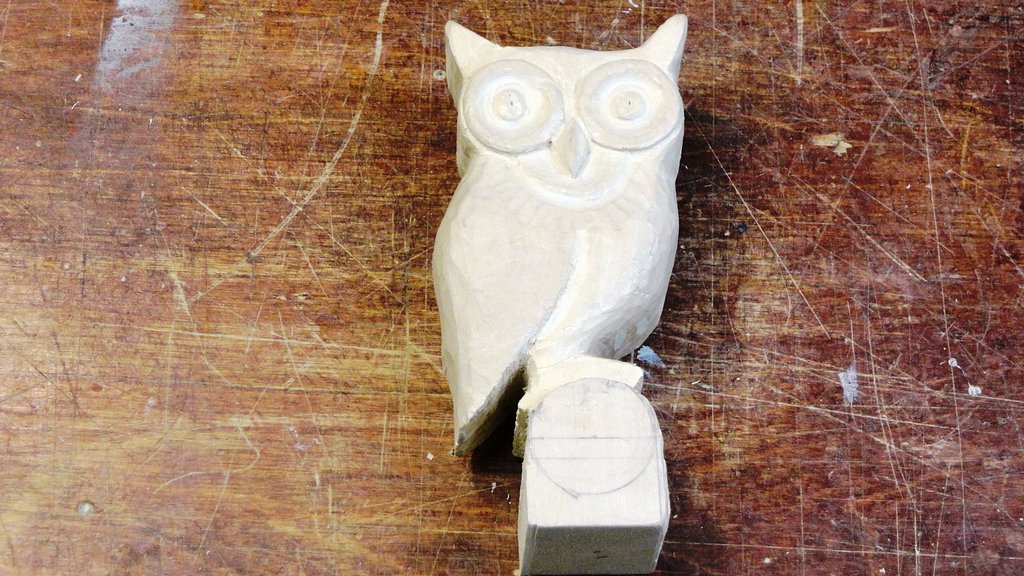
Then the fun began. Using a cutting knife, I carved out the rough shape of the eyes and beak. Yes, this owl has very large eyes… I also removed a fair amount of material from the corners of the block to round out the creature’s body.
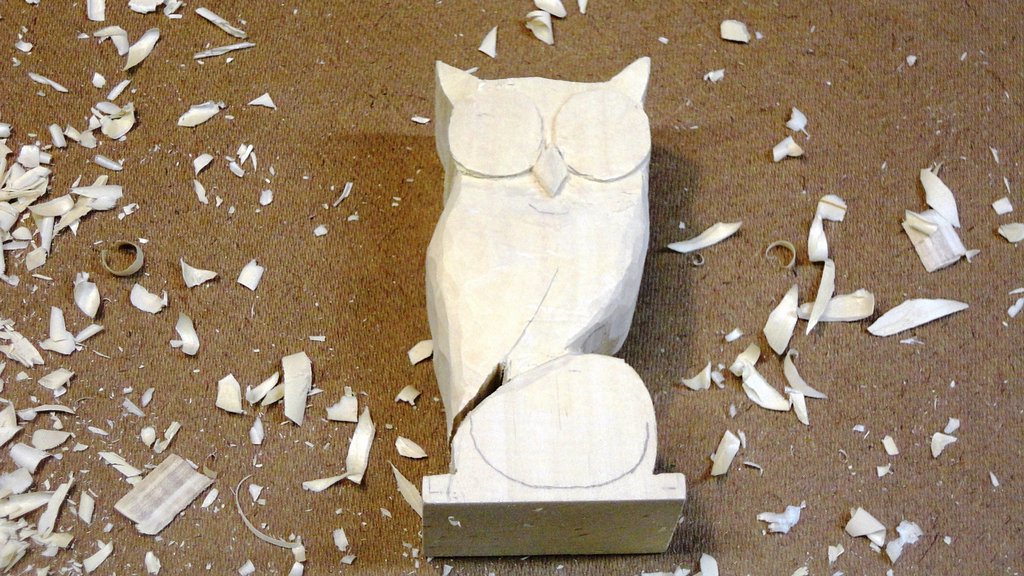
Laying out the eyes, ears, and beak
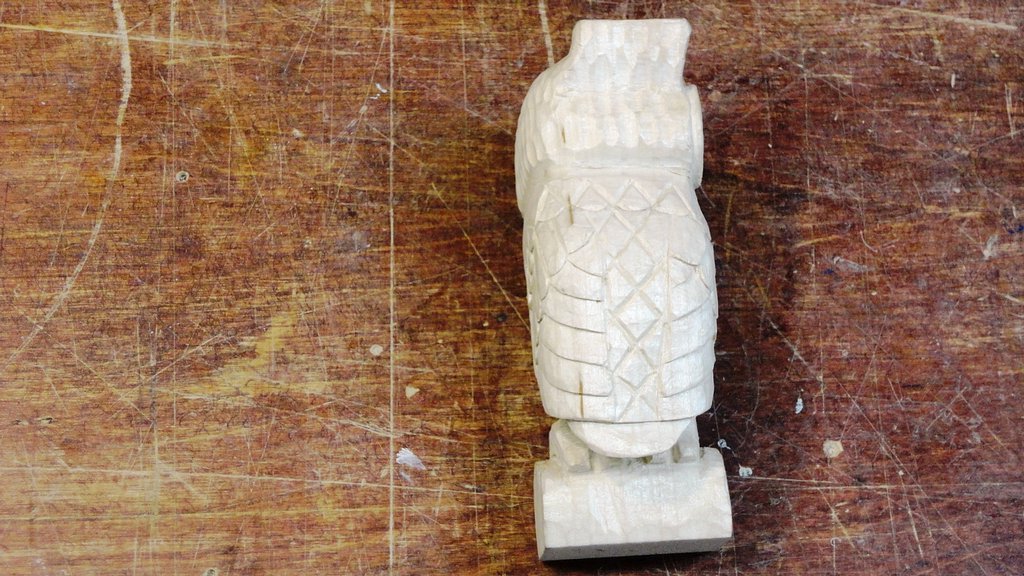
Likewise, I rounded the corners on the back side. There wasn’t much finesse involved here – just lots of wood chip removal until the block looked more like an owl and less like a block of wood.
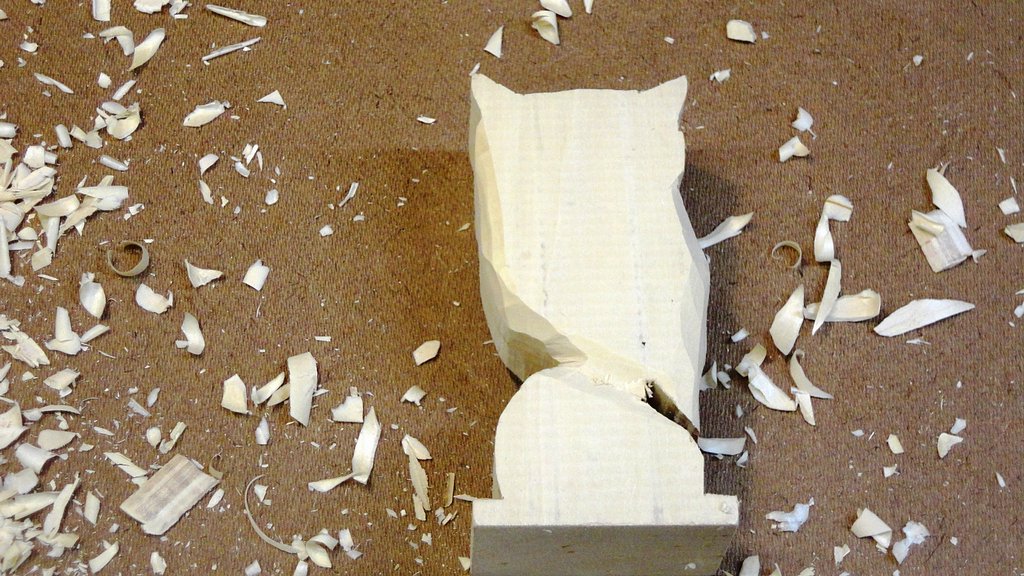
There was lots of material to remove from the back side of the owl
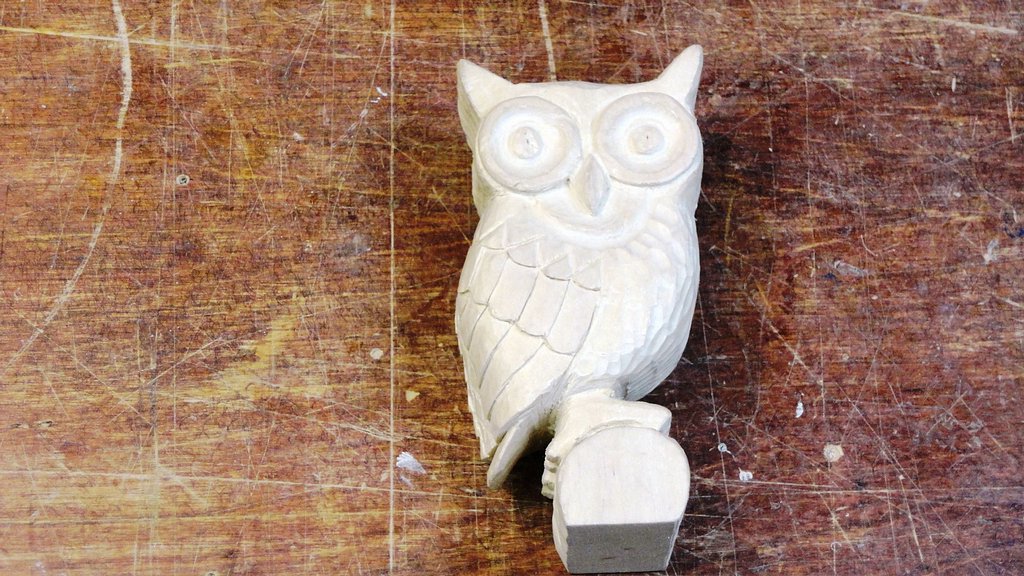
Using a carving gouge, I removed material just inside the outer ring of each eye structure, while leaving the center material in place to form the actual eye. I also used the gouge to form the transition between the wings and the owl’s breast and a semi-circular area just below the beak. Oh yes, I know my owl terminology. Eventually, a recognizable owl emerged.
Carving just prior to adding feather detail
The detail knife came in handy for carving the wing feathers and talons. It’s not real clear in the photo but I added some topography to the front of the owl using the gouge. The idea here was to simulate breast feathers. Not sure I succeeded with that but it certainly made for an interesting effect.
Front of owl with feather detail
Probably the most challenging task was carving the wing feathers, particularly the area where the two wings meet. I wasn’t too happy with the look of the end result and it’s nowhere close to being anatomically correct. But, as I kept reminding myself, this is a carving – from a novice – and anything goes. If I decided to put the feet on top of the head, who was going to stop me?
Left side of carved owl
I carved a pedestal from a small piece of basswood and glued it to the bottom of the main carving. The completed carving was then cleaned with a damp rag that was dipped in water with a small amount of laundry detergent. After it fully dried, I painted the carving using some water-based paints I picked up at the local crafts store. Although my paint job is in no danger of ever winning any awards, it did help to bring out some of the details, especially around the face. The only remaining task was to find a perch for my new owl and a buddy for him to hang with.
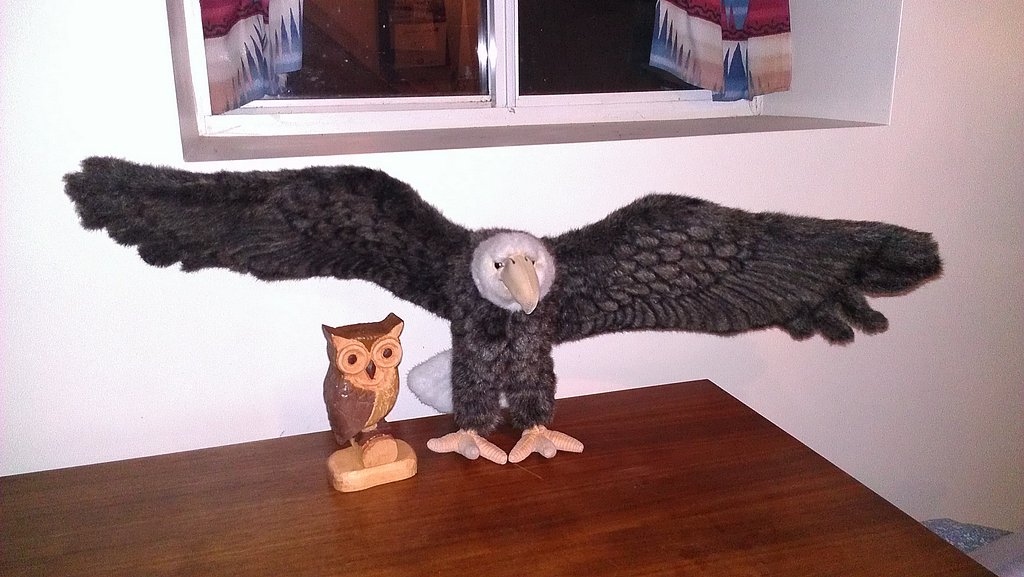
My carved owl with a bald eagle friend