
In an earlier post, I described a simple method for laying out a curved piece for an Adirondack chair back support. I tried this same approach on another chair but this time the piece did not fit quite so well. After mulling it over a bit, I realized that the poor fit was probably because I was using the front rather than the rear side of the chair back for laying out the curve. The front has a slightly smaller curve radius than the rear so it makes sense that a curve based on the front would not provide the best fit for a piece that attaches to the rear. So, I came up with a new layout approach that uses the rear side.
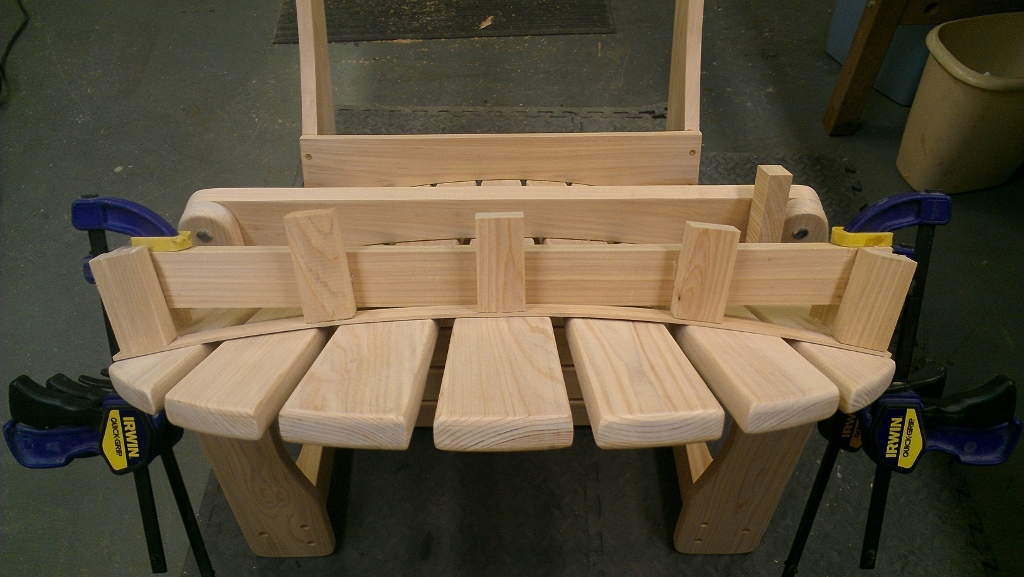
The first step was to clamp a piece of scrap wood to the chair back at the desired location of the curved support piece. Two spacer blocks of equal size were placed at each end. They projected just enough so that the middle of the cross piece barely contacted the middle slat. If too short, the cross piece would have flattened out the curve as the clamps were tightened.
Start with a piece of scrap clamped to convex side of curve
The next step was to attach a flexible curve-conforming thin strip of wood to the cross piece. I ripped a 1/8″ wide strip that was the same length as the chair back span. I then attached five small blocks of wood to the strip using hot melt glue. Allowing a few minutes for this glue to set, I then applied hot melt glue to the sides of the blocks, pressed the strip tight against the chair back, and clamped the blocks to the cross piece. Once the glue was set, I removed the clamps. The curve layout jig was complete.
Hot melt glue secures curve-conforming strip to base piece
To use the jig, it was a simple matter of placing it on top of the stock and tracing along the curve with a pencil. I used it to trace curves on both edges.
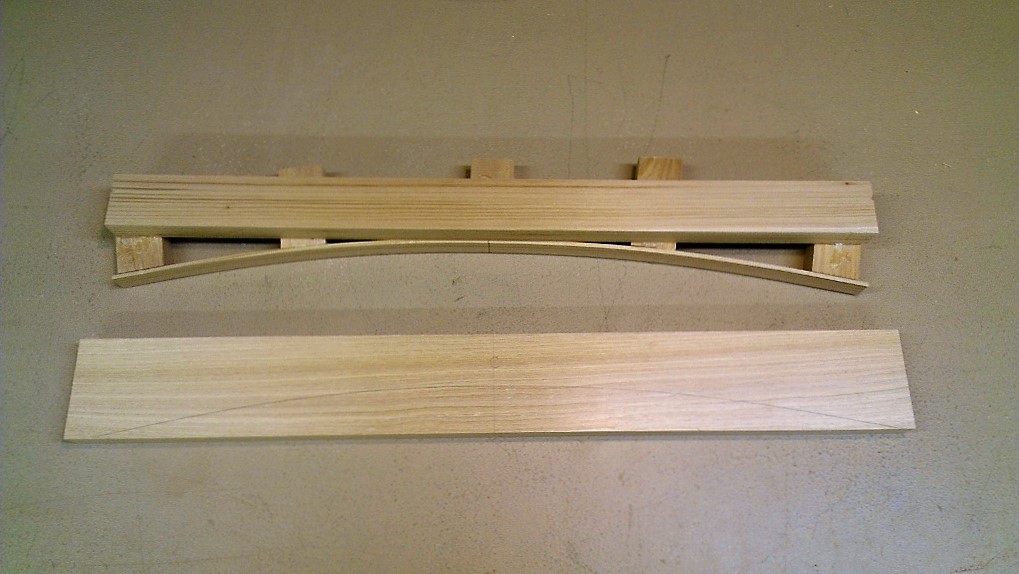
Layout jig is placed on top of stock to trace curve
Once the curves were traced, I cut along the lines with the band saw and sanded smooth with an oscillating drum sander. The heavy lifting was done.
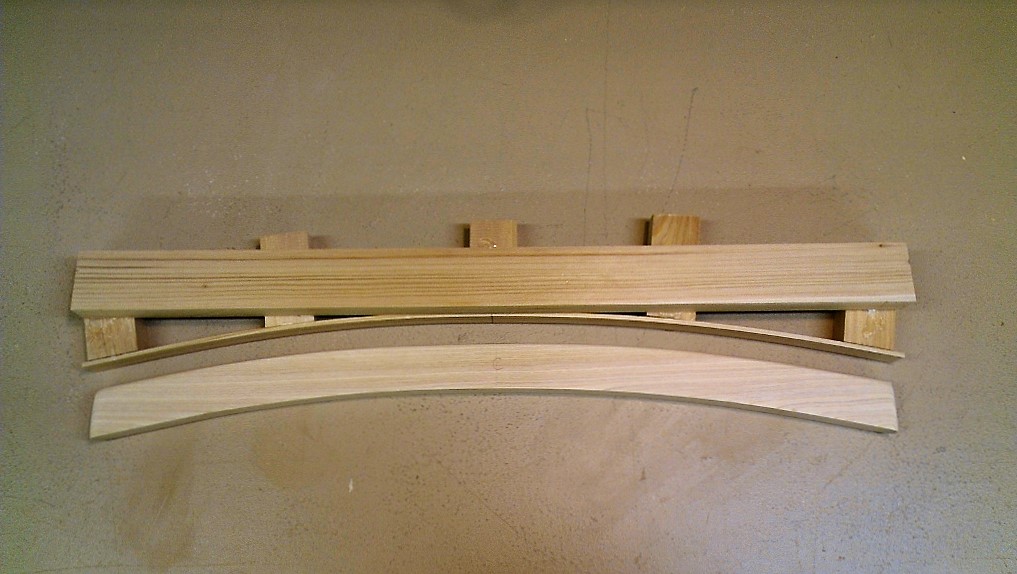
Traced curves cut with band saw and sanded smooth
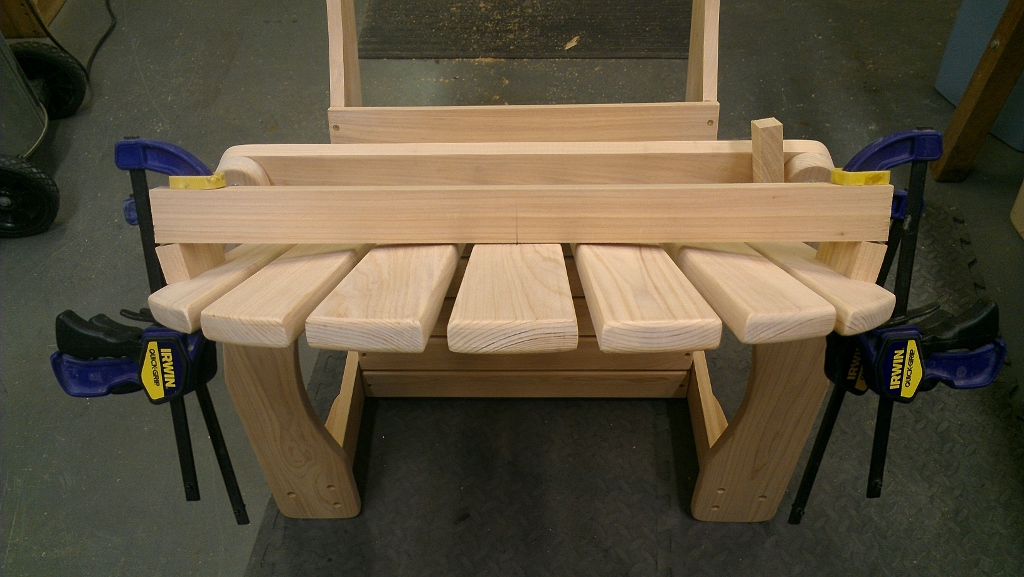
I was happy to find that the support piece fit perfectly. I had a bit of fun making the jig and it performed admirably.
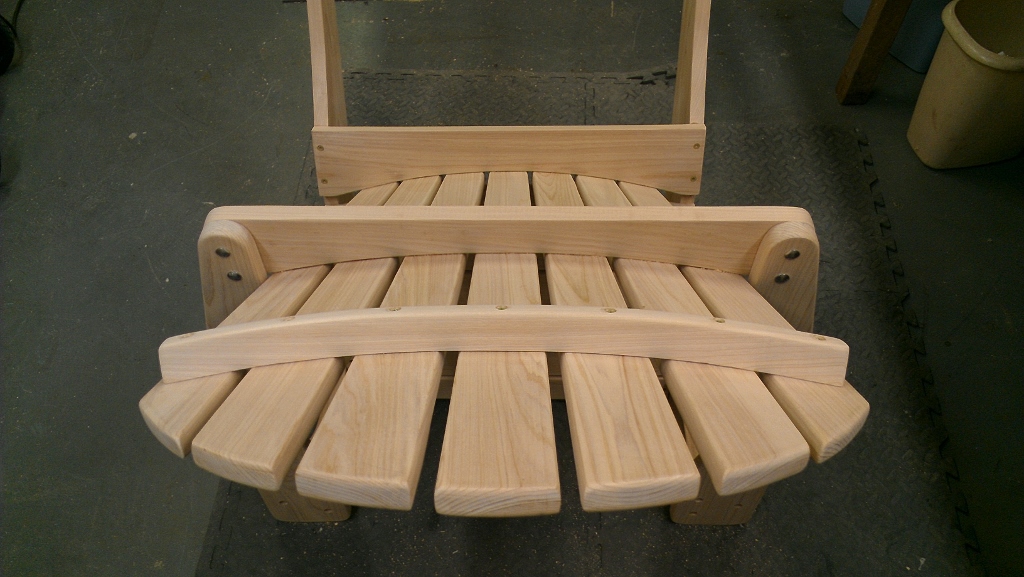
Completed chair back support installed and ready for business