
While building an Adirondack chair, I needed to create a curved support piece that would attach to the rear side of the back slats. I made the chair from a set of plans that provided templates for all of the other pieces but this particular curved piece was a refinement that I decided to add to firm up the upper part of the slats. Since there was no template provided for this custom piece, I had to go old school and layout the curved cut lines for it myself.
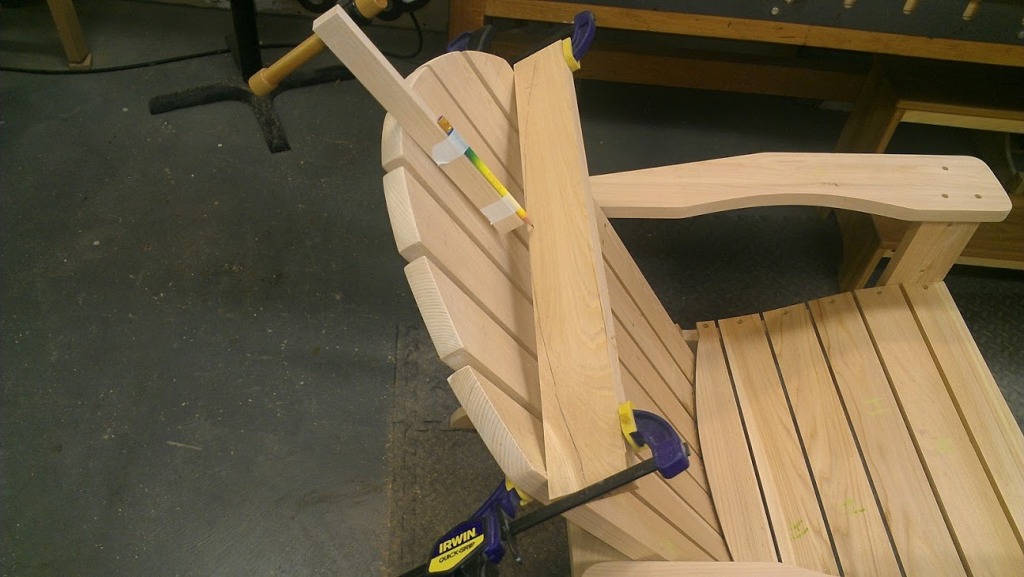
Laying out a curve to match an existing profile on an Adirondack chair.
I came up with a rather simple approach that involved first clamping a rectangular piece of wood across the entire width of the chair slats. I opted to clamp it to the front rather than the back side of the slats because it was a much simpler process – the back would have required spacer blocks on either end. The next step was to trace along the chair curve with a homemade marking gauge which was just a pencil taped to a block of wood. Note that the wood had to be sufficiently wide to accommodate the desired width of the finished piece (1-1/4″) while allowing for the curve. I sized the marking block so the pencil would just touch the edge of the board in the middle to insure I had plenty of material for cutting out the curve.
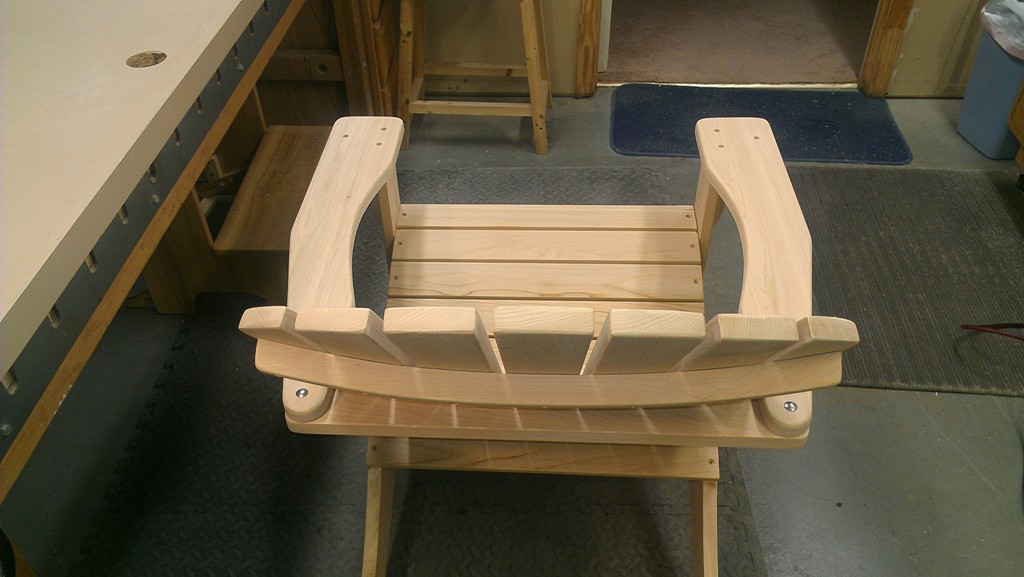
The curved support piece fits like a glove.
Once the curve was traced, I cut it on the band saw and sanded it smooth. I then used an adjustable T-square set to 1-1/4″ to transfer the curve to the other side of the board, followed by the same cutting and sanding operation. The resulting piece fits the chair fairly well and considerably stiffens the slats. I expect it will also help the slats stay aligned over time as the wood goes through its seasonal moisture-related yoga exercises…
Update: I came up with an improved curve layout jig based on the rear rather than the front side of the chair back.