
To help pass those slow winter months after the holiday season, I decided to make some wine totes (aka caddies) using some cherry lumber stored for many years in the family barn in PA. The wood was well seasoned and appeared to be in good condition. However, after surface planing, instead of finding nice clear material, I was surprised to see a large number of worm tracks running through the boards. I almost threw them into the firewood bin right then and there. Fortunately, I reconsidered and thought that the worminess would lend a certain rustic character to the finished product. In the end, I think I made the right decision.
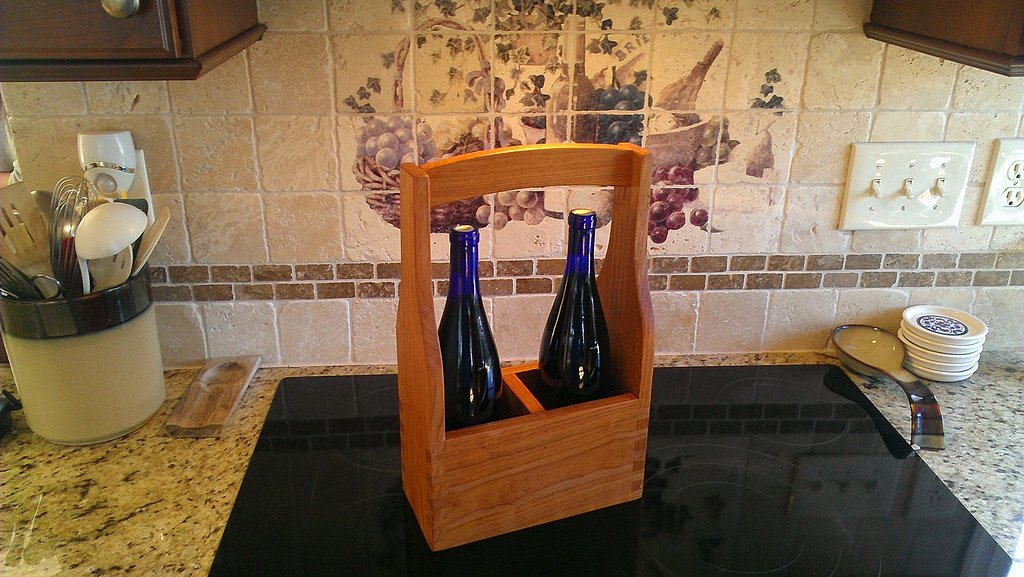
Two-bottle wine tote made from wormy cherry
I first built a prototype out of scrap material to get the basic dimensions and design ironed out. This is especially important for a project like this where the box must be sized large enough to accommodate the contents. I settled on a design that measures 15″ high by 4-1/2″ wide by 9-1/2″ long – just big enough for two wine bottles. To add a little intrigue, I opted for a curved handle and decorative box joints for the corners. The next step was to layout the pieces and rough cut to size. The wood had a fair number of knot holes but I was able to exclude most of them by judicious layout. The rough cut pieces were machined on the jointer and surface planer and then cut to final size using the table saw. The final thickness of the wood was just under 3/4″.
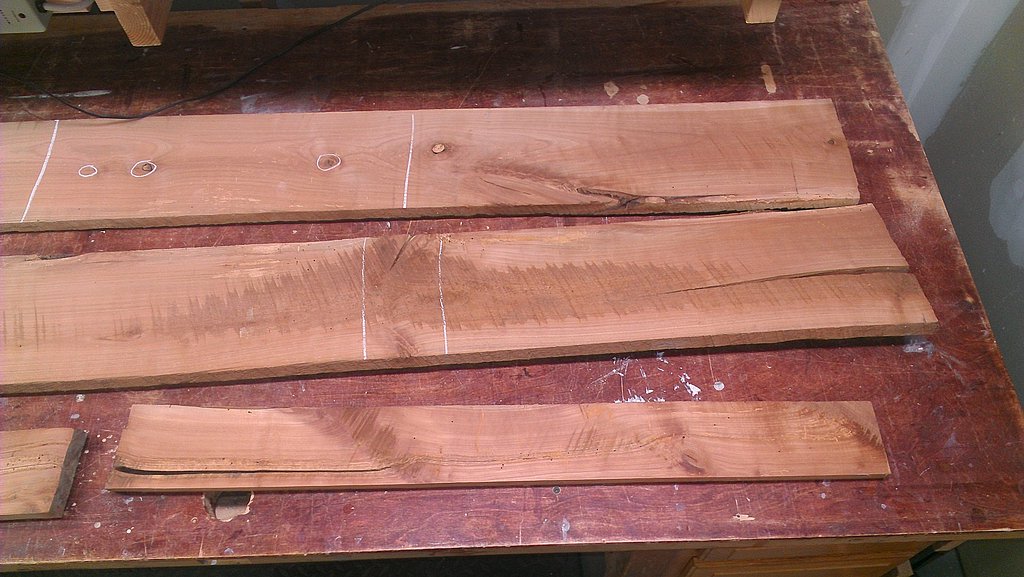
The largest layout challenge was avoiding knots and splits
By far, the most effort for this project was cutting the box joints that hold the four sides together. For this task, I dusted off my box joint jig that I built several years ago and figured out how to use it again. I made each finger 1/2″ wide. The two end pieces were cut to the shape of an over-sized wine bottle after the box joints were cut. Laying out the bottle curves allowed me to exercise my inner artist.
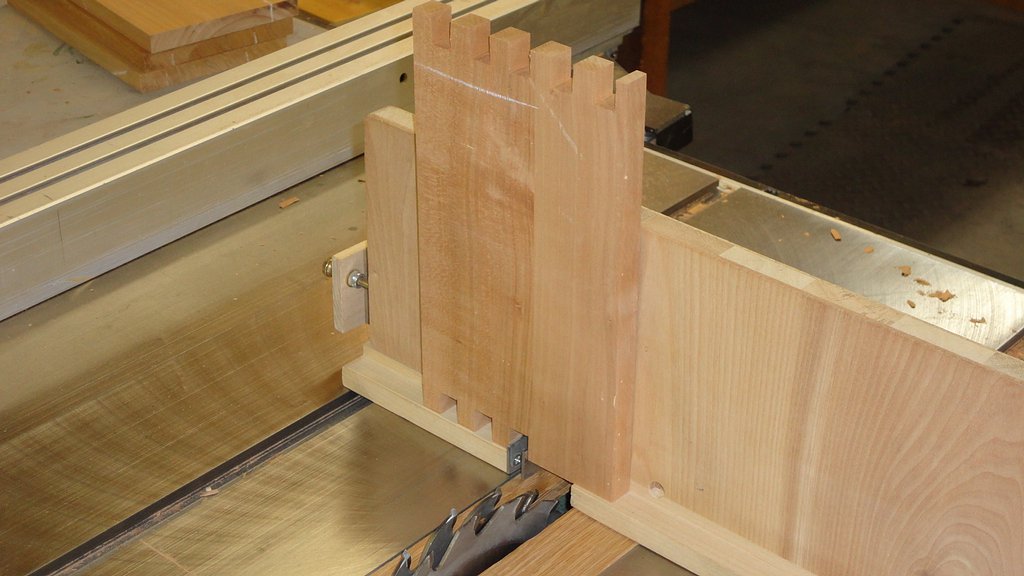
Box joints cut with home-made box joint jig
After cutting the box joints, I used a 3/8″ straight router bit with the router table to cut slots near the bottom end of the four side pieces to accommodate the base. This task would have been much quicker on the table saw but this wasn’t a viable option because the ends of the slots would then be exposed. So, I just sucked it up and painstakingly cut the slots, making multiple passes for each. The base was made from 1/2″ cherry-stained birch plywood.
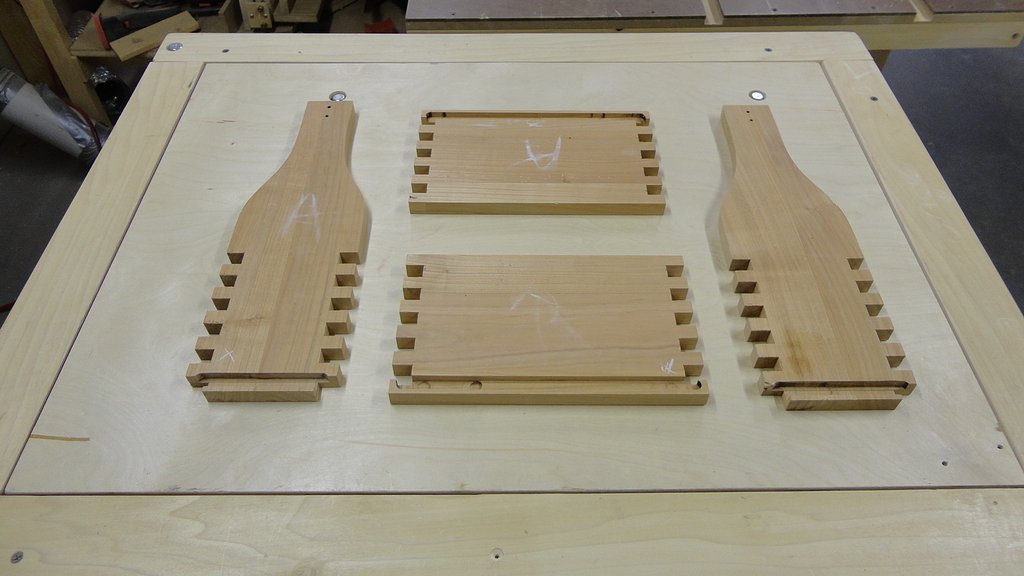
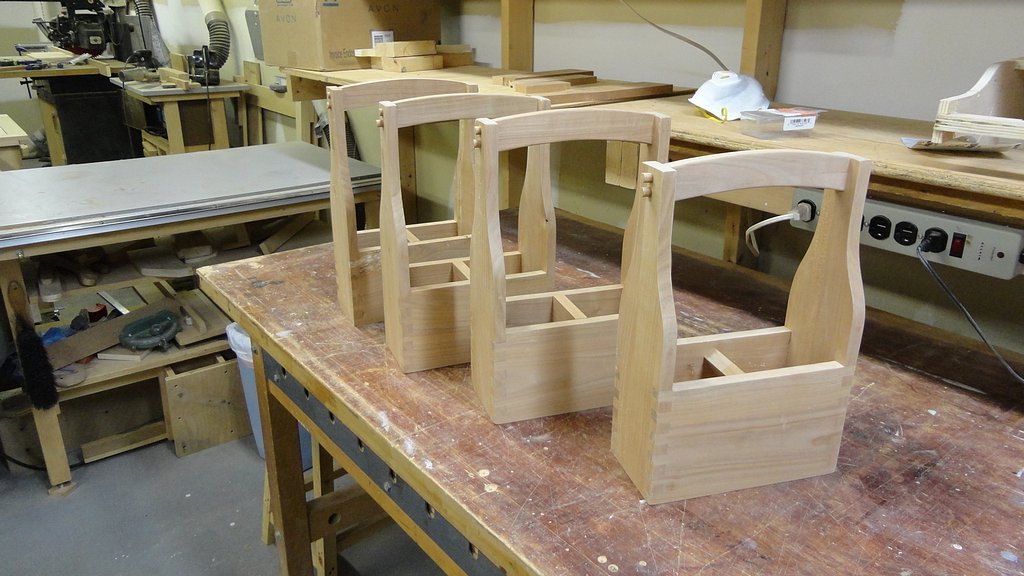
Wine tote components ready for assembly
The curved handles were laid out using a simple wooden bow made from scrap wood. They were secured to the uprights using two recessed wood screws on each end that were covered with tapered dowels. After the glue dried, the dowels were trimmed with a chisel and sanded flush.
Assembled wine totes ready for staining
I applied a basic Minwax cherry oil stain to the assembled wine totes. As you can see, the stain really brought out the wood grain and highlighted the finger joints. After the stain dried, I sprayed on a few coats of Minwax satin polyurethane.
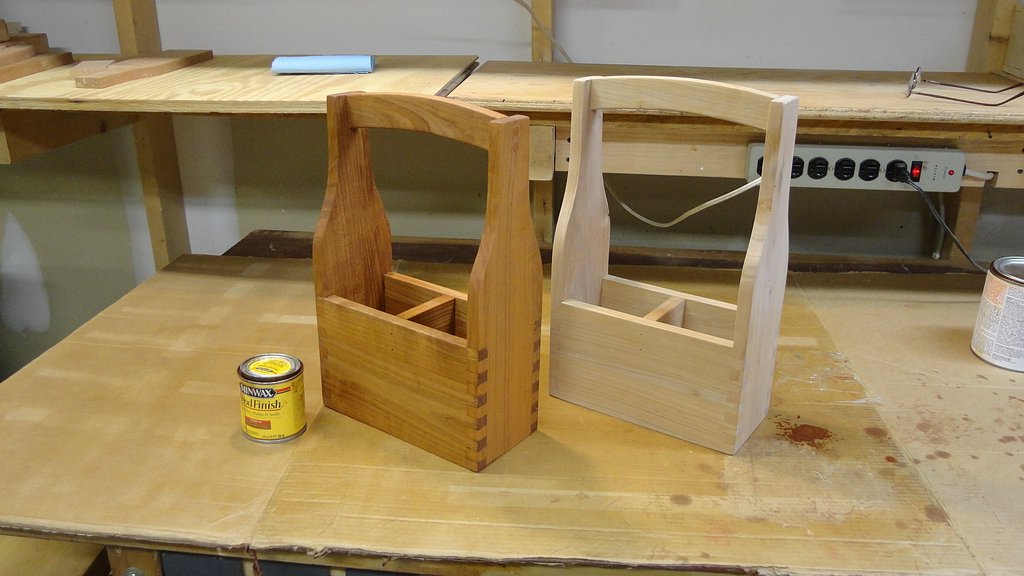
Wine totes before and after applying Minwax cherry stain
I made a total of four wine totes from roughly 14 board feet of rough cut lumber. There was a fair amount of waste given all the knots, splits and rotted wood. But, I feel good that the bulk of the worm-damaged wood was put to good use and now I can show up for wine parties in style.
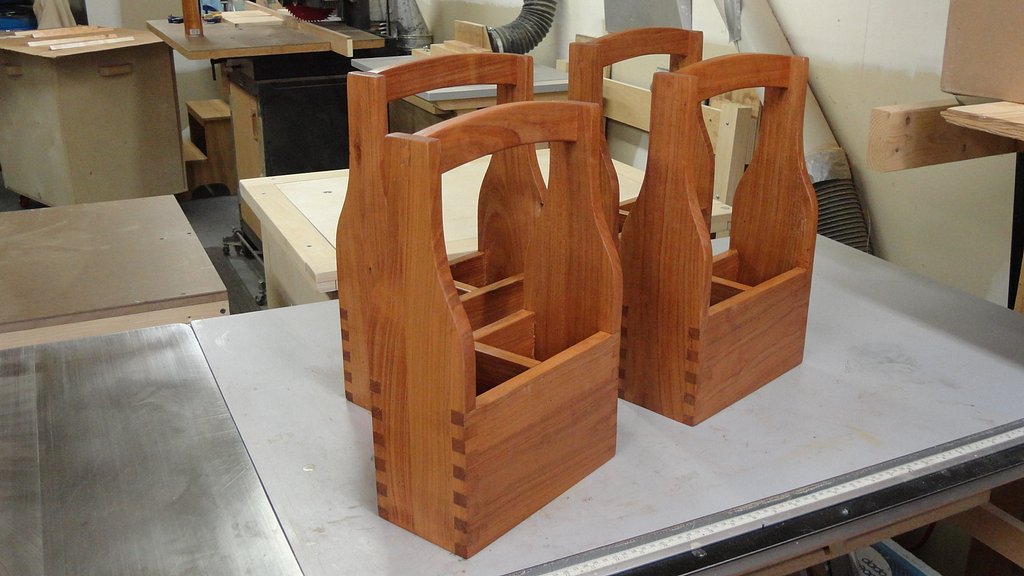
Quartet of wine totes ready for business