
An oldie but goodie!
If you’re installing wall molding for the first time, your natural inclination may be to cut 45-degree miters for the corner joints. This may work fine for a picture frame or a cabinet built to exacting dimensions but doesn’t work so well for wall moldings because the corners of a room are rarely square. Furthermore, a miter joint tends to open up when you nail each piece against the wall and as the wood expands and contracts during different seasons of the year. The solution here is coping.
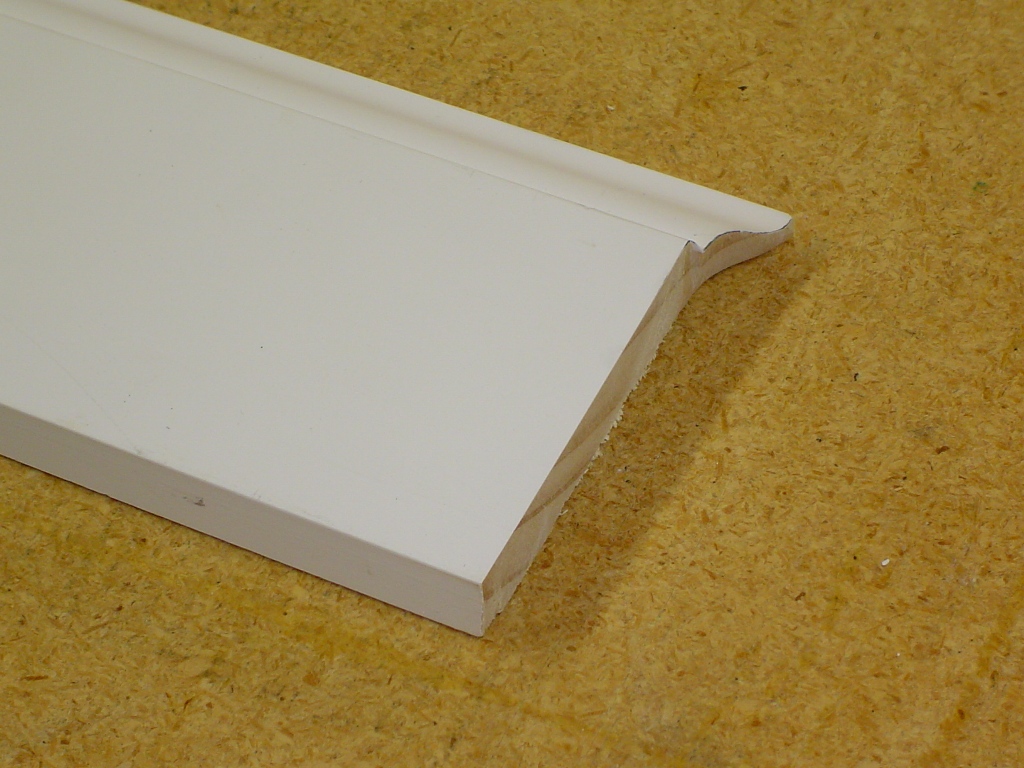
Finished cope profile
Coping is an old carpenter’s trick that makes for tight fitting corner joints regardless of how wacky the walls may be (well, within reason). It’s commonly used for base boards and crown molding, but works for other types of profiled moldings as well. In a coped joint, one side is cut square and butts against the corner, while the joining piece is cut to fit the profile of the first piece. It’s essentially an overlapping joint.
The Coping Process
Coping may seem a bit daunting at first, but it doesn’t take long to get the hang of it. All it requires is a little patience, an inexpensive coping saw, and a few clean up tools…
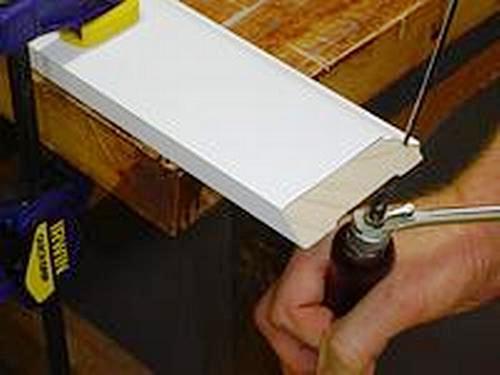
Starting a coped cut
Miter one end of the molding at a 45 degree angle to expose the profile. Using a pencil, trace along the mitered profile to establish a cut line. If the molding is already painted, it may not be necessary to mark the line, but it generally helps to do so. Clamp the molding to a work surface and you’re ready to start coping. For this task, the tool of choice is the humble coping saw.
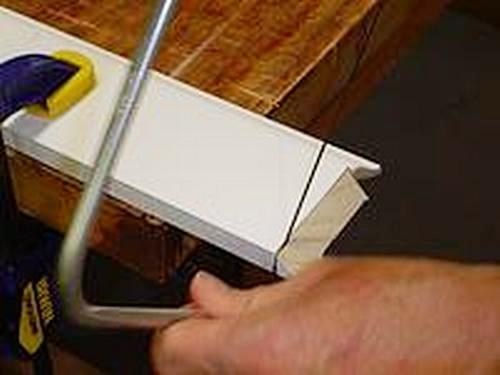
Cutting along molding profile
Cut along the profile line, keeping the blade just to the waste side of the line. Angle the blade slightly to back-cut the molding. This will make it easier to final fit the joint because there will be less material to remove. Depending on the molding profile, it may be feasible to start the cut on one edge and continue uninterrupted to the other side. With baseboard like the piece shown in the photo, I prefer to cut in from each edge with the cuts meeting at an appropriate point in the middle. This minimizes the chances of tear-out, and makes for a nicer fit on the more visible top edge of the molding.
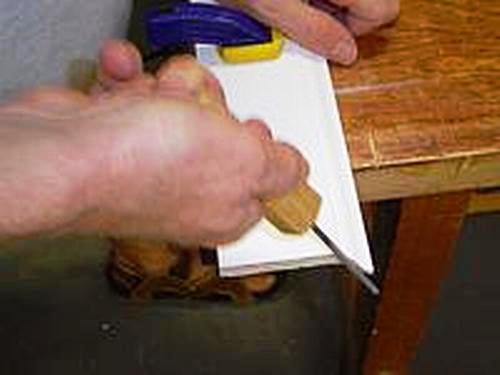
Cleaning up coped cut
Once the joint is cut, it’s a matter of fine tuning. Using files or sand paper, smooth the cut edge to form a nice clean profile line. Test fit using a piece of scrap molding. If you see any gaps, sand away the high points to make the gaps disappear. This is when you’ll be glad you back-cut the profile because you only need to remove material from the front edge of the cut. Of course, if you do a good job following the pencil line, minimal adjustment will be necessary.

Assembled coping joint
The finished joint should fit together like two puzzle pieces. However, if you end up with a less-than-perfect joint, you can cope with this situation by recutting the joint (you did cut the board slightly long, right?) or filling in any gaps with a little drywall mud or caulking if the molding is going to be painted. (a not uncommon practice for baseboard). Another helpful trick-of-the-trade is to arrange the molding so that the coped joints are not facing you when you walk into the room.