
Can you imagine not having a vise on your workbench? Me neither. Yet, somehow I scraped by for many years before finally installing one and now I can’t imagine not having it.
I bought a Jorgensen model 41012 vise from a fellow woodworker who bought it some years ago but never got around to installing it. It was in new condition and I got it at a discount. It’s a heavy duty beast that weighs about 36 pounds with 10″ wide jaws. What’s not to like? I decided it would be a perfect face vise for my rather large workbench (made from an oversized solid core door). Here’s how I went about installing it.
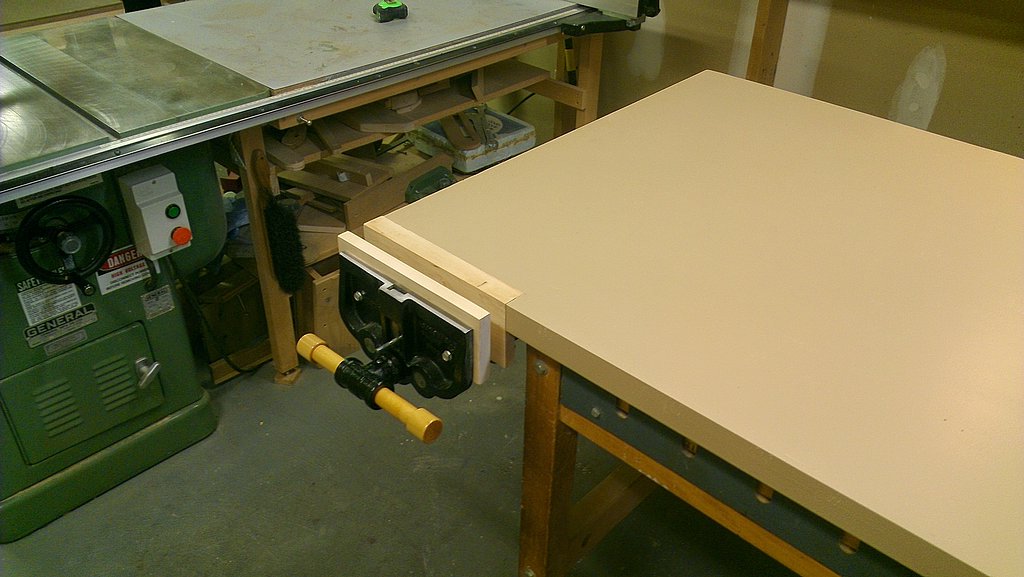
Front-mounted bench vise with 3/4″ maple cheeks
The first order of business was to cut out a notch to allow the rear jaw of the vise – with attached cheek – to lie flush with the front edge of the workbench. I preferred the cheek to be flush to simplify options for additional clamping in order to provide better support for long boards. I also thought it would look more professional. Using a hand-held circular saw with a guide board clamped to the table, I made an 11″ long cut parallel to the front edge of the bench set back 1-1/4″. A hand saw was used to complete the cut as well as the crosscut defining the length of the notch. The notch was sized to match the 11″ long maple vise cheeks which are 1″ longer than the metal jaws. The 1-1/4″ setback accommodates the 1/2″ thick jaw + 3/4″ cheek. Tip: plane the cheeks to final thickness after the notch is cut and the rear vise jaw installed – this gives you a little more wiggle room with the notch depth.
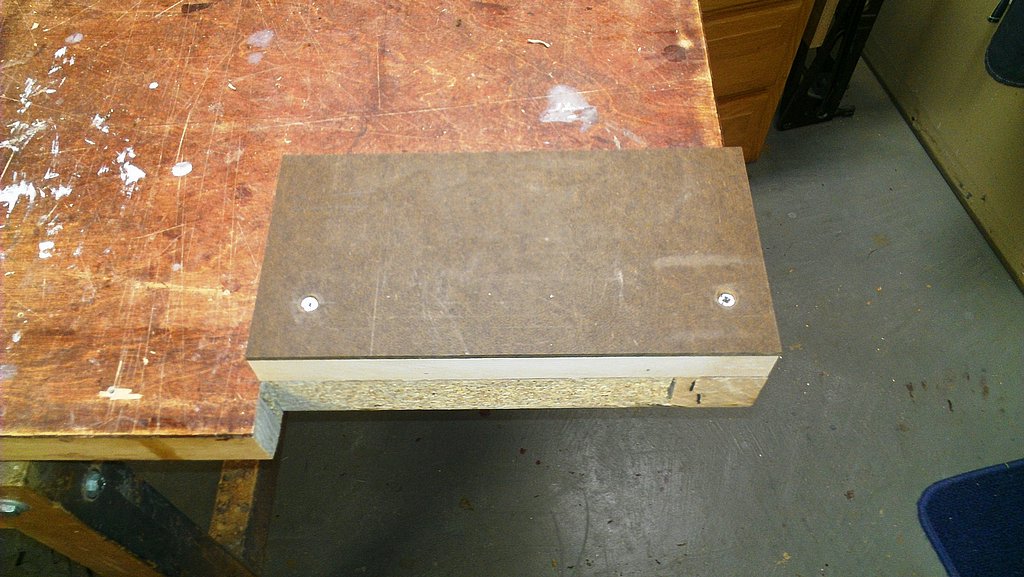
Spacer block underneath to recess top of vise 1/2″ below work surface
A spacer block was attached to the underside of the bench so that the top edge of the vise sits at the desired depth relative to the top surface of the workbench. The installation instructions for the vise specify that the table thickness must be at least 2-1/4″. This positions the top of the vice flush with the table surface. I opted for a combined thickness (table + spacer block) of about 2-3/4″ which recesses the vise 1/2″ below the surface. (I read somewhere that this reduces the likelihood of hitting the metal jaws with cutting edges so it seemed like a good idea).
After the spacer block was glued and screwed in place, I flipped the door over to position the work surface up. After filling in some holes and painting the surface a woodworking-friendly tan to cover up a blotchy old maroon stain job, I mounted the rear jaw of the vise to the workbench where the notch was cut out. This was accomplished via two 5/16″ x 2″ lag bolts from underneath and two 1/4″ x 2″ wood screws that pass through holes pre-drilled in the rear jaw. The 10″ long jaw was centered in the 11″ long notch.
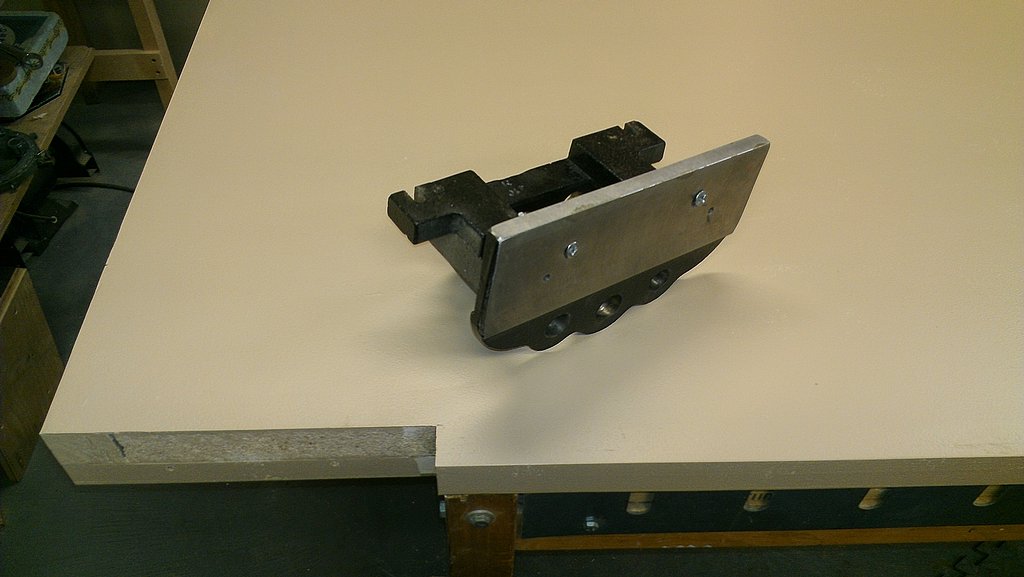
Rear vise jaw ready for mounting
One of the challenges of this job was to drill mounting holes in the rear check to match the mating holes in the rear jaw while making sure the cheek fit precisely in the notch and was not recessed below the work surface. What I did was to first cut the cheek slightly oversize, about 1/4″ in both width and length. I then removed the face mounting screws from the rear jaw and temporarily attached the oversized cheek to the jaw using double sided tape with the cheek flush against the right side of the notch and lined up with the bottom machined edge of the jaw. The top of the cheek was about 1/4″ proud of the bench top. I then removed the rear jaw from the workbench and marked the position of the mounting holes in the cheek. I accomplished this by sanding the end of a spare 1/4″ bolt to a point using the belt sander and screwing the bolt into the hole from the back until it just contacted the back side of the cheek. The cheek was detached from the jaw, a small drill was used to drill through the cheek and then a final countersunk hole drilled from the front. The jaw was remounted on the workbench and the rear cheek screwed in place using the precisely positioned mounting holes. At this point, the cheek was marked and cut to final length and “near final” width – I kept it slightly proud of the work surface in order to fine-tune it later with a hand plane. The cheek was also planed to final thickness at this point to line up exactly with the front edge of the workbench.

1/2″ maple spacer fills gap above recessed rear jaw
With the rear jaw securely attached, a 1/2″ filler was made to bridge the gap between the wooden cheek and the edge of the notch. The fit of this piece isn’t critical but it looks a lot better if it’s a snug fit. It was glued to the back edge of the rear cheek. The cheek with attached filler was screwed onto the rear jaw. The remaining vice hardware – front jaw, screw assembly, handle – was slid into place and the front cheek was fitted and installed in a manner similar to the rear cheek. Its top edge was also left slightly proud of the surface. Using a jack plane, I then shaved down the top edge of both cheeks to make them level with each other and the work surface. The side view below shows how the various components line up.
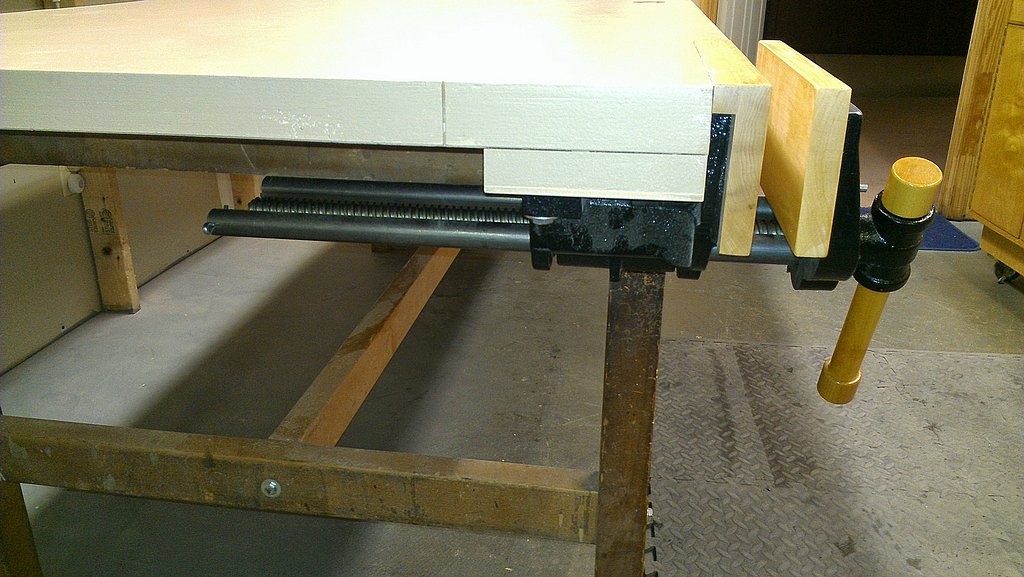
Side view of install vise
The underside view shows the slides and screw mechanism. A cotter pin in the outer slide bar prevents the whole assembly from falling out when the front jaw is pulled too far forward. My feet appreciate this little safety feature.
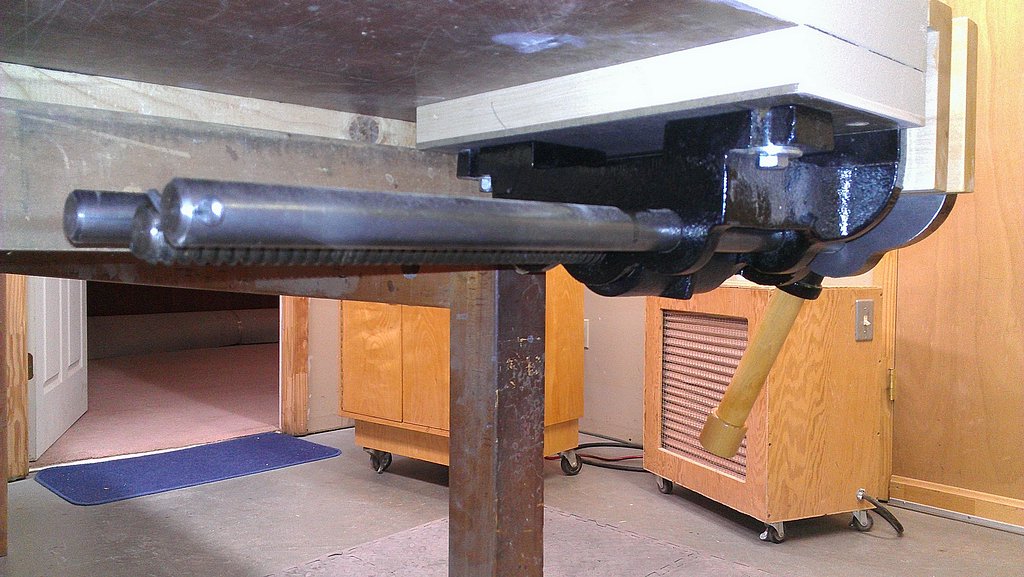
Underside of vise assembly
The only remaining task is to drill dog holes in the bench top. The plan is to drill a series of 3/4″ diameter holes about 6″ apart that line up with the pull-up metal dog on the front cheek of the vice. These holes will accommodate round dogs that slide into position. I decided it would be wise to hold off drilling the holes until the dogs were in hand.
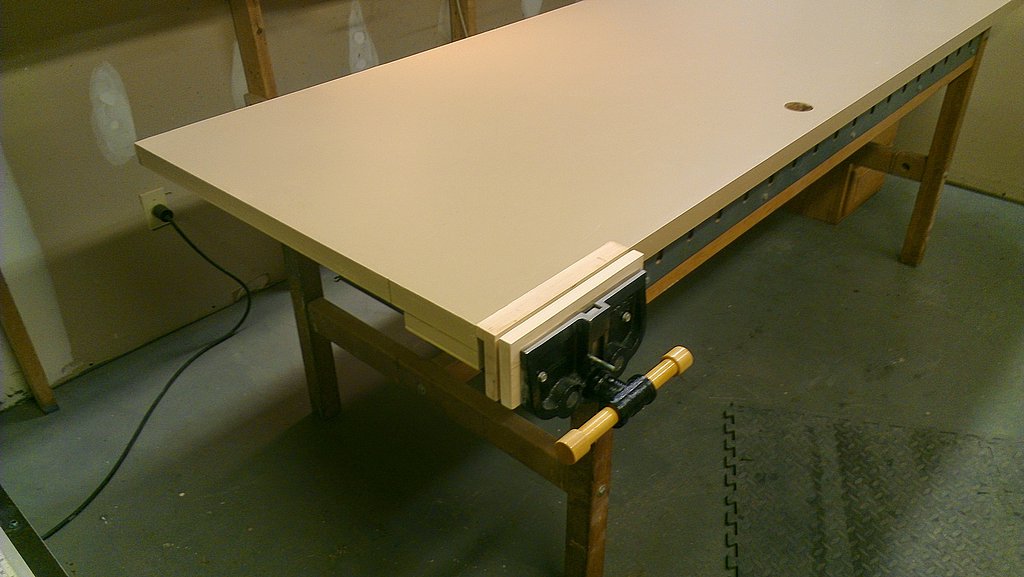
Vise installed and ready for action
This is a great looking vise installation that conveys a strong image of professionalism and precision.
What about intestinal fortitude?
I’ve built a workbench which is very solid, but the bench top is only 3/4 ” plywood. Can I install a bench vise with a 3/4″ top??
It should work – assuming you add a spacer to the underside of the 3/4″ plywood so the vise has something solid to screw into and to make it level with the top of the bench. My 36 pound vise is held in place with two lag screws so these need something solid to bite into. You might consider a smaller, lighter weight vise for your bench.
I’m not sure I understand completely how the rear cheek is attached to the rear jaw. Do the screws go through the wood of the cheek, through the metal jaw, into the worktop? Or do they just go from the cheek into the jaw?
Hi John,
The rear cheek is attached to the rear jaw via two 1″ long screws that pass through the cheek into threaded holes in the jaw. They do not go into the worktop.
Your posting is the answer to my vise question. Thanks