
What do you do if you have a board that’s a few inches shorter than it needs to be and you don’t want to shell out more to buy a longer board?
If you’re Arnold, you grab hold of the ends of the board and stretch it until it’s the right length. For the rest of us mere mortals, there is another approach that doesn’t rely on brute strength. Instead, it involves cutting the board in half diagonally and sliding the two halves along the diagonal until the board is the desired length. Then it’s a simple matter of gluing the pieces together and trimming to size. Here are the illustrated steps:
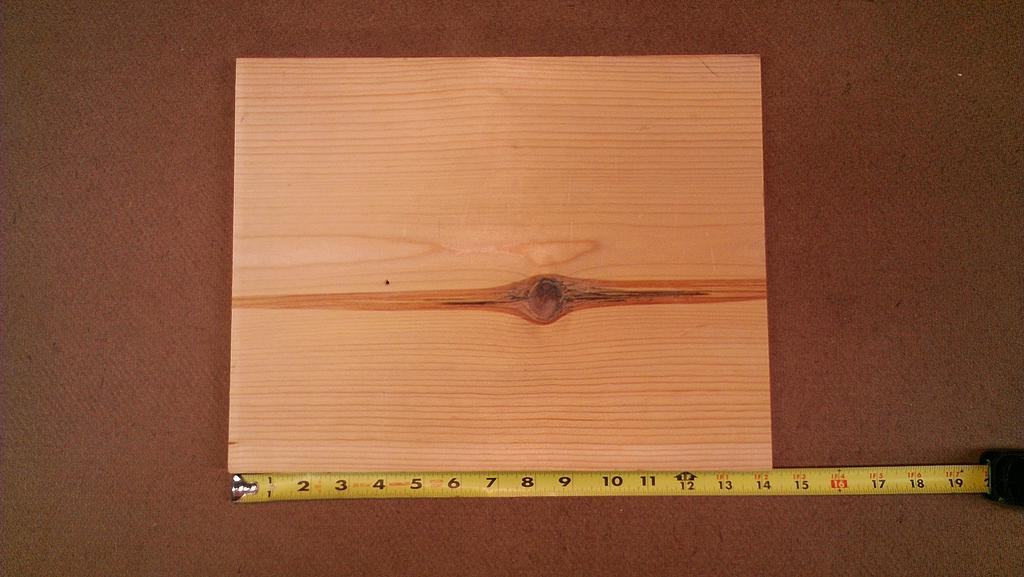
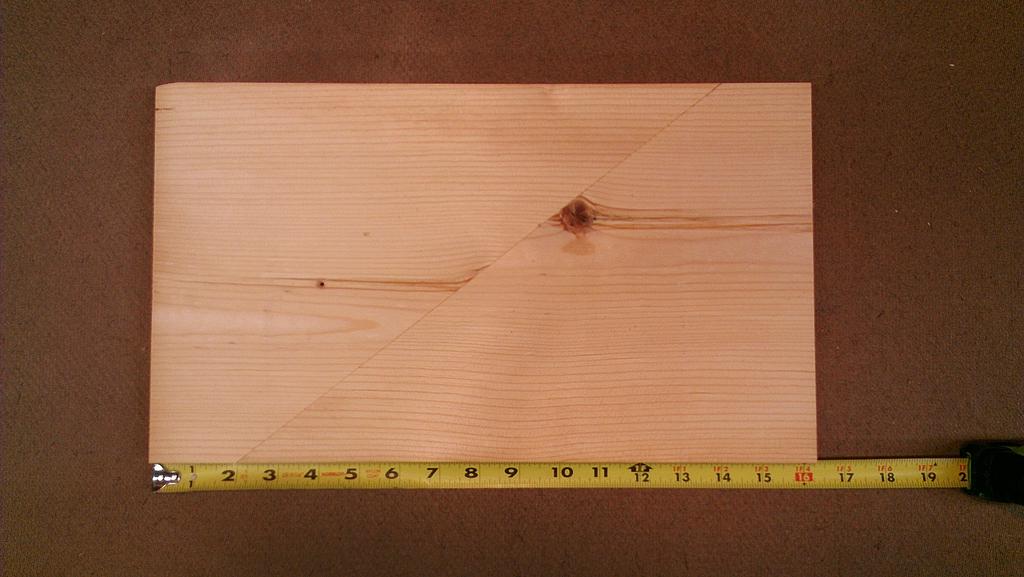
Short board
The original board that needs lengthening. Draw a diagonal line across two of the corners and cut along this line using the band saw. This will produce two triangular-shaped halves.
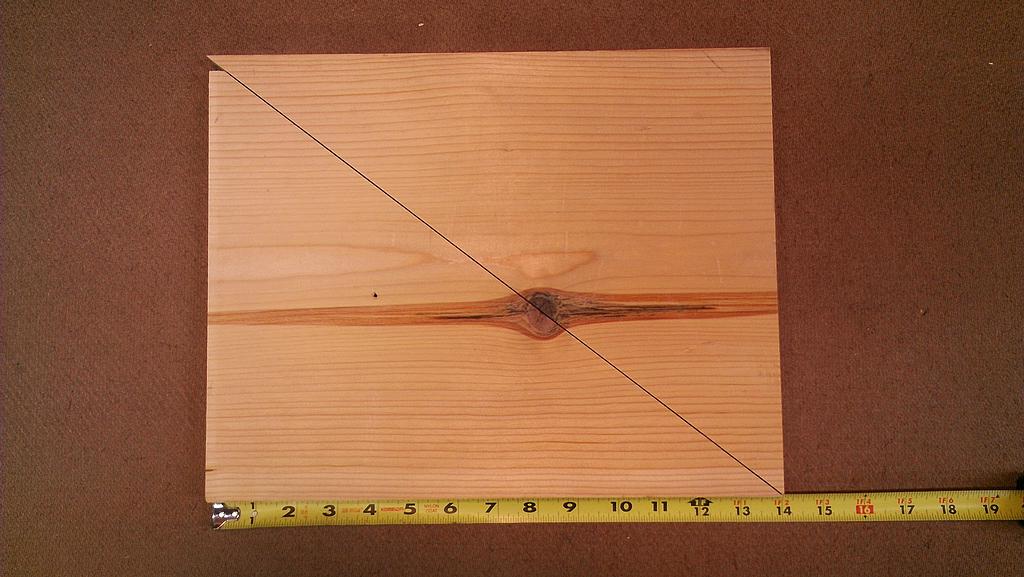
Short board cut diagonally
Run each piece through the jointer to clean up the cut edge. For a smoother cut, feed with the narrow end of the triangle towards the rear. I got a little careless and chipped off the tip of one of the boards. However, this doesn’t matter because a much larger tip is removed during the trimming process.
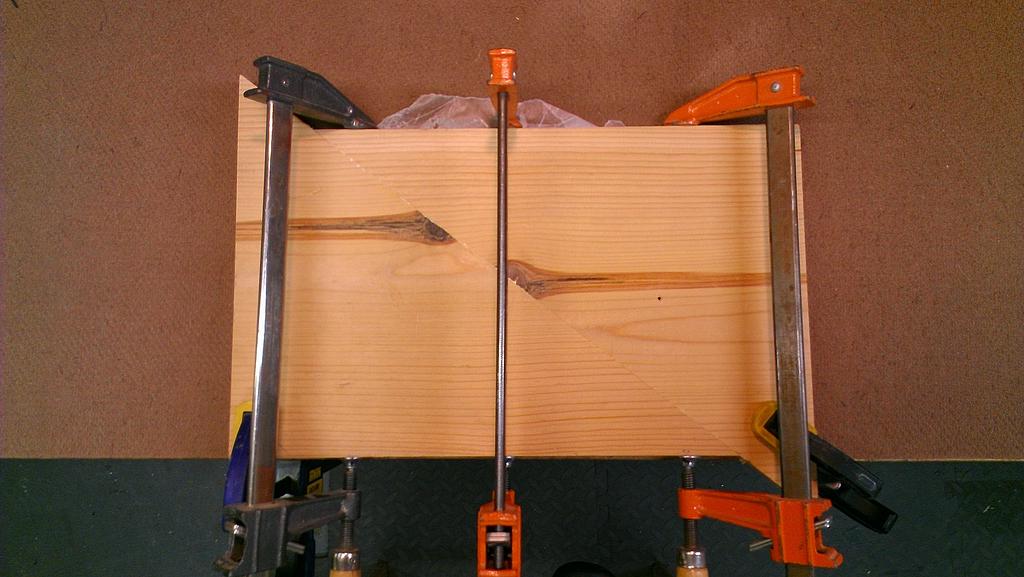
Gluing up board halves
Slide the two pieces along the diagonal cut line until the desired length is reached. Glue and clamp the pieces together. Gluing tip: clamp the two pieces down to the work surface to counteract the tendency of the boards to slide away from each other as the main clamps are tightened.
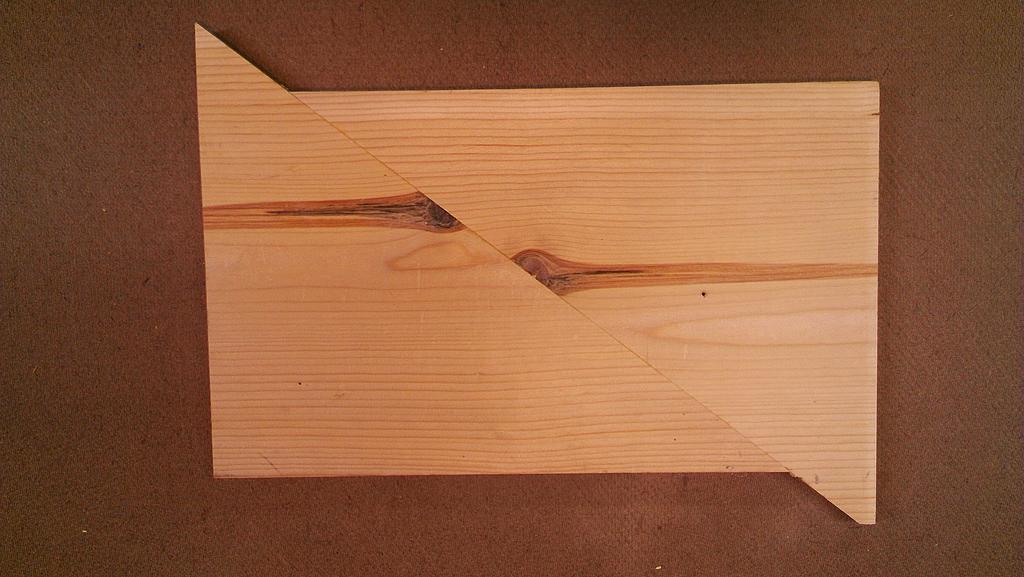
Glued together board before trimming
When dry, cut off the angled “nibs” and rip the board to width.

Lengthened board
The final board, longer and narrower than the original. Because of the pronounced dark area in the middle of the board, it’s obvious that this was a splice job.
Longer board back side
The other side of the lengthened board looks better because it has more uniform grain and coloration.