
After embarking on a mission to create a box load of mini-mallets, I realized a handle forming jig was called for to make each handle the same shape and to keep me from going crazy (no way was I cutting every single handle on the band saw). I came up with the simple router jig shown here. It consists of a 1/4″ masonite curved template with the desired handle profile and adjustable stops that hold the handle in place via side pressure. A strip of sandpaper glued to the base of the jig provides additional grip.
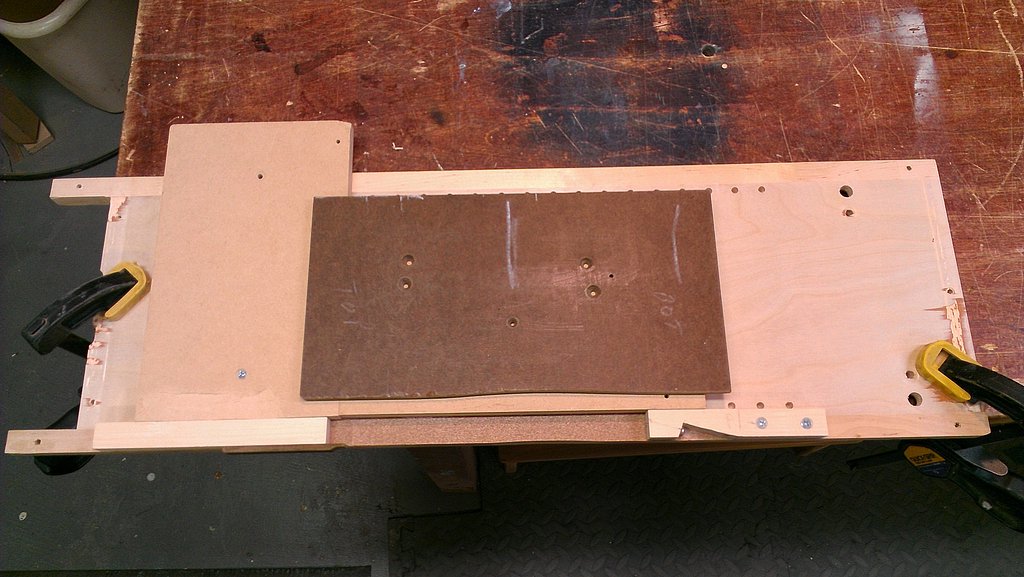
Jig consists of a curved template and adjustable end stops
To setup the jig, a spacer block of the same thickness of the handle is placed on the base of the jig and screwed into position so that when the mallet handle is butted up against it, the handle side protrudes slightly over the front edge of the jig base – say 1/8″ or so (if a little material gets routed off the base, that doesn’t matter). The right hand stop is then screwed to the base. This stop has a notch cut into it that accommodates a screw that can be adjusted to poke into the end of the handle.
A handle blank with the curve profile traced onto it is inserted into the jig opening, butted up against the spacer block on the back and the stop on the right. The left hand stop is slid to the right to butt up against the other end of the handle and clamped in place. The masonite template is then placed on top of the spacer block and positioned so the front edge aligns with the profile traced on the handle blank. It is then secured to the spacer with three screws.
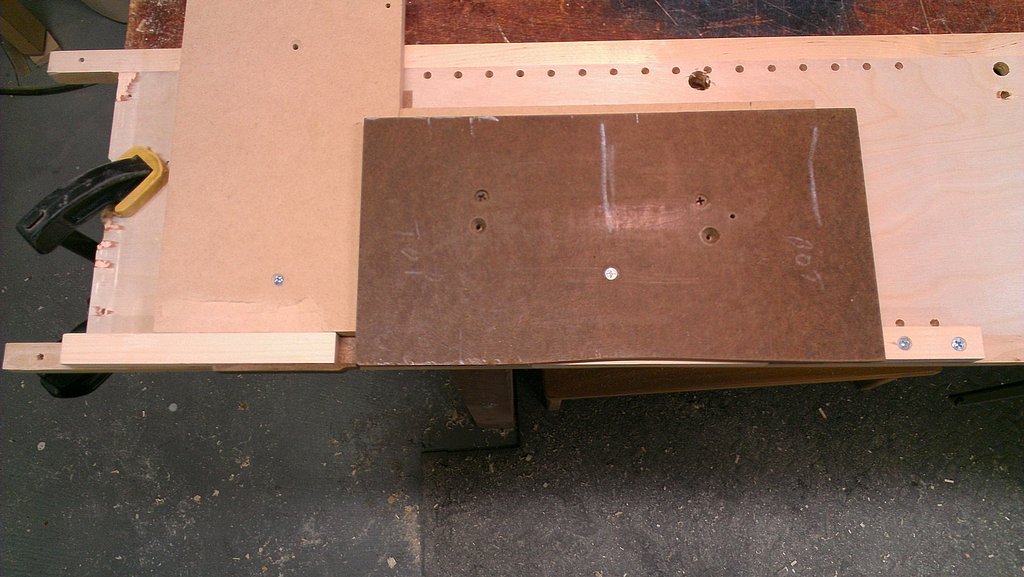
Handle secured in jig by adjustable clamping sticks on each end
The whole jig assembly is clamped to the work surface. With the handle blank tightly wedged in place, a pattern router bit mounted in a router is guided along the edge of the template to rout the handle to the desired shape. It is important that the screw on the right hand stop bites into the end of the handle enough to prevent the handle from being pulled out of the jig by the sideways force of the rotating bit. Best results are achieved by moving the router from left to right.

Handle secured in the jig and ready for routing
When the first side is finished, the left hand stop is unclamped and slid to the left to release the pressure on the handle. If the handle is pulled out slightly, it can be seen that its shape exactly matches that of the template. If everything was setup properly, the mallet head end of the handle should not have any material removed.
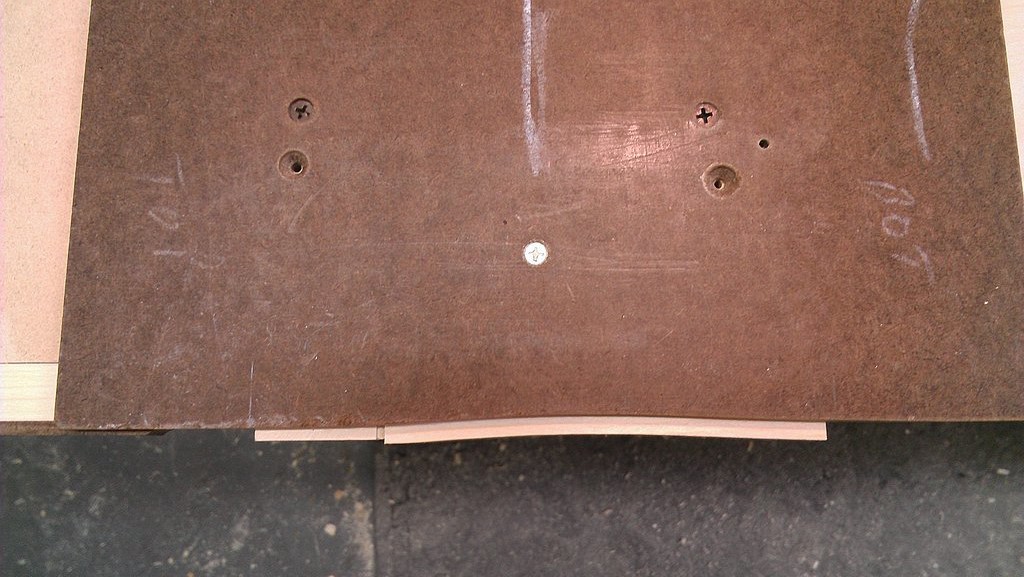
Handle curve exactly matches that of the routing template
A handle with one side successfully routed is shown below. To complete the job, the handle is reinserted in the jig with the straight edge facing out, the left hand stop is clamped in place, and the edge profile is cut with the router. After a couple handles, I found that I was able to shape both edges of a handle in a couple minutes.
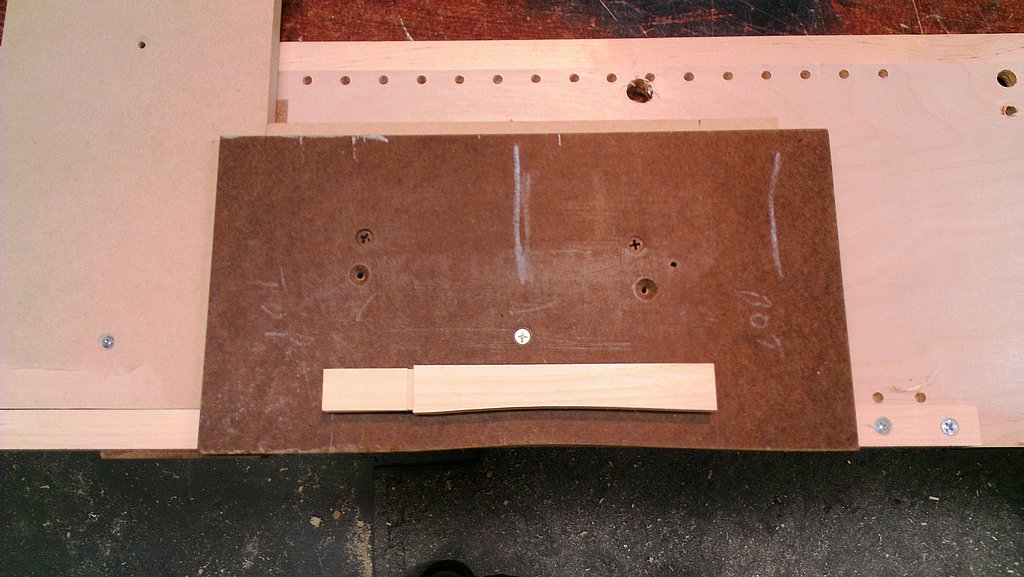
Handle with one side routed
When the routed handles are placed next to each other, any mistakes are readily observed. If all went well, there should be a uniform curved gap between each handle and its neighbor with no tear-out. The remaining tasks are to trim off the end of the handle where the adjusting screw made a slight indent, round off the edges, and sand it smooth.
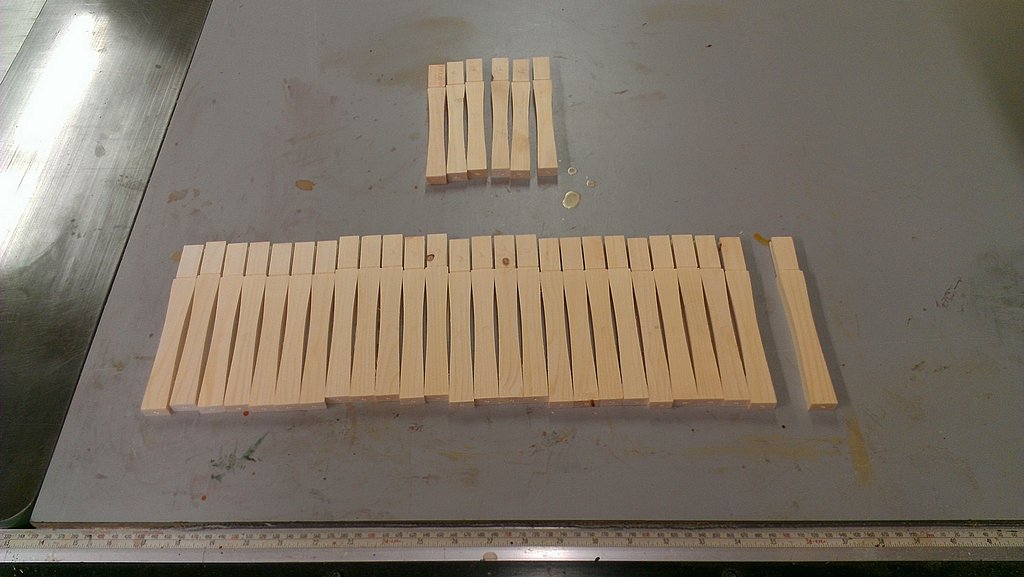
Complete set of profiled mini mallet handles
Here is a mallet handle after shaping, rounding, and sanding. I found the shaping jig to be a huge time saver and for the most part, it worked quite well. I only encountered problems when the handle was not well secured in the jig due to the left stop not being tightly against the end of the handle. I actually ruined a couple handles but I made a few extras (I was prepared for some loss) so it all worked out.
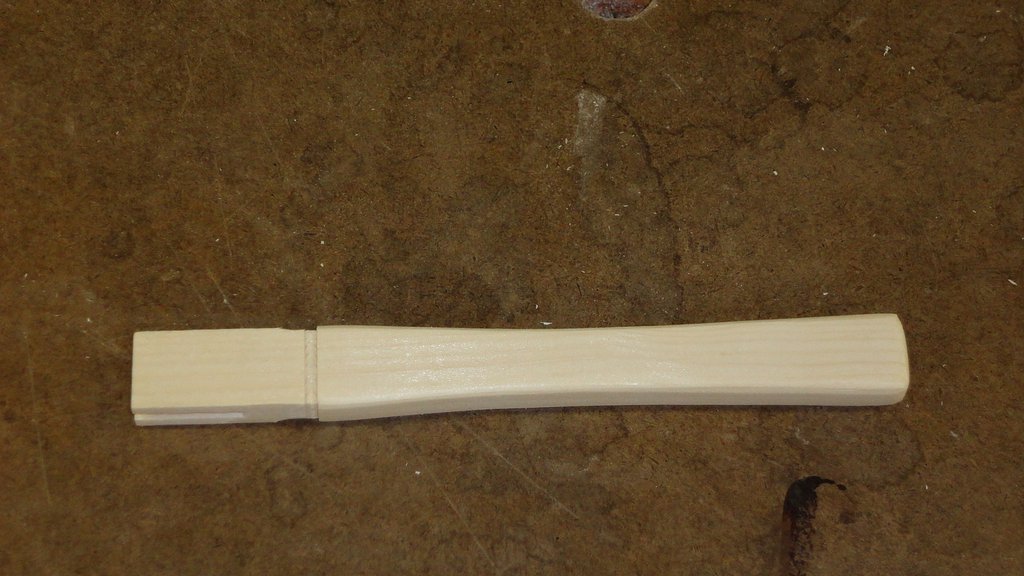
Mallet handle after rounding and sanding
yes