
Having made several full-size mallets for general purpose shop use, I decided to make some mini-mallets. My initial thinking was that they could be used as tree ornaments, and that’s exactly what I did with a couple mallets in our home. I also discovered they work well as crab mallets, office desk knick-knacks, gavels for calling work meetings to order, and general purpose souvenir gifts. Some relatives from Slovakia visited while on vacation in the U.S. and I gave each one a mini-mallet as a little keepsake/souvenir. As far as I know, they didn’t have any problems getting through customs…
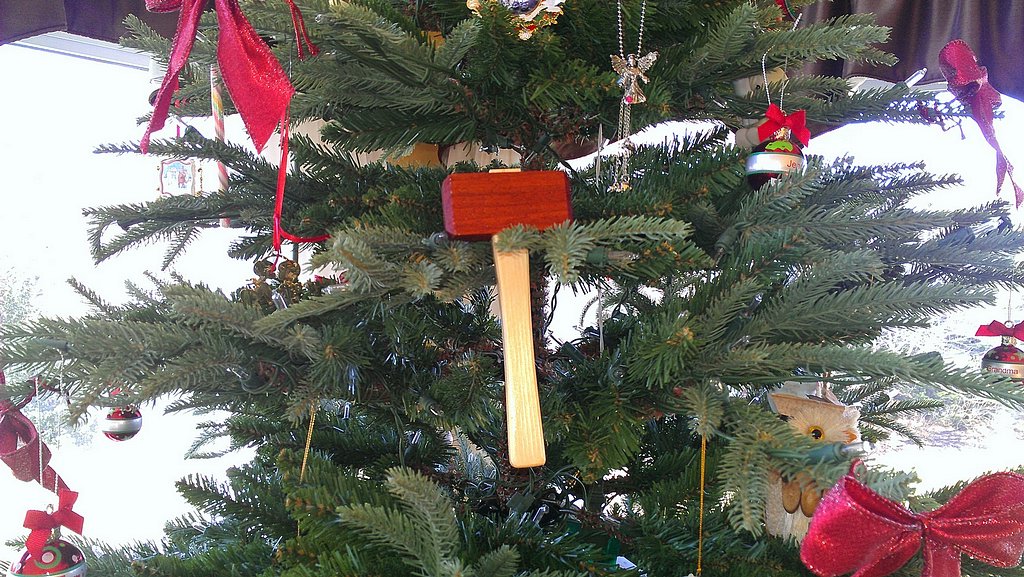
A mini-mallet makes a great tree ornament!
I got carried away and made a box-full of mini-mallets. A total of 30. Given the amount of setup and machining involved, it just didn’t make sense to only make a few mallets. Yup, that old chestnut…
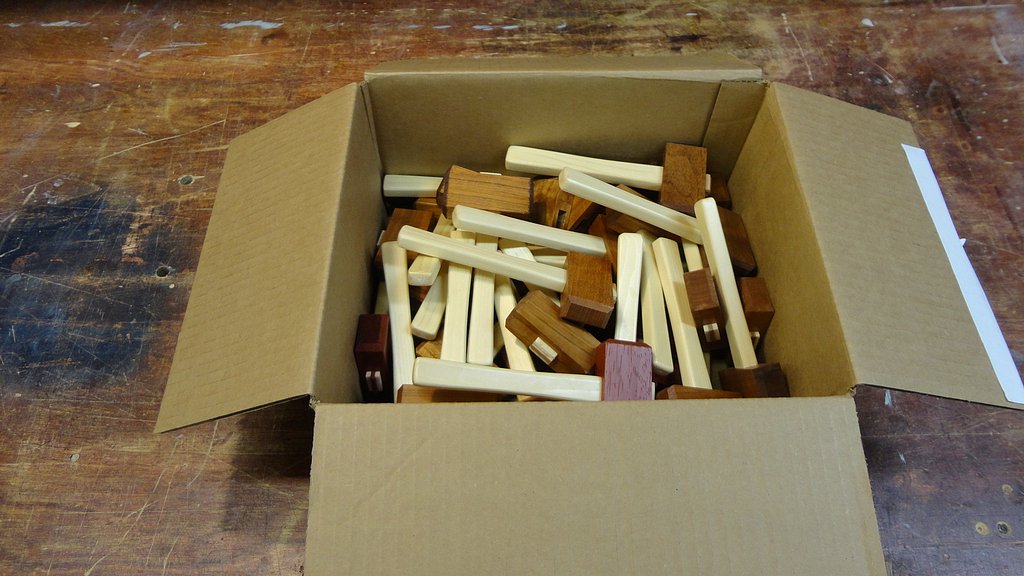
A box full of finished mini mallets
The handle on the mini-mallets is 7/16″ thick by 3/4″ wide. The length is 6-1/2″ which is about half the length of the full-size mallet shown below. The mallet head is 3/4″ thick, 1-5/15″ wide, and 2-3/4″ long. All components were made from 3/4″ thick stock. The handles were made from white pine and the heads were made from cherry, padauk, and walnut. Given the mallets’ relatively small size, it was easy to exclude knots during layout while wasting very little wood overall.
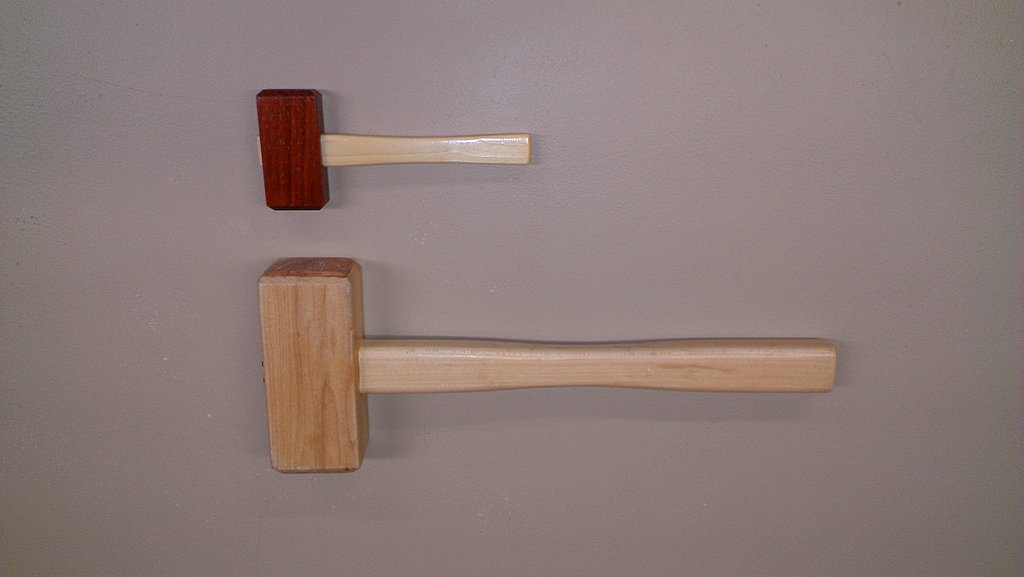
The mini mallet is approximately 1/2 the size of a full size mallet
The first step was to rip the mallet head material into strips of the desired width and then cut each strip into individual mallet heads. Using a 3/8″ mortise chisel bit on my Jet mortiser, I bored rectangular mortises into the center of each head to accommodate the mallet handle. I made the mortises 11/16″ long, a tad less than the 3/4″ handle width.
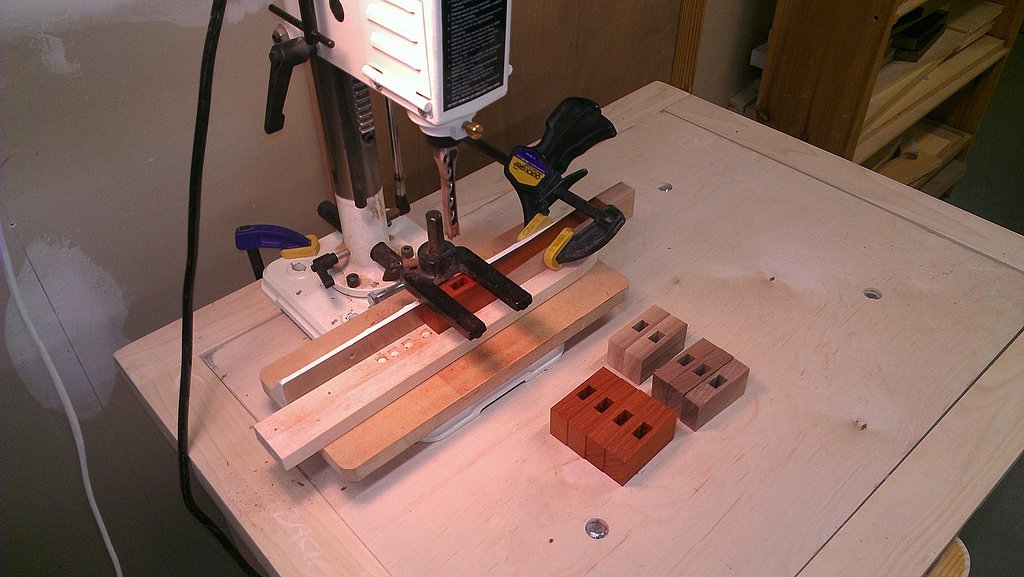
The Jet mortiser came in handy for boring mortises in the mallet heads
For a nicer look, I beveled the ends of the mallet heads to 45 degrees. To prevent tear-out, backer material was placed underneath and behind the stock. I held the relatively small mallet heads in place with my fingers, making sure they were as far away from the blade as possible.
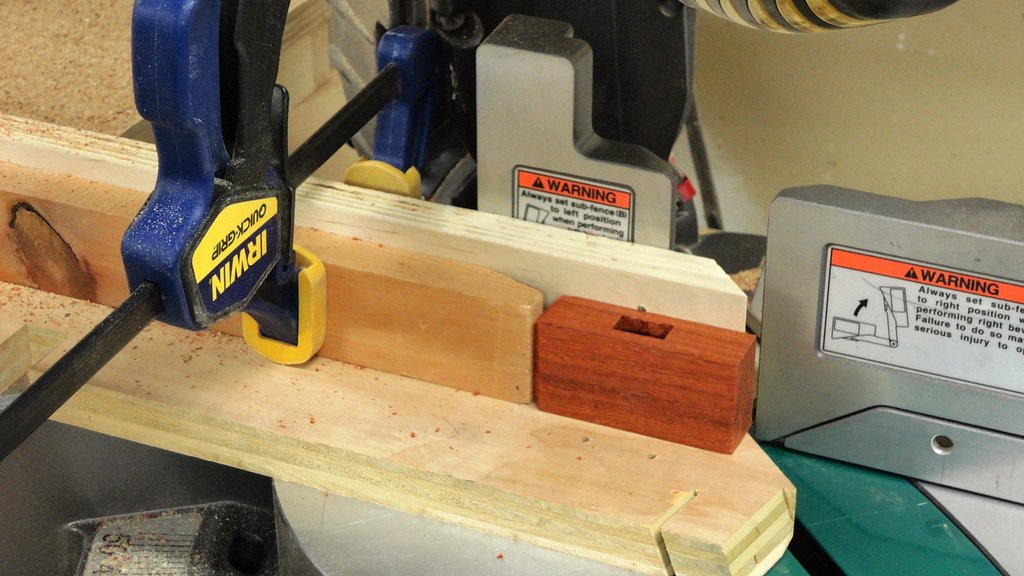
Making angled cuts to bevel the edges of the mallet head
Once the mallet heads were completed, I turned my attention to the handles. First, I milled a bunch of rectangular blanks to the desired specifications (7/16″ thick, 3/4″ wide, 6-1/2″ long). Then, I laid out the bottom position of the mallet head by cutting a shallow kerf on all four sides 5″ from the handle base. This kerf defines the shoulder of the tenon that fits into the mallet head.
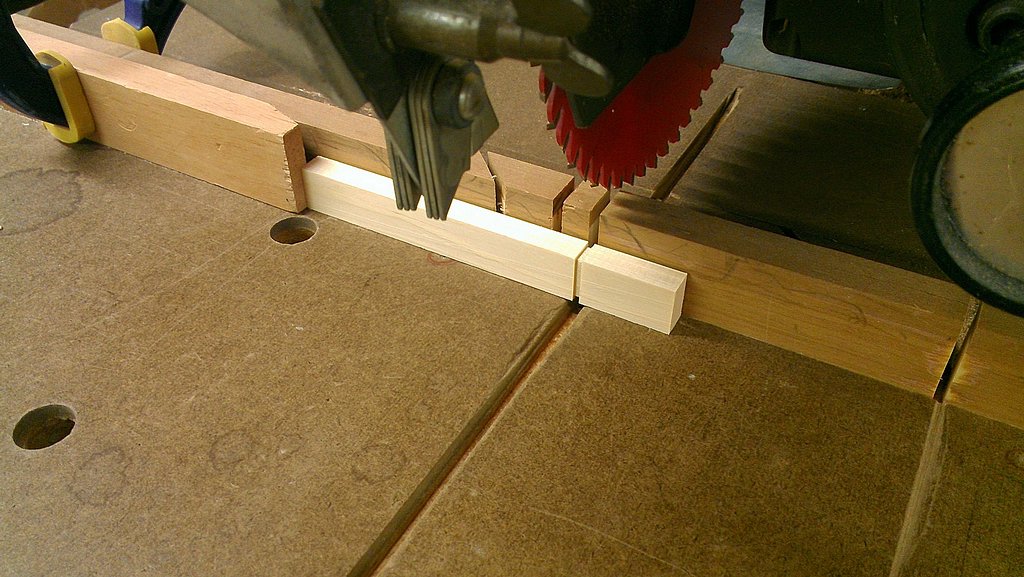
Cutting tenon shoulders with radial arm saw
Using the tenon jig, a small amount of material was shaved off each side of the handle tenon until it matched the width of the mortise in the mallet head. Then, a 1″ deep slot was cut in the center to accept a wedge. Finally, the front/back sides were cut to form a 11/16″ long tenon. At this point, the handle fit snugly into the mallet head.
Cutting wedge kerfs in the end of the handle
To add a little character to the design, I decided to add a little curve to the handles. To simplify this task, I made a template out of 1/4″ masonite that fit the desired profile and then used a 1/2″ pattern router bit to cut each handle to shape. The specifics of this jig are the topic of another article but suffice it to say, it was a real time saver.
Curved handle profile formed with the help of a custom router jig
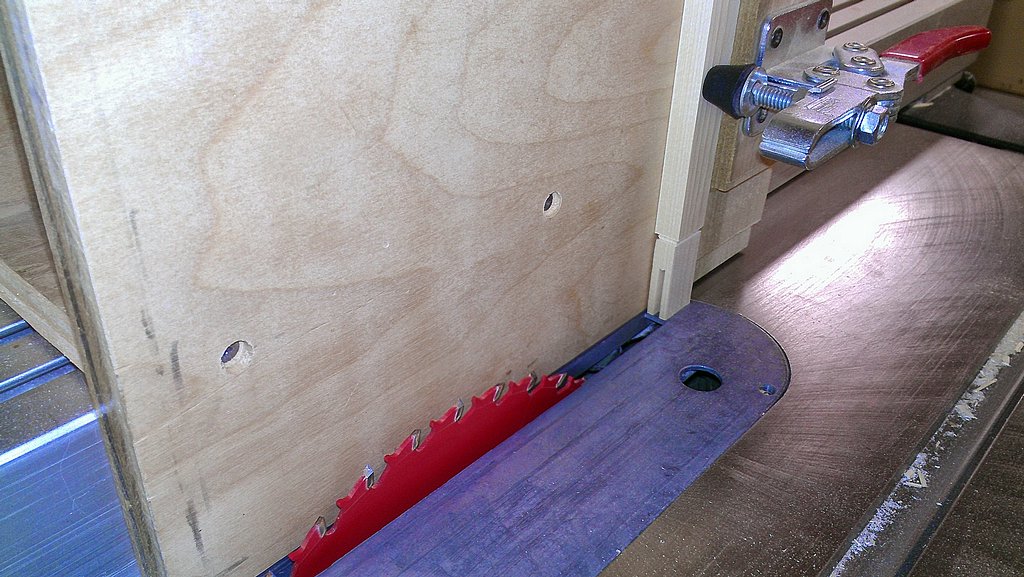
The handle edges were rounded with the help of a 1/4″ radius rounding bit mounted in the table router. The use of two rubber-bottomed push blocks made this operation manageable and safe.
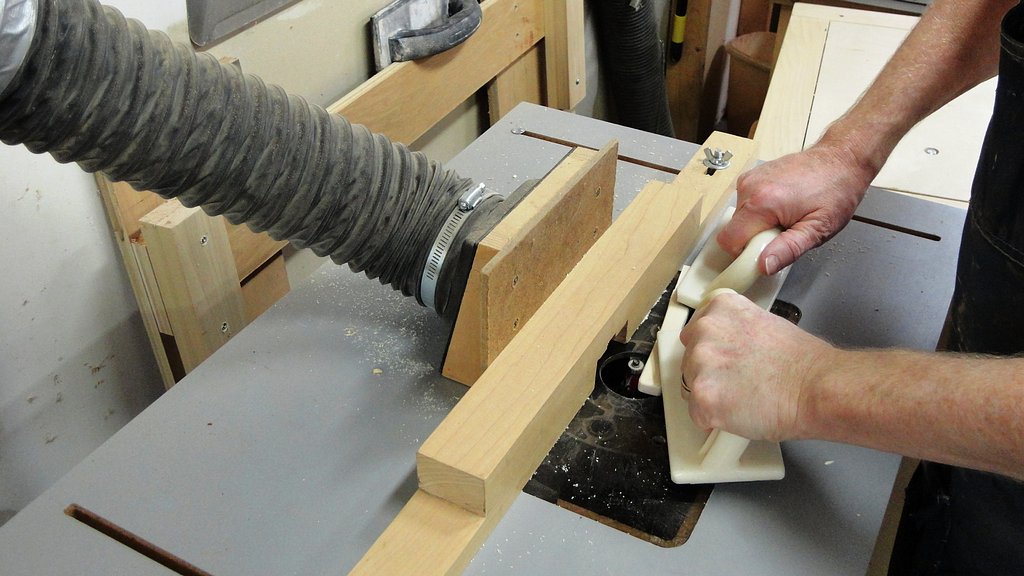
Rounding the handle edges with a 1/4″ radius rounding bit
At this point, I had 30 handles that were milled to size. After a little sanding with the palm sander, they were ready for finishing.
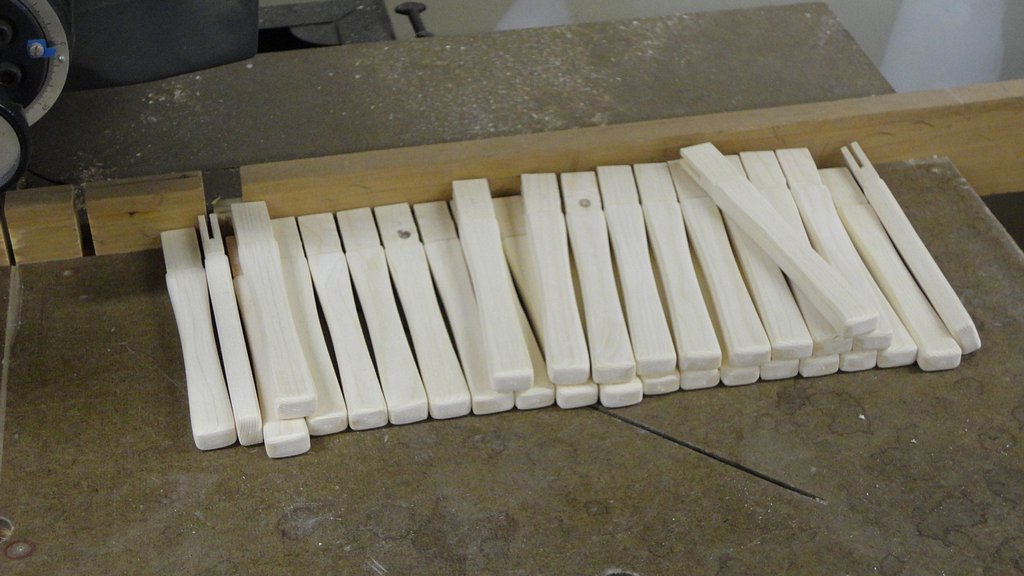
All mini mallet handles milled to size and tenon kerfs cut
To streamline finishing, I taped the handle tops together using painters tape. This made it much easier to position the handles because they could all be moved en masse at the same time. I sprayed a couple coats of low-gloss polyurethane on each handle and mallet head. A light coat of cherry stain was applied to the cherry and walnut mallet heads prior to applying the finish coat. No stain was applied to the handles or the padauk heads.
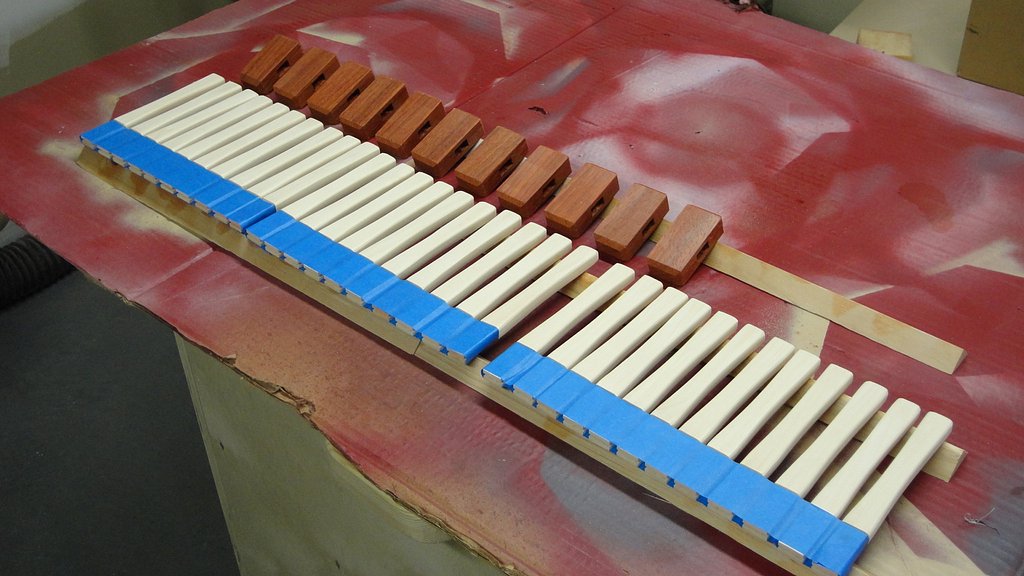
Applying polyurethane finish to mallet handles and heads
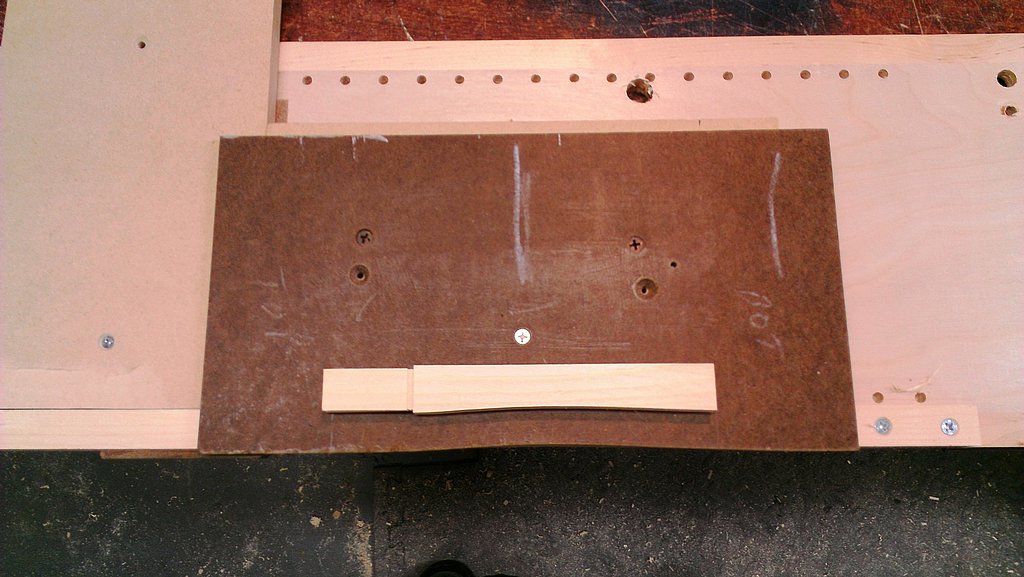
Once the finish dried, the mallets were just about ready for assembly. The only remaining task was to cut wedges from the same material used to form the mallet heads. The mallet components are shown below.
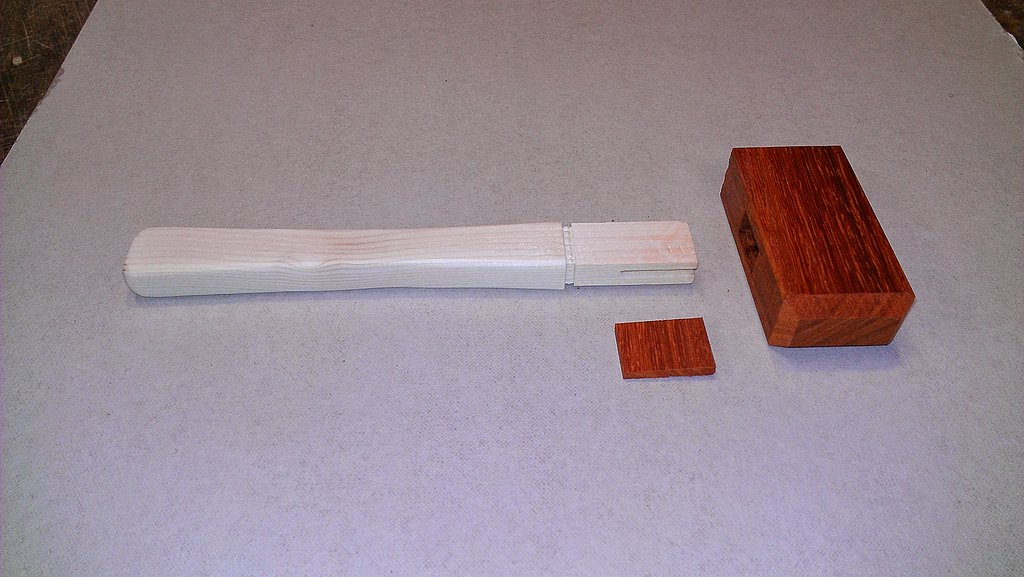
Mallet components ready for assembly
Assembly involved applying a little bit of glue to the tenon faces and tapping the mallet head in place. The wedge was then glued and tapped into position to form your basic wedged mortise and tenon joint. After the glue dried, the top end of the handle was trimmed to be about 1/8″ proud of the mallet head.
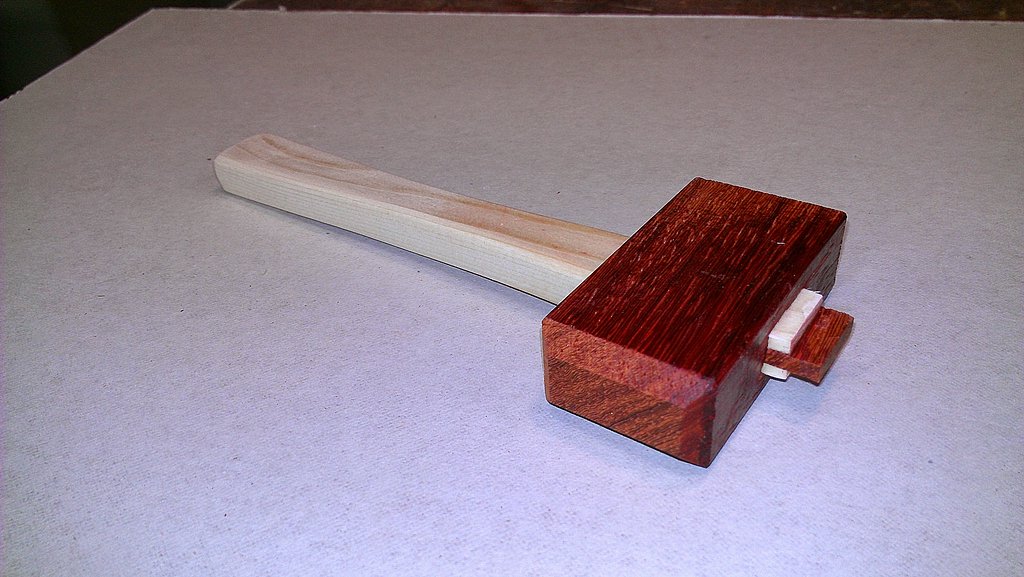
Mallet head secured via a tapered wedge glued and tapped into the kerf