
After receiving a wood carving kit for Christmas, I decided to usher in the new year with a carving project. As a relative neophyte with only one other carving project under my belt, I spent a bit of time online looking for a suitable beginner’s project and I eventually found plans for a “3-to-5 minute owl” at jrcarvers.com that fit the bill. This is a fairly basic project with decent instructions that allows one to get some experience with the basic carving cuts. I opted to use this project as a starting point – I free-lanced the design quite a bit once the wood chips started flying.
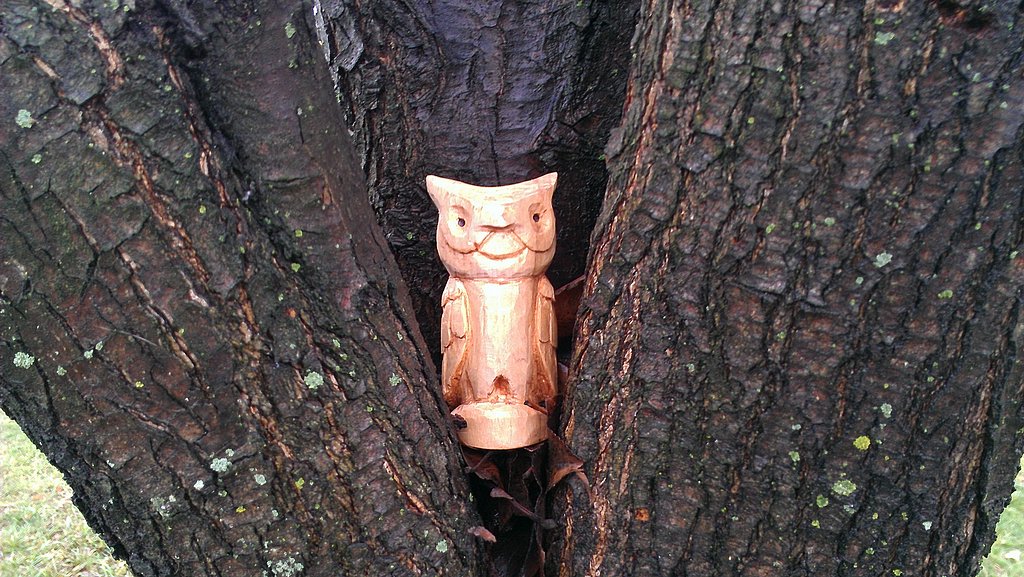
Carved basswood owl guarding the yard
The owl carving was made a from a piece of basswood measuring 1-1/2″ x 1-1/2″ by 4″ long. The carving kit included a box of assorted pieces of basswood and it was no problem finding a small piece that was just the right size for this project. The first step was to layout the lines defining the general shape of the owl’s head and body. I initially followed the layout diagram provided by the plans but almost immediately started adding my own spin to the design. For example, I decided to make my owl’s head larger and to give him a happier, less stoic look. I was going for more of an owl caricature rather than striving for realism. It’s about self-expression, the essence of wood carving. All that good stuff…
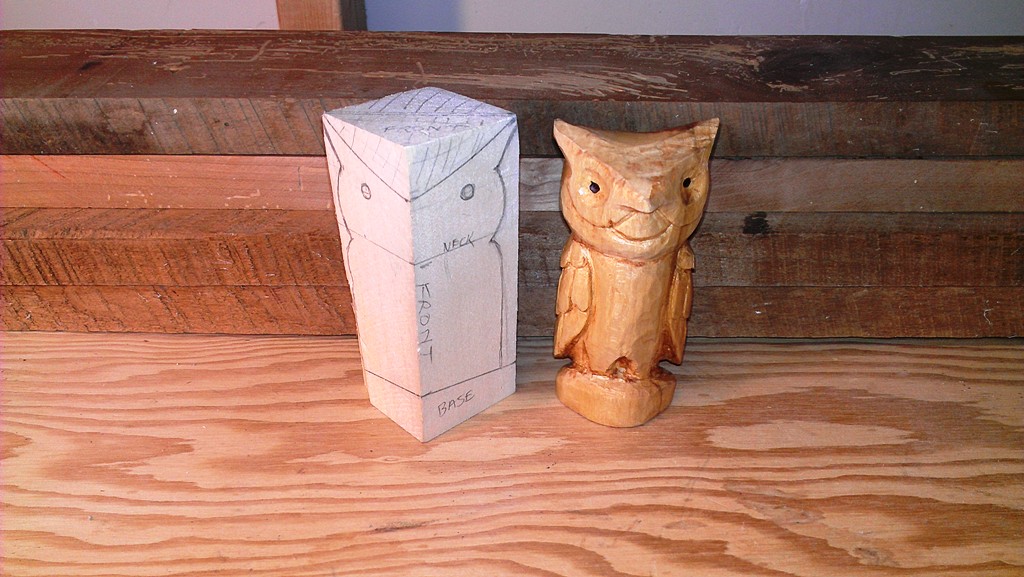
Carving layout lines on basswood block
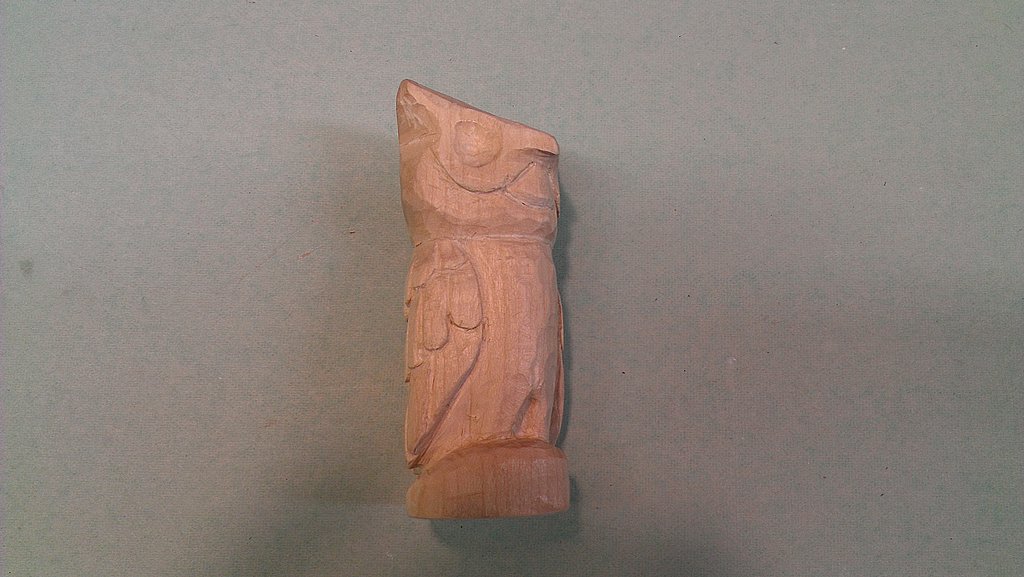
A fair amount of material was removed to round out the block and establish the shape of the owl’s head and the general body contours. I probably spent 1-2 hours just getting my owl to the state shown below. So much for 3-5 minutes. In my defense, I was still learning how to make the cuts and experimenting with the design as I went. The wood at the top of the head was also difficult to cut – it seemed that the grain was running in the wrong direction. I had a heck of a time forming the U-shaped depression between the owl’s ears.
My carving set included a detail knife, a slightly larger cutting knife, and two palm tools which are basically small gouges. One is U-shaped and the other V-shaped.The package also contained a leather strop to keep the tools sharp, a leather thumb guard, kevlar gloves, and a small box of basswood blanks. The whole thing probably cost about $100.
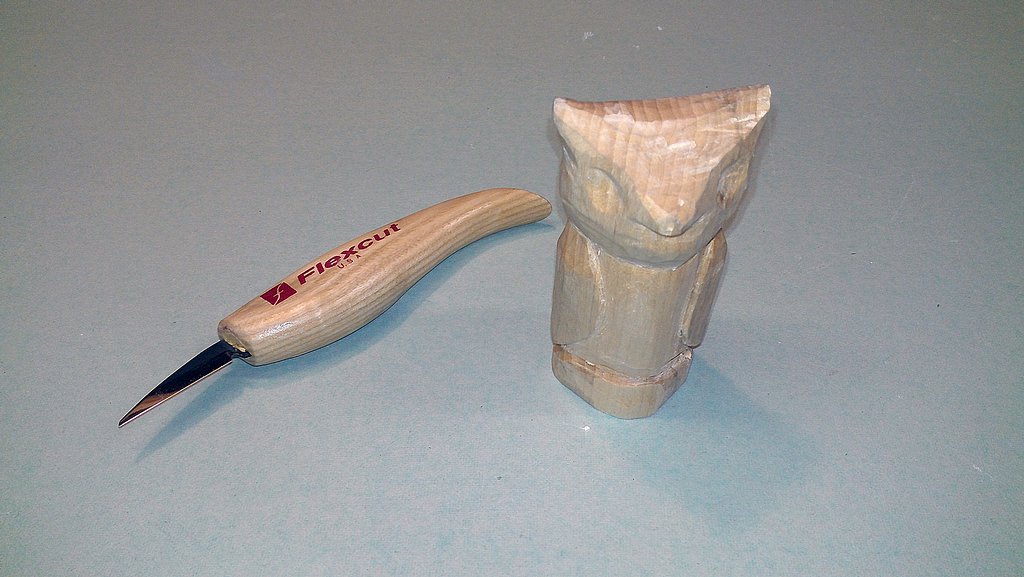
Most of the carving done with a basic carving knife
With the basic shape of the owl established, the next step was to lay out some facial details and the wings. I decided to enlarge the eyes relative to the original plans and have the area surrounding the eyes project out a bit from the rest of the face. At that point, it only made sense to scribe in a curved line between the eye contours to give our owl a happy face.
Layout lines for owl’s face and feathers
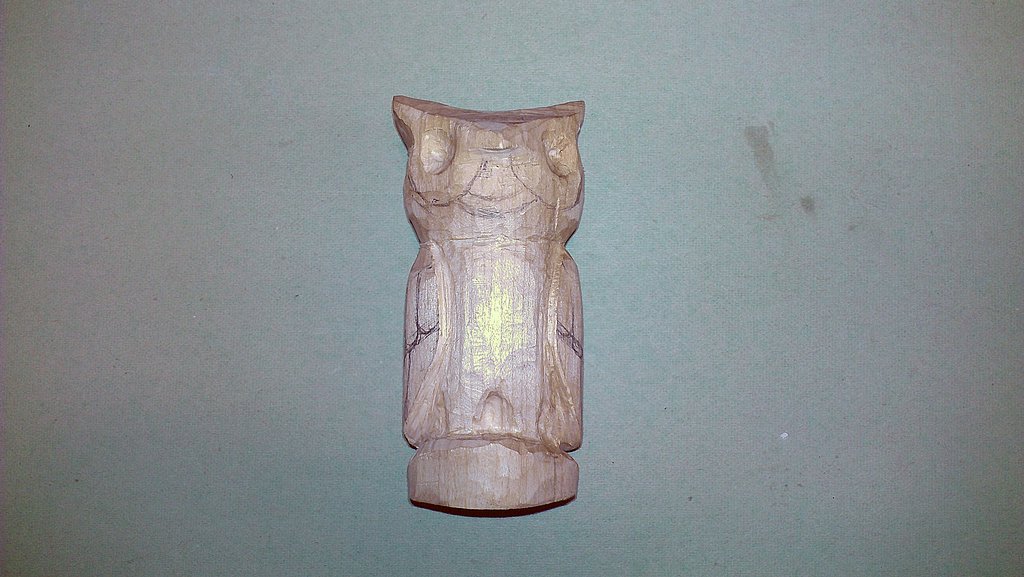
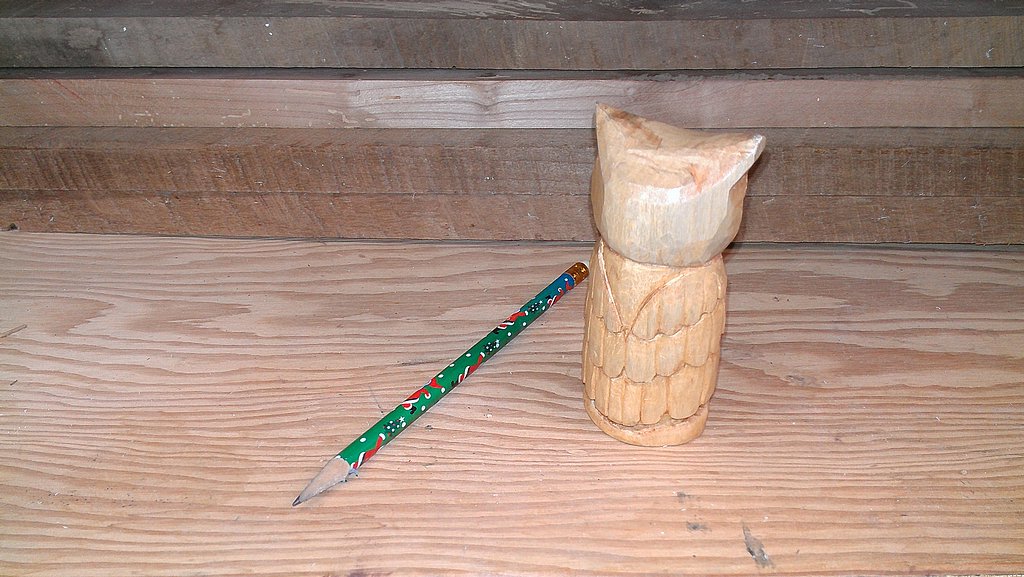
I added some backward swoop to the bottom of the wings and made them stand out from the rest of the owl’s body by removing some of the belly. He didn’t seem to mind. I think this is what’s called an “under-cut”. I also carved out a base for the owl to stand on and the rough outline of his legs.
Side view of owl with feathers partially carved
I laid out the wing feathers by drawing three parallel lines that sloped from the front to the back. Two of these lines are shown in the photo below. The individual feathers were inserted vertically along these layout lines. I made each feather roughly the width of my widest gouge.
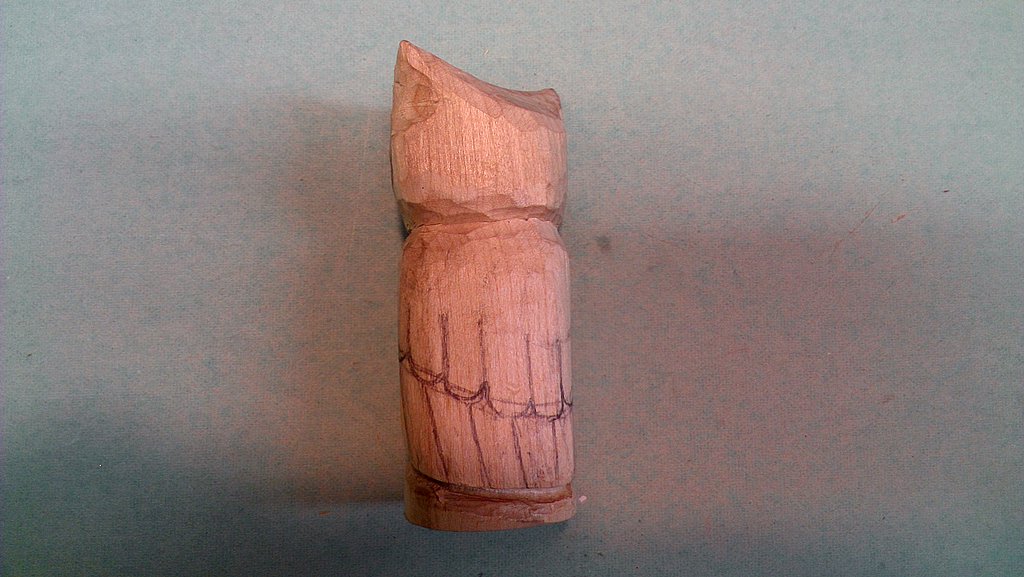
Lay out lines for feathers in back
The curved bottom of each feather was cut with a U-gouge which actually worked quite well. It was mostly a matter of placing the edge of the tool along the layout lines and firmly pushing with a slight rocking motion until the desired depth was achieved. Then the material below the cut line was removed with a carving knife. The ends of the feathers were under cut about 1/8″ to make them more pronounced. “Emphasize” as they say. A smaller V-gouge was used to etch out the vertical lines between neighboring feathers.
Feather detail on back of owl
Once the carving was done, I cleaned up the fuzzies with a small Dremel bit. I then applied a single coat of Minwax Pecan stain and after it dried, sprayed on a coat of shellac. Quick and easy. I also darkened the eyes using a black marker. From plain basswood blank to a happy owl all in 5 hours. The year is off to a good start!
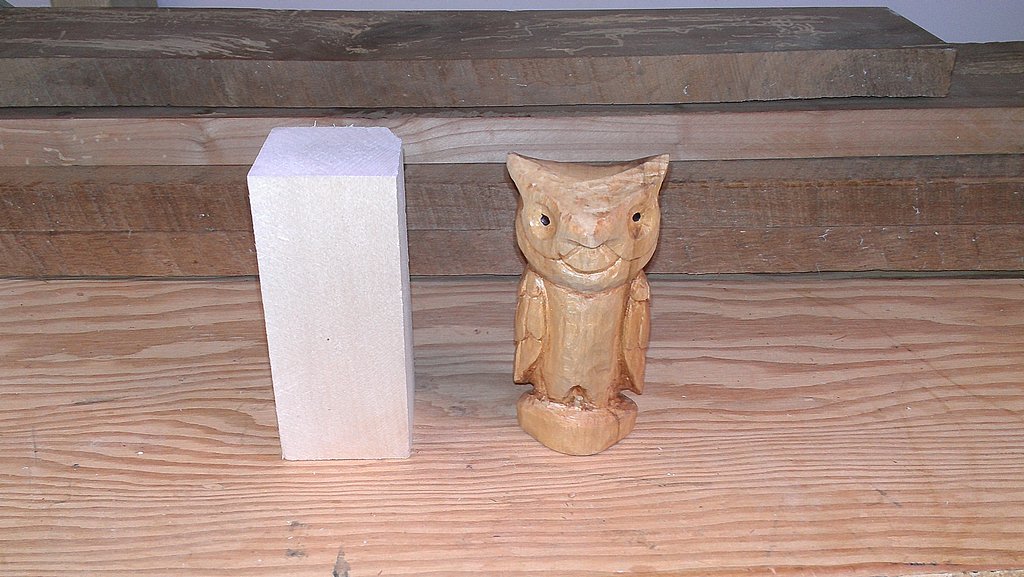
From basswood blank to carved owl