
Penetrating epoxy has been used for years to seal and repair wooden parts on boats but it also has value in protecting outdoor wooden furniture from the elements. It’s designed to be applied to bare wood where it soaks into the wood, filling the small gaps in the wood surface and creating an impenetrable moisture barrier. The epoxy essentially functions as a sealer with the added benefit that it greatly reduces the seasonal swelling and shrinking of the wood. Spar varnish or other finishes applied on top of the penetrating epoxy will then last longer because of the reduced wood movement – while providing UV protection to the epoxy. At least, that’s what they tell me…
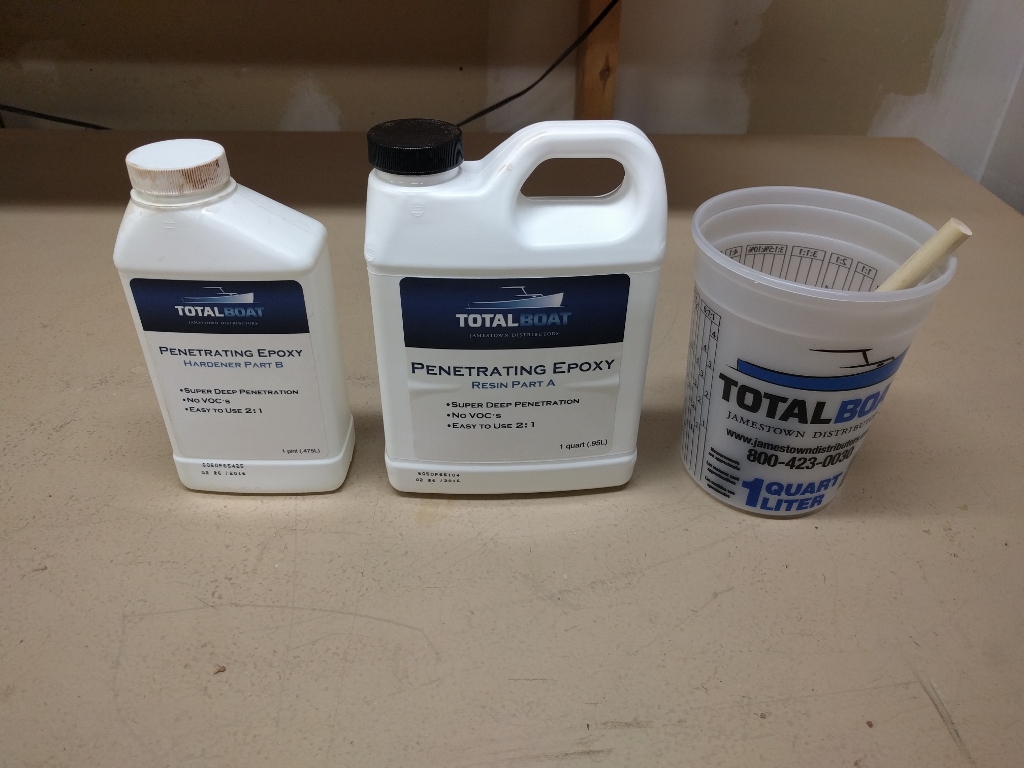
Epoxy is activated by mixing 2 parts resin to 1 part hardener
I recently purchased the TotalBoat Penetrating Epoxy kit sold by Jamestown Distributors. It cost approximately $43 and consists of 1 quart resin and 1 pint hardener. The epoxy is activated by mixing 2 parts resin to 1 part hardener. You have about 20 minutes to apply the epoxy before it starts thickening so it’s important not to mix up a batch larger than you’ll use in that amount of time. The mixed epoxy can be applied with a foam brush, a bristle bush, or a roller. I found that I favored the foam brush. Note that the epoxy gets rather warm once it has been mixed and begins curing.

Samples of penetrating epoxy applied to various types of unfinished wood
Here is a close-up view of penetrating epoxy applied to a piece of unfinished cedar. It lies relatively flat on the surface and imparts a slight yellowish hue to the wood.
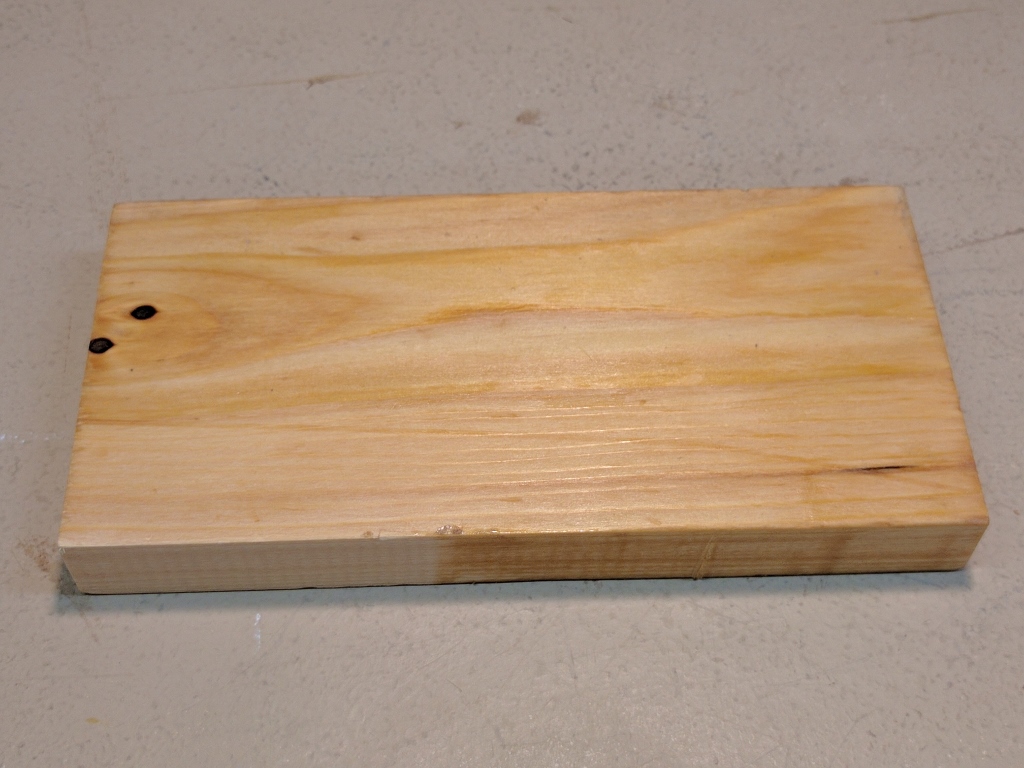
Close-up view of penetrating epoxy applied to unfinished cedar
I bought the epoxy to help prolong the life of some wooden outdoor furniture. I first applied it to the leg ends of an Adirondack chair set where it was greedily absorbed into the end grain. The hope is that the epoxy will fill the wood pores, preventing decay-inducing water from being wicked into the wood when the chair sits on the moist ground. The second application was the underside of a redwood bench. The objective here was to create a sufficiently hard surface to deter carpenter bees from burrowing into the wood, as they did in the predecessor bench. The bees generally burrow into the less exposed underside and sides of wood, rather than the top, so I applied epoxy to these surfaces and spar varnish to the top surface.
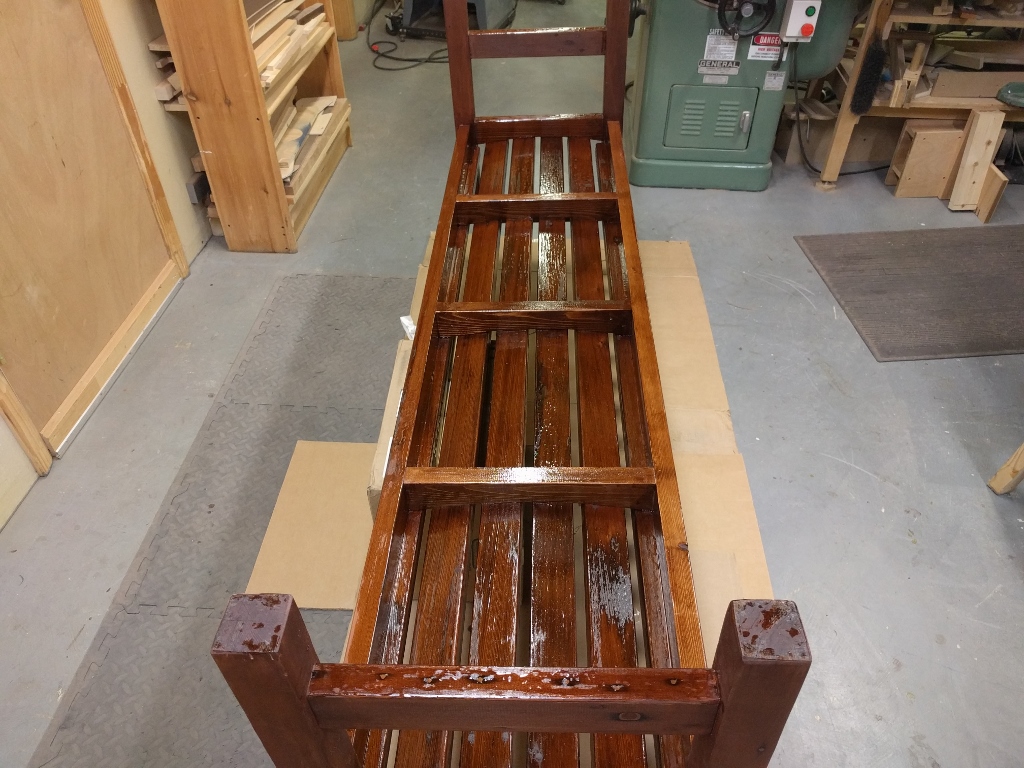
Penetrating epoxy applied to underside of redwood bench
Before applying the epoxy, I stained the entire bench with an oil-based stain and allowed a couple days for it to dry. The stain must have formed enough of a barrier to prevent the epoxy from fully seeping into the wood, resulting in a shiny, bumpy surface with puddling in places. Luckily, this rather ugly finish was on the non-visible underside but I learned a lesson: use a water-based stain next time or don’t stain at all. Or perhaps dilute the epoxy with acetone to allow better penetration.
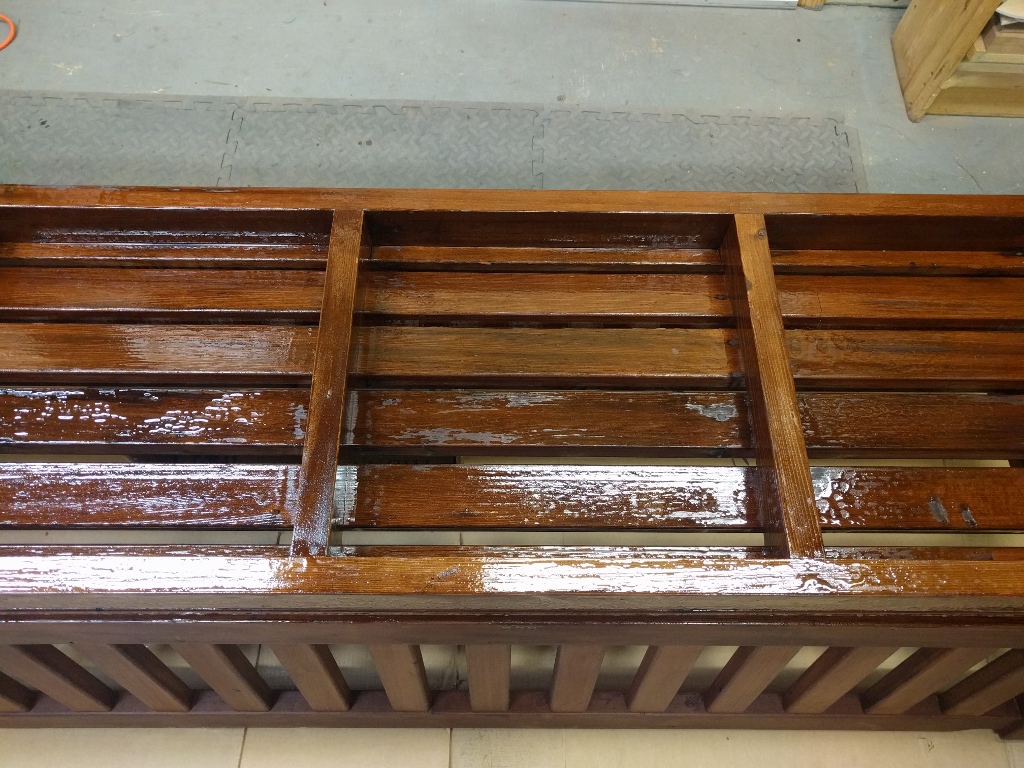
Close-up of penetrating epoxy applied to underside of bench
I’ll report back on well the epoxy performs in a future article. If the darn bees manage to chew through the epoxy, I’ll be bummed because I’m not aware of any coatings that are harder then epoxy. Keeping my fingers crossed…
Good experiment, thank you