
My big project over the latter part of winter was this outdoor bench made from reclaimed redwood. The lumber for the bench came from an older, weather-beaten bench that had been exposed to the elements for 20+ years. When I realized the bench was made from relatively expensive and rare redwood (possibly old-growth), I decided it would be the perfect material for re-purposing into a new bench. So, that’s what I did – with a few challenges along the way.
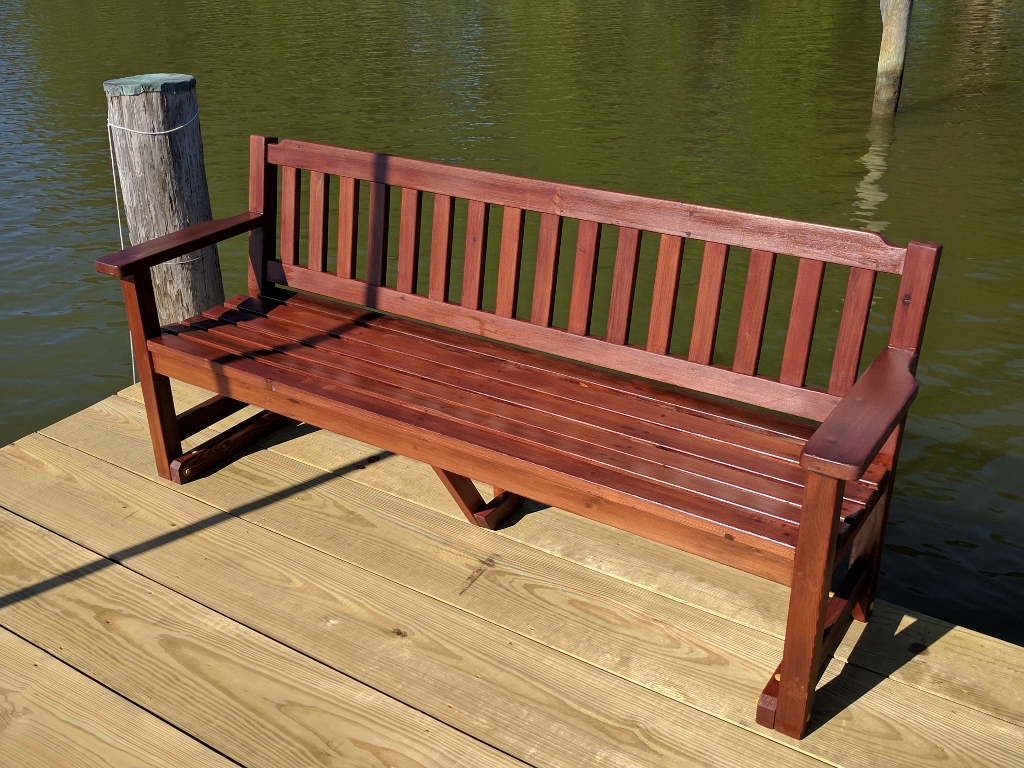
Garden bench from reclaimed redwood lumber
The old bench was a rather simple affair, consisting of 2 x 6 boards nailed to three leg assemblies that were each bolted to a dock. It was about 8 feet wide. Although it’s difficult to tell from photo below, the bench was various shades of gray with a smattering of flaking red paint here and there. It was not obvious that it was made from redwood.
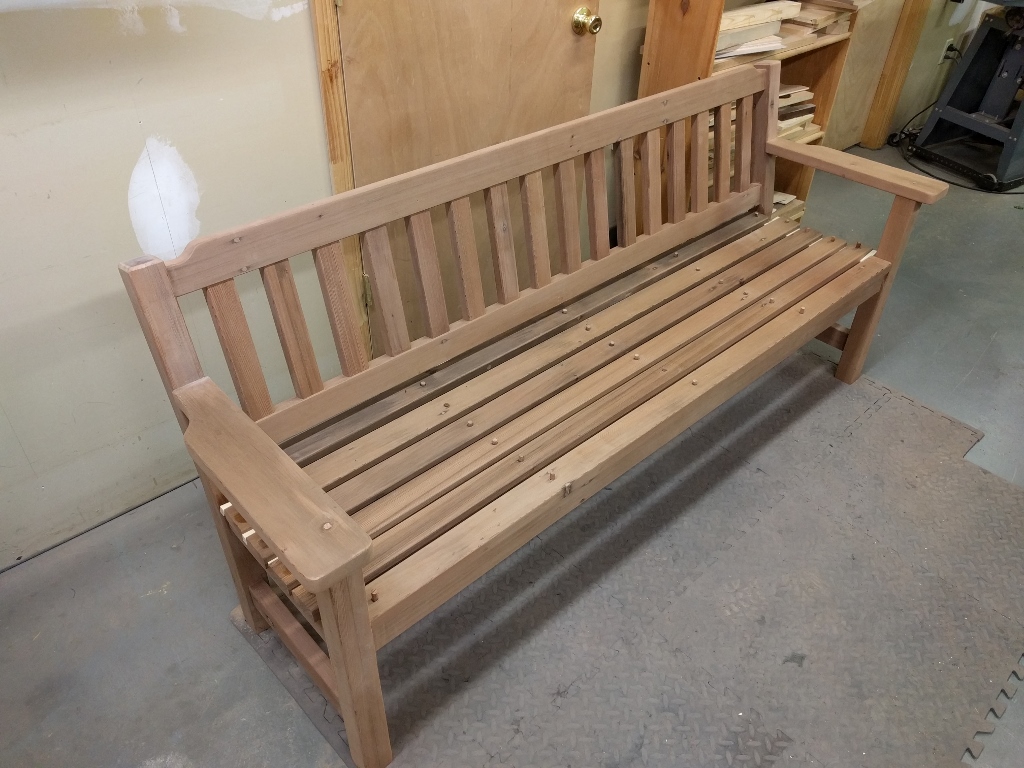
The new bench is 6 feet wide and can comfortably accommodate four adults. For design inspiration, I consulted plans for a garden bench in issue no. 45 of Woodsmith. My bench is roughly the same dimensions as the Woodsmith bench and employs a number of similar joinery techniques but has a few distinguishing differences such as curved ends on the top rail, a separate bottom rail for the back rest, and a custom-shaped arm rest. I also added a center support to the seat to minimize sagging.
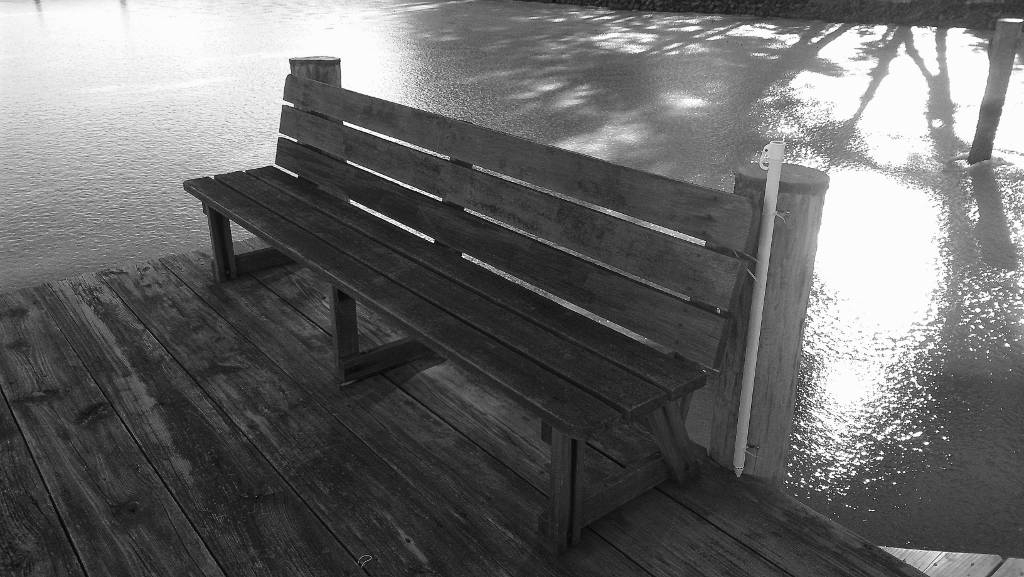
Original redwood bench slowly succumbing to the elements
After disassembling the old bench, I hauled the lumber home to the wood shop. Aside from nail holes and carpenter bee damage, the bulk of the wood was in good condition. For a quick check, I surface planed one of the boards (left board in photo below) and was pleased to uncover smooth, tight-grained wood with a rich reddish-brown color.
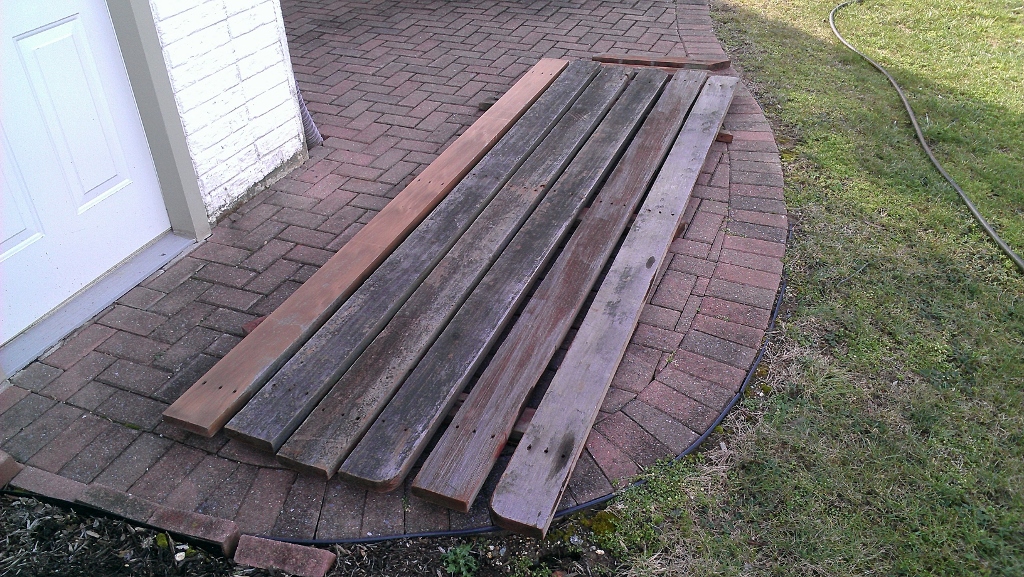
Salvaged redwood boards – approx 23 board feet
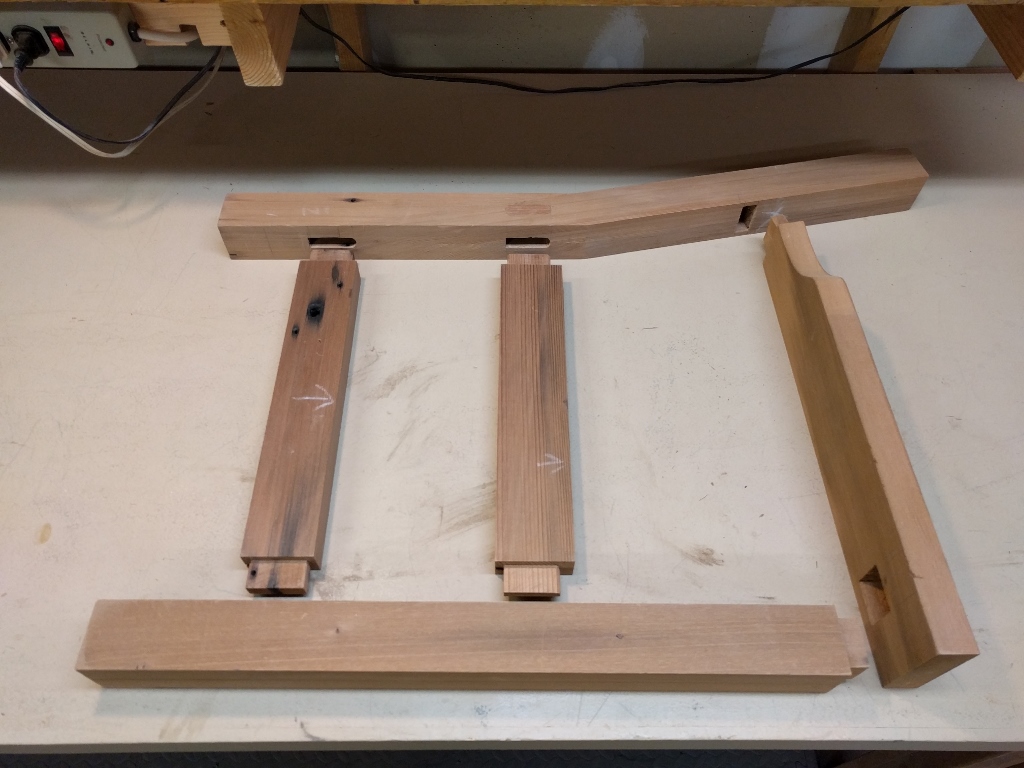
The first order of business was to plane all of the boards to remove the surface blemishes and roughness. Then it was onto parts layout for the new bench. This was the most mentally challenging aspect of the project because I had a limited amount of wood and could afford very little waste. I had a set of plans as a guideline but had to adapt the design to accommodate the limited material at hand. For example, instead of 3″ wide slats, I ripped 2-1/2″ wide slats in order to utilize the full width of the boards.

Part layout after surface planing
Another complication was extensive carpenter bee damage. The only external signs of damage were a number of 1/2″ diameter entrance holes, perhaps three to five on each board. But once I started milling the boards, the full extent of the damage was revealed. The wood was full of bee nesting tunnels, mostly (but not always) concentrated along the ends of each board. I was able to discard much of the bee-damaged wood by selective ripping but there was still plenty of custom plugging to fill in the bee tunnels. That was a “lot” of fun I tell ya. All in all, probably 10% of the material was lost to carpenter bee damage.
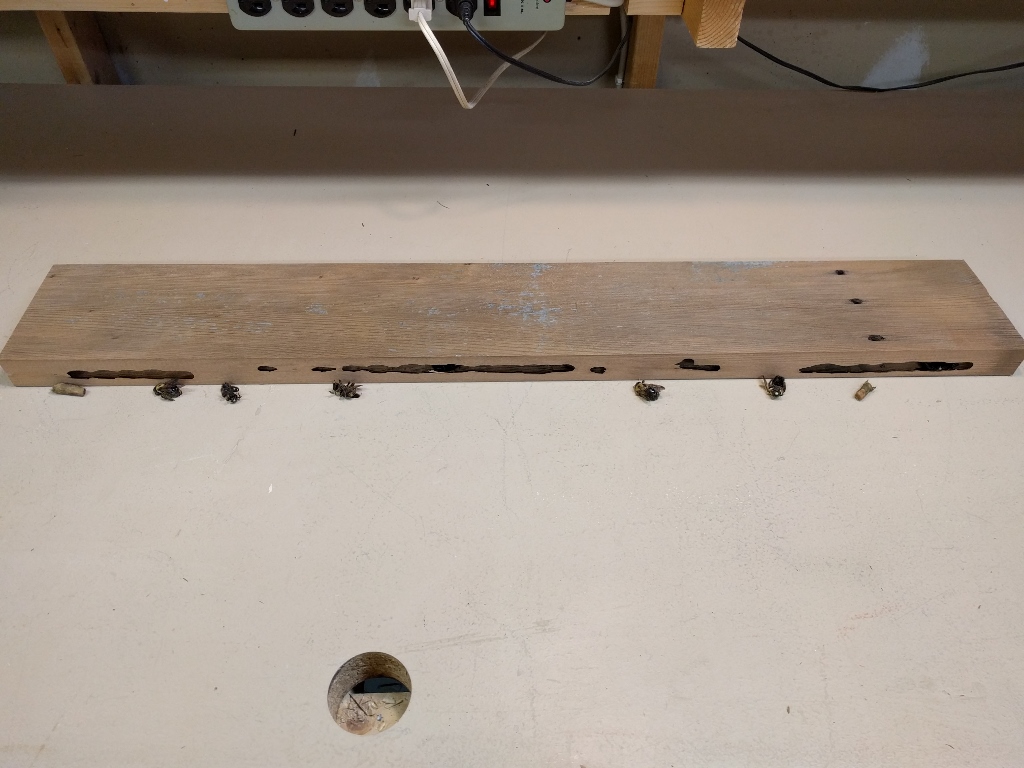
Carpenter bee tunnels exposed after ripping board on table saw
The angled back legs were made from 2-1/4″ x 2-1/4″ stock that was formed by gluing up two pieces of 1-1/2″ material and planing to size. The angle was fashioned via a scarf joint which involves cutting off the bottom third of the stock at an angle, flipping it over so the cut side butts up against the un-cut side of the main piece, and then gluing them together. This simplified description really deserves a separate write-up but it should be clear from the photo what’s going on here.

Back legs formed via scarf joinery
The front leg is connected to the rear leg via mortise and tenon joinery. I’ll refer the interested to the Woodsmith plans for details on cutting these joints.
Layout of leg and arm assembly
The mortise and mortise joints were strengthened via the use of pins (dowels) that were fashioned from the limited supply of left-over redwood. Don’t even think of making a bench like this without pinning the joints.
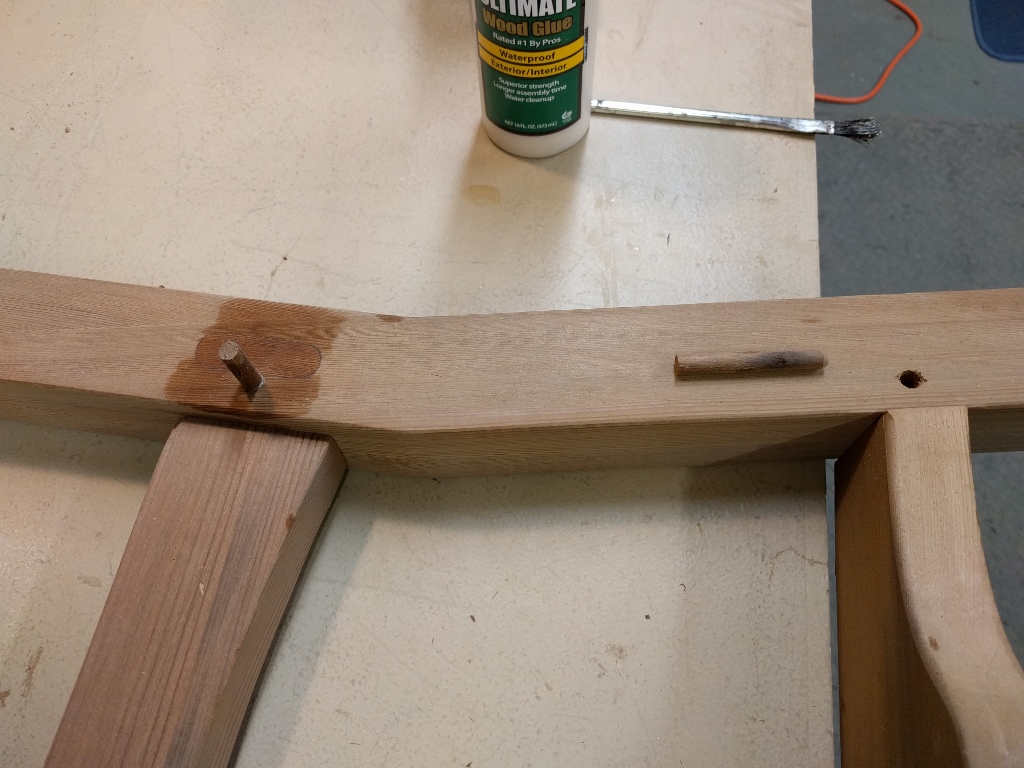
Pinned mortise and joinery used for all structural bench components
Mortises for the back slats were cut with my Jet hollow chisel mortiser outfitted with a 1/2″ chisel. I had to cut 13 holes in the top and bottom rail. Each mortise was 1″ deep. The slats were planed down to 1″ and tenons cut on their ends using a tenon-cutting jig on the table saw. This job took awhile.
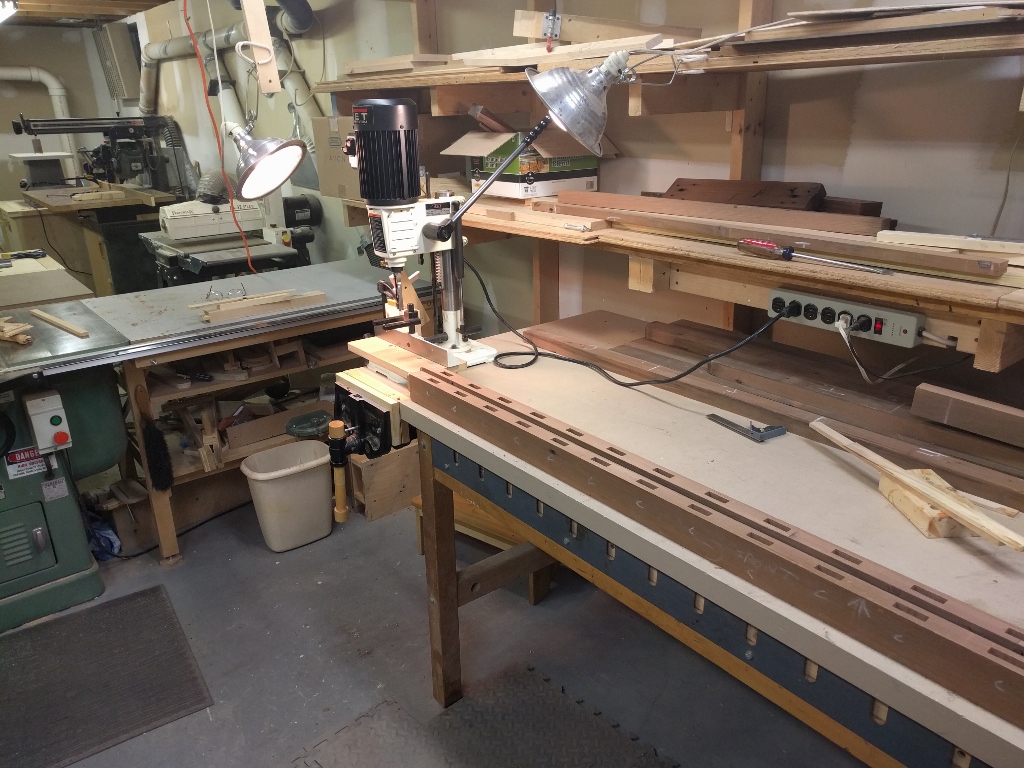
Many mortises were needed for the seat back slats
The bench seat consists of a front and rear rail with three middle supports plus the two end supports built into the leg assemblies. The back consists of a top and bottom rail that support 13 slats. These slats were not glued in place although pins were used on five of them to keep the whole unit together. Final assembly was a little tricky. The tenons on the end of the seat and back rails were first inserted into the mating mortises on one leg unit. Temporary supports were used to hold up the rails. Then the other leg assembly was installed. Titebond 3 waterproof wood glue was applied to all the tenon and mortise joints. I tried polyurethane glue on a few joints but I found the Titebond easier to work – less oozing and mess.
Mortise and tenon detail of seat and back slats
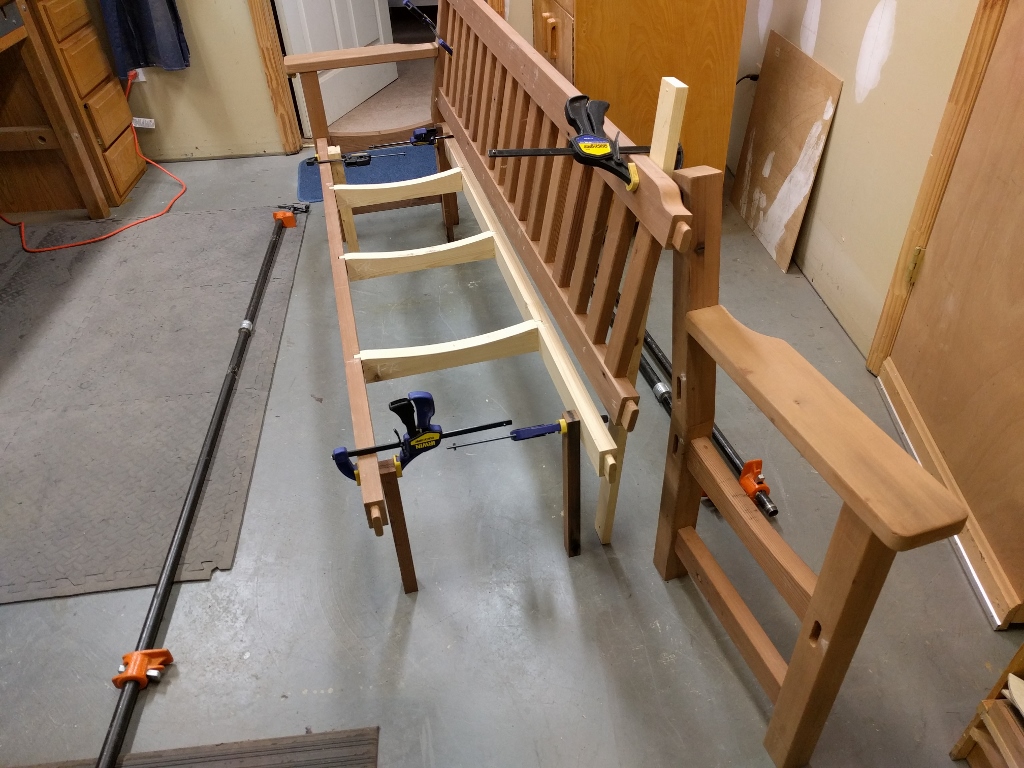
My extensive collection of pipe clamps was put to good use for holding the bench together while the glue dried. Two redwood pins were used for most of the mortise joints. The center seat supports were glued in after the main unit was clamped together. Speaking of which, the astute reader will note that the seat supports and rear seat rail are a lighter color wood. Well I came up a bit short on redwood and decided to use some Western red cedar for the remaining, barely visible seat components. With selective staining, I was able to attain a decent color match to the redwood.
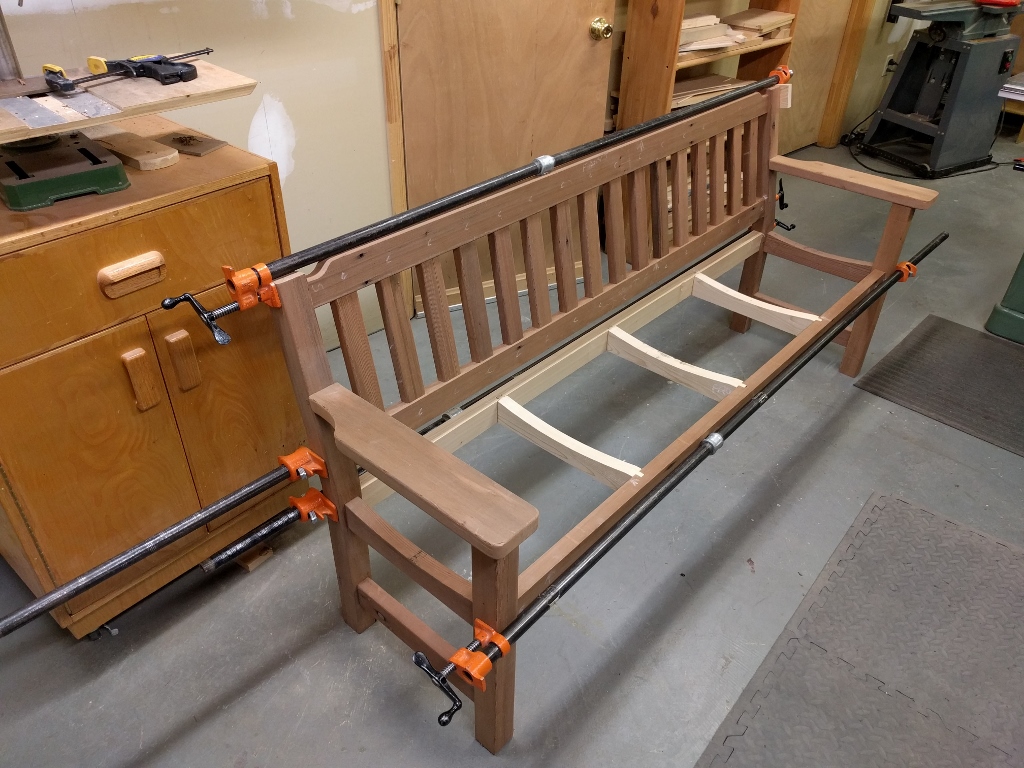
My various pipe clamps came in handy for the bench glue-up
The 2-1/2″ wide seats slats were secured with deck screws and the holes plugged with home-made redwood plugs. I used spacer blocks to maintain a uniform space of about 1/2″ between slats. Of course, the plugs had to be cut and sanded smooth, as did all the pins in the mortise joints. I rounded the edges of the slats and most of the other parts with a 1/4″ radius router bit.
Seat slats attached with plugged deck screws
Once assembly was completed, I gave the bench a good sanding. I then applied a light-brown stain to the white-colored cedar parts to better match the redwood. Once that dried, I then applied a single coat of mahogany gel stain to the entire bench.
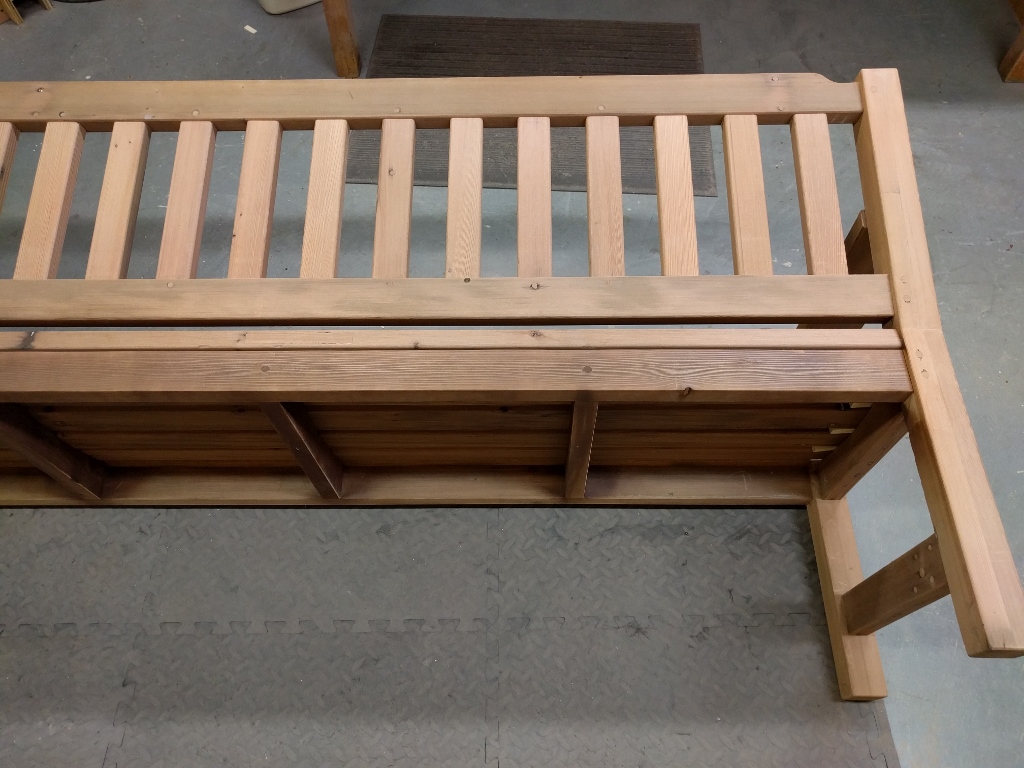
Underside view of bench seat assembly
The underside of the bench received a special penetrating epoxy treatment to fend off the carpenter bees in the future. I’m keeping my fingers crossed that the epoxy will be sufficiently hard to dissuade those pesky critters. The top surfaces were finished with a water-based spar varnish from Minwax. I applied three coats with a light sanding between each.
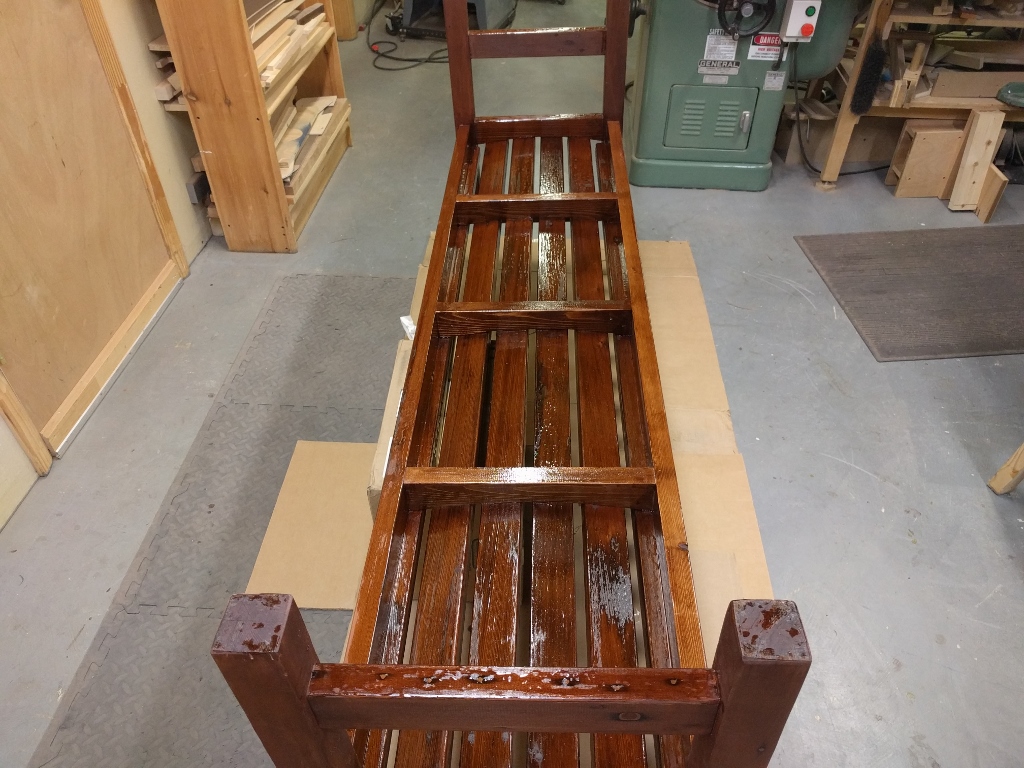
Penetrating epoxy applied to underside of redwood bench
I built an A-shaped support for the center of the bench that screws into the front and rear seat rails. To secure the bench to the dock, I bolted 2×4 pieces of cedar to the sides of the legs and then bolted those pieces to the dock. I used bolts with a corrosion resistant coating similar to what you see on deck screws. Hopefully these will work nearly as well as stainless steel. Time will tell…
The finished bench secured to the dock.
The outdoor bench was an enjoyable project over all but I don’t think I’ll ever attempt to salvage carpenter-bee infested wood in the future. At least not for a large item like a bench. I estimate about one-fourth of the labor involved filling the darn bee tunnels. If I ever get access to such infested wood in the future, I’ll use it for small projects like picture frames or planters. Or just leave it for the bees!