
In addition to repairing nail holes in a collection of reclaimed redwood lumber, I was also faced with the task of repairing a number of voids in the wood made by carpenter bees. This task involved two basic types of repairs: 1) plugging holes, and 2) filling tunnels. The holes consisted of either entrance holes where the bees burrowed into the wood or the ends of nesting tunnels that were exposed after cutting pieces to length. Carpenter bees will typically burrow into the bottom or side of a board, go in about an inch, and then turn at a right angle to excavate nesting tunnels that run with the grain of the wood. Entrance holes are about 1/2″ in diameter and are almost perfectly circular whereas tunnels are anywhere from say 1/2″ to 1″ in diameter but tend to be more oblong than circular. This article describes my approach for plugging carpenter bee holes; tunnel filling will be addressed in a separate article.
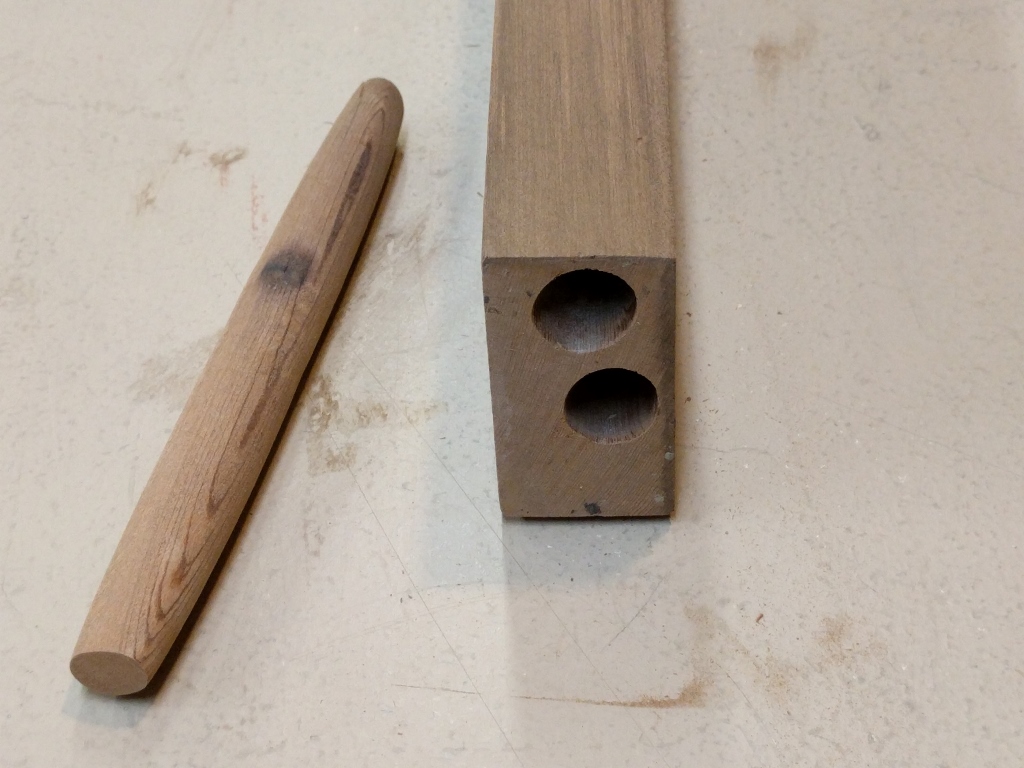
Exposed ends of carpenter bee tunnels
You may be wondering why I didn’t just cut out the bad wood? Well, the lumber appeared to be old growth redwood which is relatively scarce and valuable so I wanted to recover as much of it as possible in order to build a garden bench. Once I started milling the lumber into smaller pieces, I was able to discard most of the really damaged wood, leaving me with just enough mostly sound material for the planned project. I figured plugging a few holes here and there wouldn’t be a big deal. As the milling progressed, additional damage was invariably discovered so the repair effort turned out to be a bigger job than I anticipated. Alas, such is the way woodworking goes sometimes.
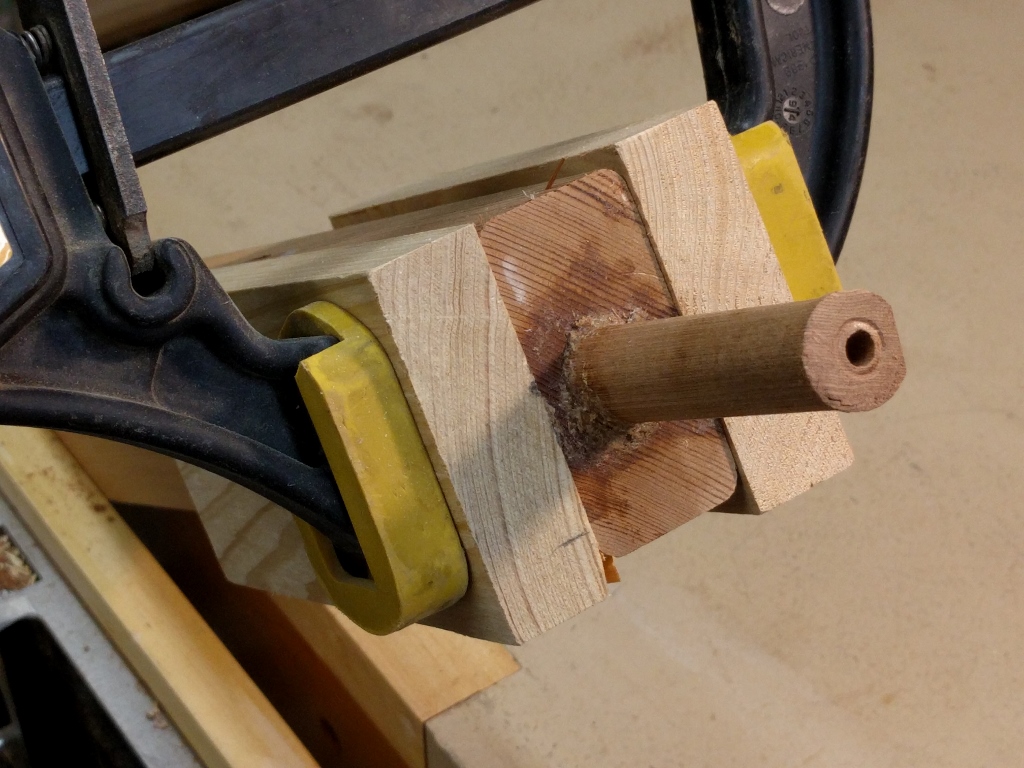
Onto the repairs… To plug the exposed end of a carpenter bee tunnel, assuming the rest of the board is relatively intact (and no bees are slumbering in the tunnel), the first step is to create a wooden plug that fits into the hole. For this, I ripped a piece of wood slightly wider/thicker than the hole and drilled into the end of it with a small drill bit. With the piece temporarily attached to the drill via the embedded bit, the wood is spun with the drill while holding it against a rotating sanding belt. As the wood becomes rounder and rounder, more sanding pressure can be applied. Eventually, a tapered dowel of the required diameter is formed.

DIY plug using a drill and stationary sander
Tapering the dowel makes it easier to insert into the hole. As long as the last few inches fit snugly into the hole, the board can be trimmed to final length without exposing more of the tunnel.

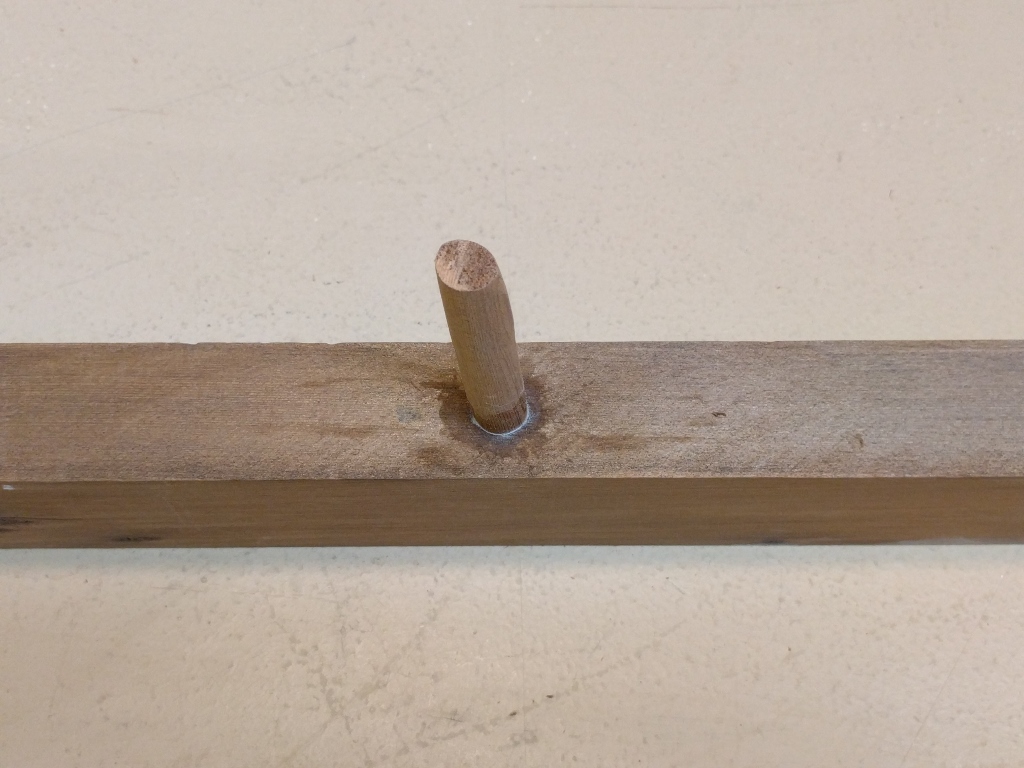
Custom fit tapered dowel used to plug exposed end of bee tunnel
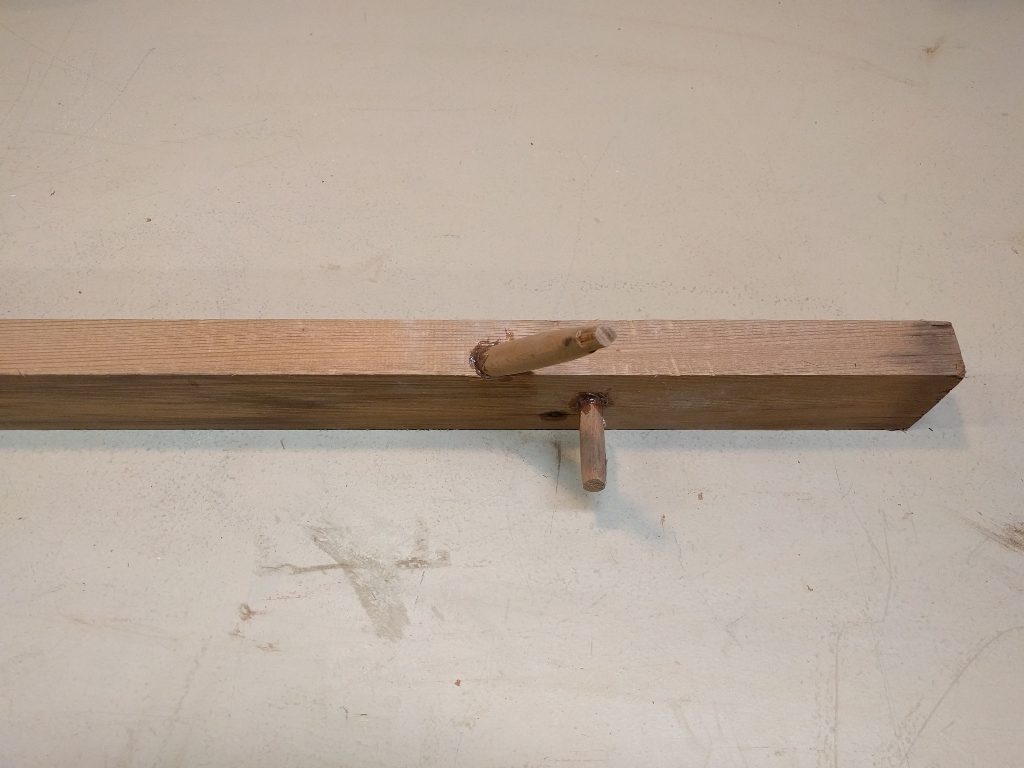
I clamped blocks of wood to either side of the hole to prevent splitting. Next, I applied epoxy to the plug and tapped it into the hole with a mallet.
Side supports prevent plug from splitting end of board
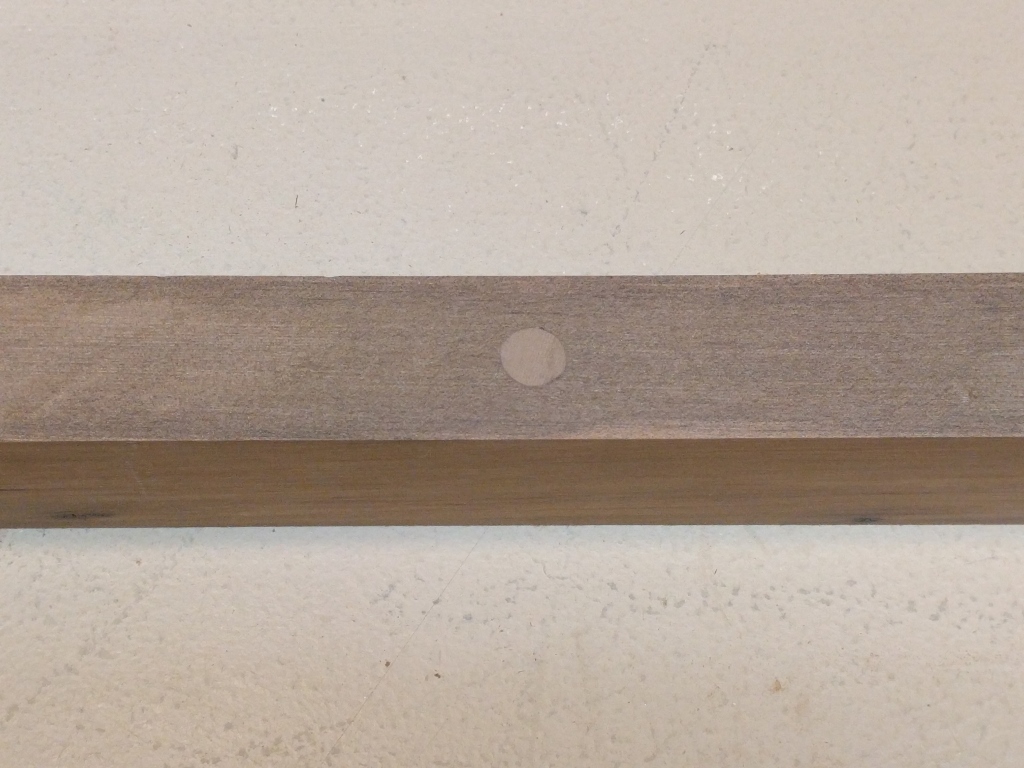
After trimming off the end with the protruding plug, the board is ready to go. The epoxy does a good job filling in any gaps around the plug.
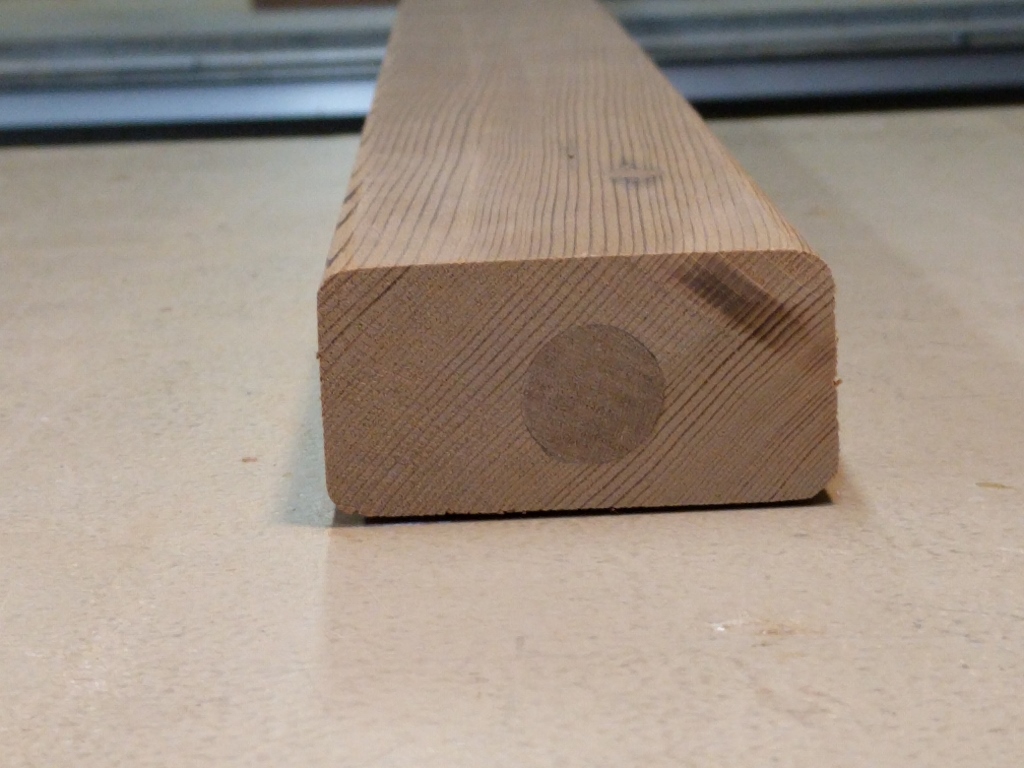
Trimmed plug is a near perfect fit.
There were also several carpenter bee entrance holes to repair. In most cases, I found that the entrance hole was just the tip of the iceberg in that it was connected to a good-sized tunnel just beneath the surface. This necessitated filling in the tunnel. However, I was able to get by with simply plugging the holes in some of the boards.
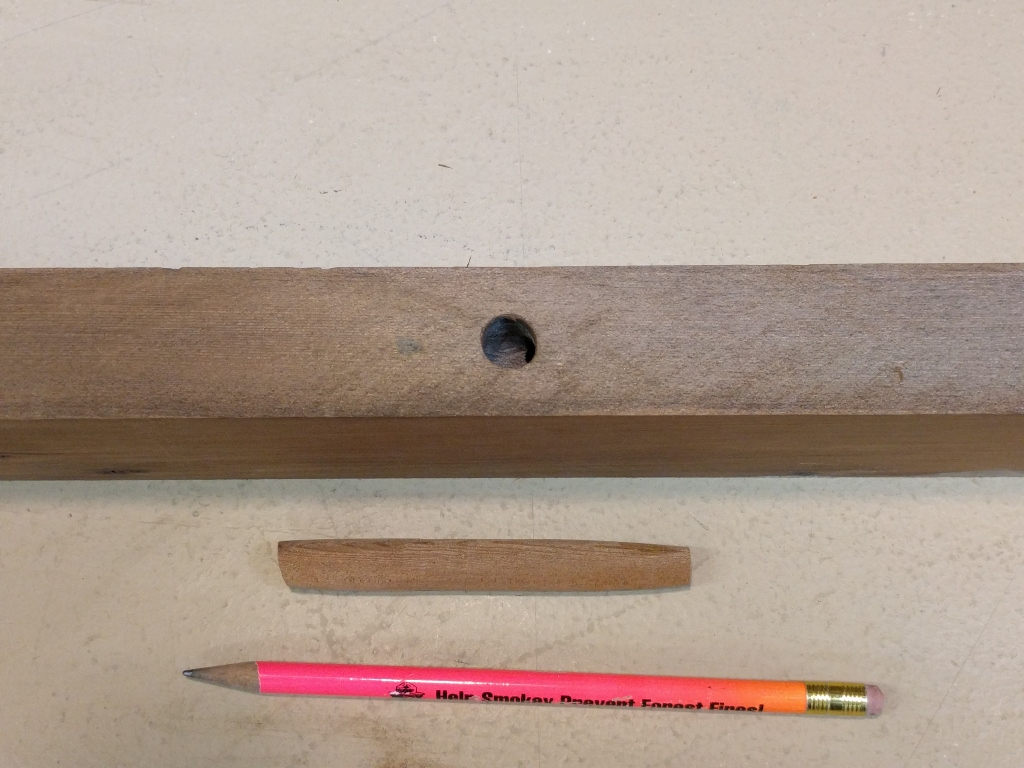
Carpenter bee entrance hole and DIY plug to fill it
Using the drill and sander technique described above, I formed tapered plugs about 1/2″ in diameter from scrap pieces of wood. I applied epoxy to each plug and tapped it in until it bottomed out – generally after an inch or so.
Plug is tapped in place and secured with epoxy
Here’s what the repair looks like after trimming and sanding the plug.
Plugged carpenter bee entrance hole
A couple boards had bee entrance holes on more than one side. This called for some creative plugging.
Plugged carpenter bee entrance holes on side and bottom of board
I doubt that I’ll bother trying to repair carpenter bee holes in the future now that I realize how extensive the damage can be. But it was an interesting experience and I learned a few things about carpenter bees.
Just a side note: I haven’t faced carpenter bees, but we have tons of leaf cutter bees because we are surrounded by alfalfa fields. They build and plug into everything from brick mortar voids to lock holes to the iron hook holes in my antique harness. We take 4×4 post lengths and drill the face full of holes packed as tightly as possible to give them someplace else to nest. I even see that among their lady bug, bat, and butterfly houses, Wild Birds stores have started stocking bundles of dry bamboo with hangers to provide a place for them. lol
Interesting… I’ve never encountered those varmints before (and I can’t say I’m complaining). Guess you’ll know soon enough if your pre-built nests work or not!
Our back deck has become a Mecca for carpenter bees. It’s close to time to rebuild, but I don’t think I’ll be saving the ancient boards for bee hole repair..
Thanks for the fun article though..