
Here’s a method for routing evenly spaced parallel grooves on a router table that is fast, accurate, and doesn’t require moving the router fence for each pass. The trick is to create a set of equal width spacers, whose width equals the spacing between grooves. After each routing pass, a spacer is removed to position the work piece for the next cut. This effectively moves the “fence assembly” backwards each time by the spacer width.
The nice thing with this technique is that no measuring is involved — it’s just a matter of making sure the spacers are equal width which is easy to do if you rip them on a table saw. If you need to crank out a bunch of fluted columns, spacers can save oodles of time.
In the photo below, I started with 5 spacers against the fence in order to rout the groove closest to the inside edge of the work piece (which happens to be a coffee table leg). Once that groove was cut, I removed a spacer and cut the next groove. And so on and so on until the final groove is cut with the piece directly against the fence.
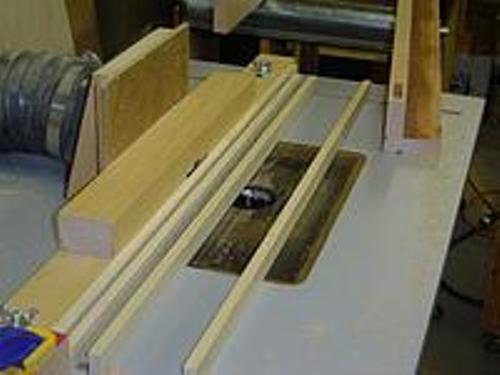
3/8″ wide groove spacers
It may be necessary to clamp down the ends of the spacers to keep them from moving as the work piece slides across the table. A bit of masking tape across the top of the spacers would also likely get the job done. It’s important to apply firm pressure against the spacers so the grooves stay parallel. But you already know that.
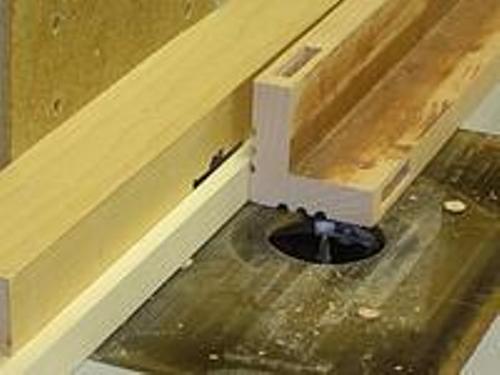
Routing first groove using all five spacers
For this project, I used poplar spacers that were 3/8″ wide and 3/4″ high. The length was 30″ which is the length of the router table fence. A 1/4″ round nose bit was used to cut the grooves.
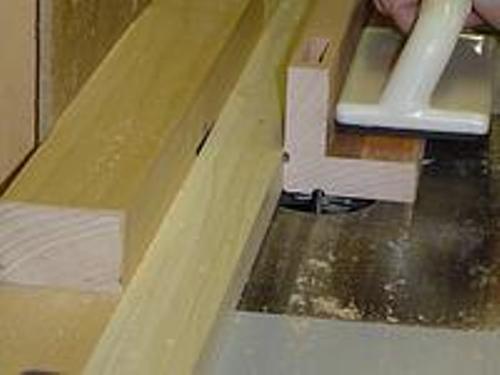
Finishing up the grooves – no spacer for last groove
There’s another method to routing parallel grooves that only requires a single spacer. The idea here is to repeatedly move the fence back by the width of the spacer, a distance that equals the spacing between grooves. Although not pictured here, the basic technique is:
- Position the fence so the router bit lines up with the location of the first groove (the one nearest the fence). Rout the first groove.
- Clamp the work piece to the table to hold it in place. Loosen the fence, place the spacer against the fence and slide the fence until the spacer is tight against the work piece.
- Unclamp the work piece, remove the spacer, and rout the next groove by sliding the work piece against the fence.
- Repeat steps 2 and 3 until all grooves are cut.
That’s about it. The advantage of this technique is that you can cut a variable number of grooves with just a single spacer. The drawback is all the clamping, unclamping, and fence movement involved. If you have a large number of grooves to machine, the multiple spacer approach is likely to be faster.