
The requirements for this wishing well were rather simple: it had to be relatively compact but large enough to cover an unsightly well pipe, but also inexpensive and easy to make. Of course, I also wanted it to look half-decent. I think I succeeded on all counts. The well was built over the course of a few evenings for a total cost of about $40. Most of the material came from a left-over section of rough cut treated pine fencing (advertised as cedar). In addition, I picked up a few pieces of 1 x 4 cedar and a small bundle of cedar shakes. The well is 52″ high with a 23″ x 27″ wide roof. The base is 17″ high by 21″ wide.
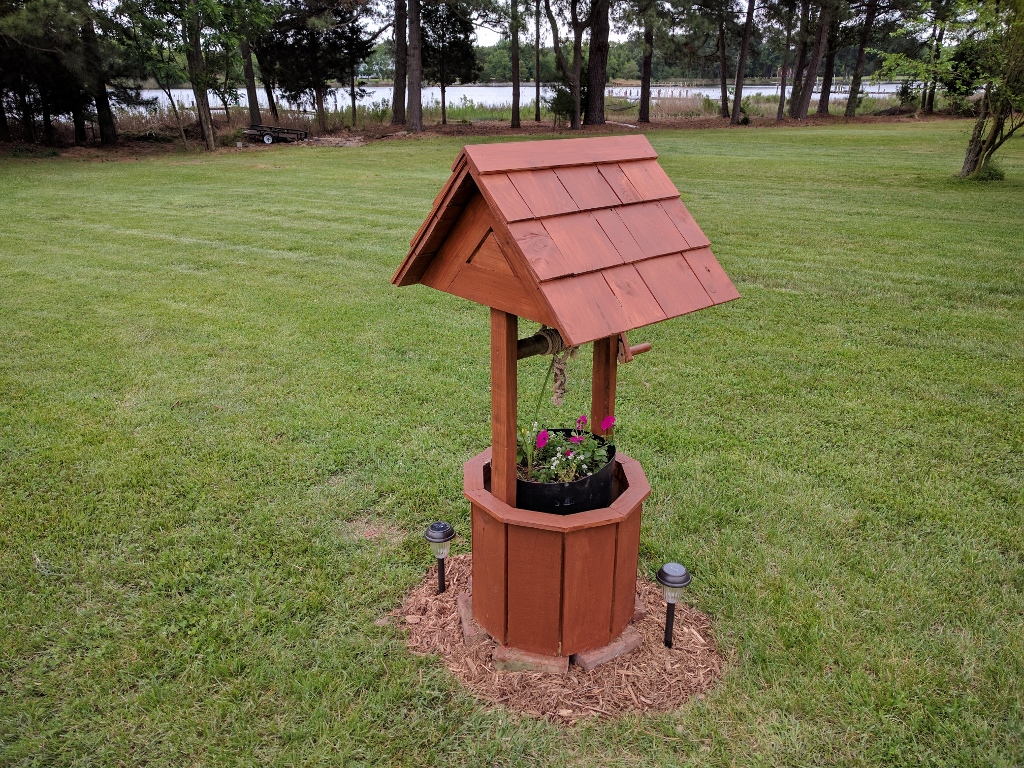
DIY cedar wishing well
The wishing well has a 10-sided base that’s held together by glued and nailed miter joints. Each piece is cut at an 18 degree angle. The length of each piece was derived by taking the desired outer diameter of the base (20″) and then following the instructions here for Calculating Polygons. In this case, the longer side (outer chord) of each mitered piece on the top and bottom was approximately 8″. Given the limited gluing surface and the expected tendency for the joints to pull apart in an outdoor environment, I added reinforcement blocks to the bottom polygon as seen in the photo below. The blocks are glued and nailed from the top. The upper support polygon was further strengthened via finishing nails that were driven in from the top at an angle to attach the cap piece. Admittedly, this is not the strongest design but I don’t foresee the well being exposed to any heavy use.
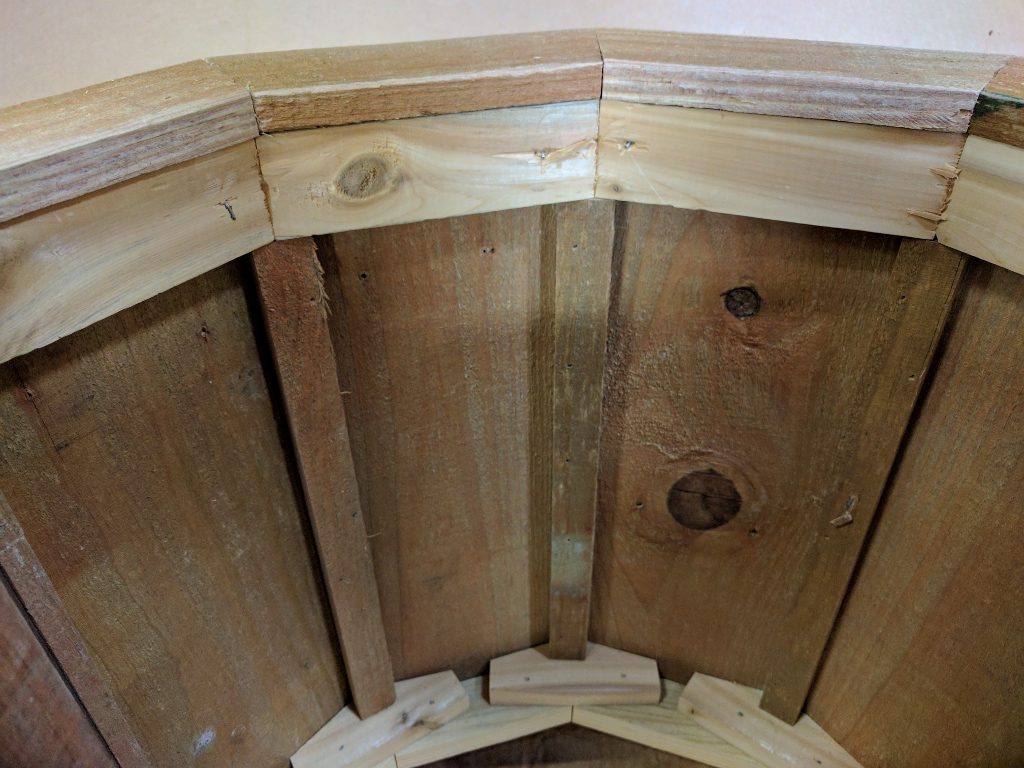
Reinforcement blocks help to keep mitered joints intact.
1″ wide vertical strips were added on the inside of the base to cover up the gaps between the planks in order to better conceal the pipe that the well was designed to hide. These strips were nailed to just one of the two adjacent planks to allow for seasonal movement. (The pneumatic finishing nailer got a lot of use during this project).
The roof was created by nailing together two cedar A-frames and then nailing pine planks to the top of the frames. Cedar shakes were nailed onto the planks to get that classic rustic cedar roof look that one strives for in a wishing well. Along with the pine planks, the two 2 x 4 roof supports were salvaged from the afore-mentioned fence section.
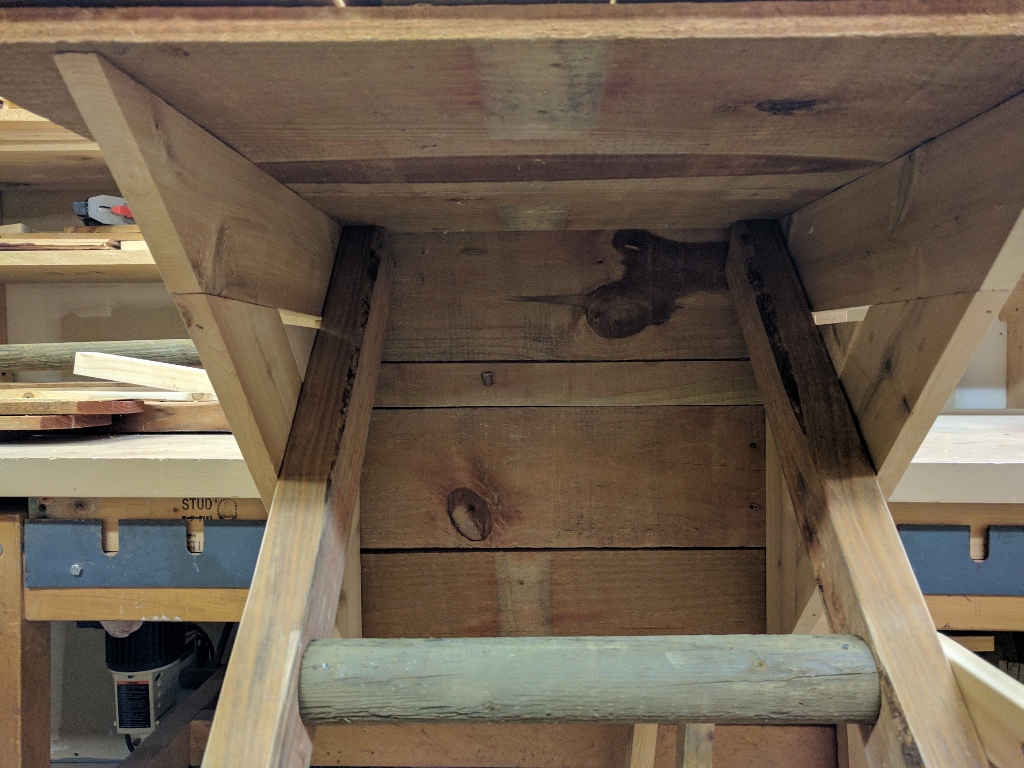
Roof is made from 1/2″ pine with cedar shakes.
The non-functioning crank handle was made from a piece of 4″dowel and a 6″ piece of scrap cedar. The round crank “beam” was made from a piece of 2-1/2″ diameter tree stake that I found in the garden department at the local Lowes. It was secured to the uprights via two 3″ long deck screws. The uprights were secured to the well base via 2-1/2″ deck screws.

Simple crank handle made from a piece of dowel and scrap wood.
I made a ridge cap for the roof by gluing/nailing together two pieces of 1/2″ thick cedar. I initially tried to form the cap from multiple cedar shakes in a manner similar to how it’s done with asphalt shingles but this approach turned out to be more challenging and less aesthetically pleasing than anticipated. I quickly punted and moved on to the solid ridge cap. For a minor decorative touch, I filled in each open A-frame roof support with a triangular-shaped piece of cedar.
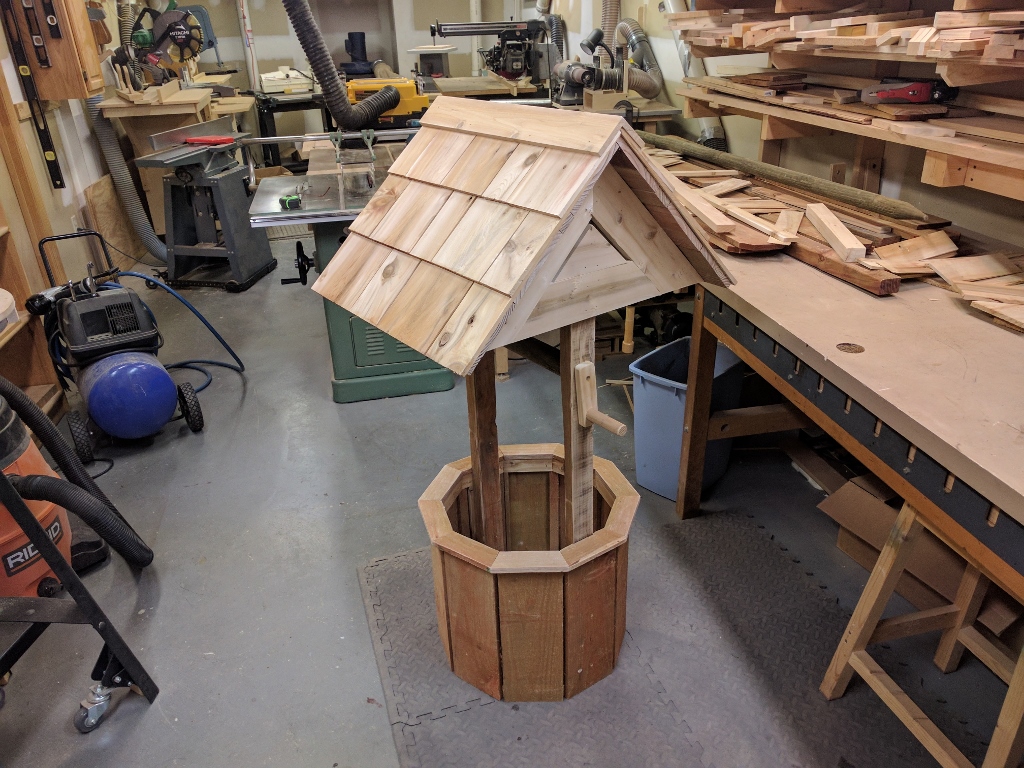
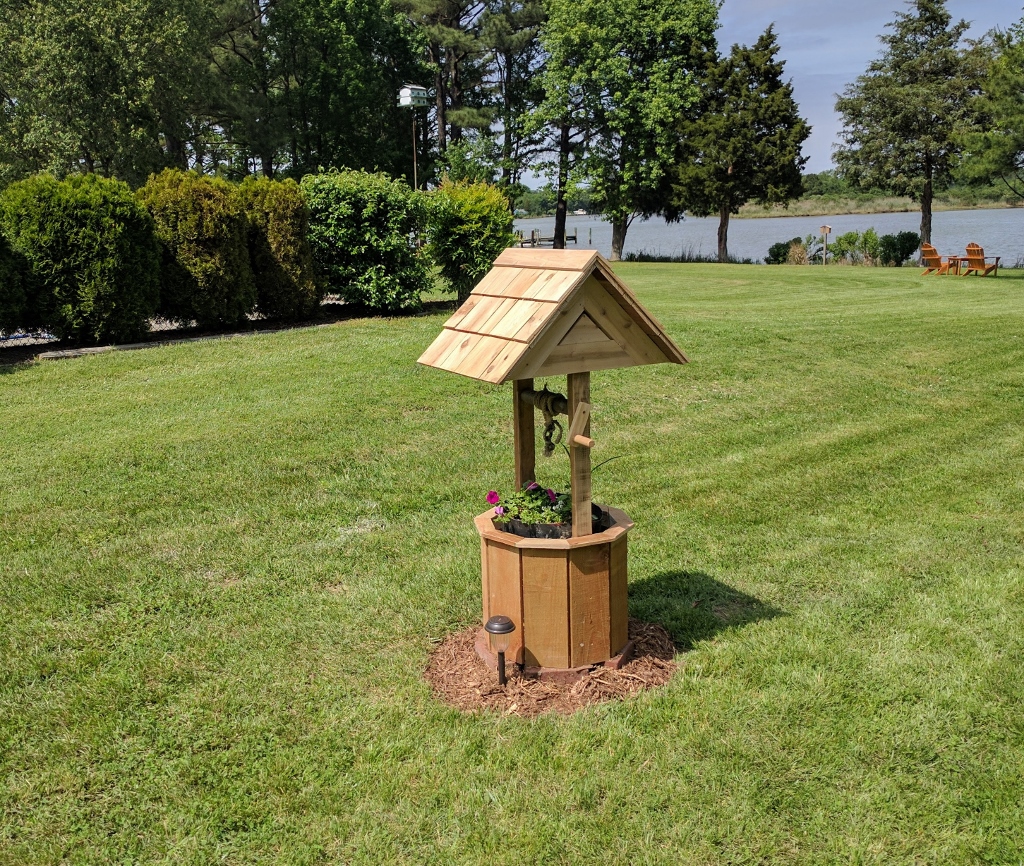
Completed wishing well ready for staining.
I thought the wishing well looked rather appealing with the natural wood color but, of course, it would weather to a dull gray in less than a year. Thus, I went ahead and applied a finish.
DIY cedar wishing well
For the finish, I used Thompson’s Water Seal, which is a combination stain and penetrating oil. Based on my experience with decking, this finish should be good for 2-3 years. The birds seemed to not mind the finish…
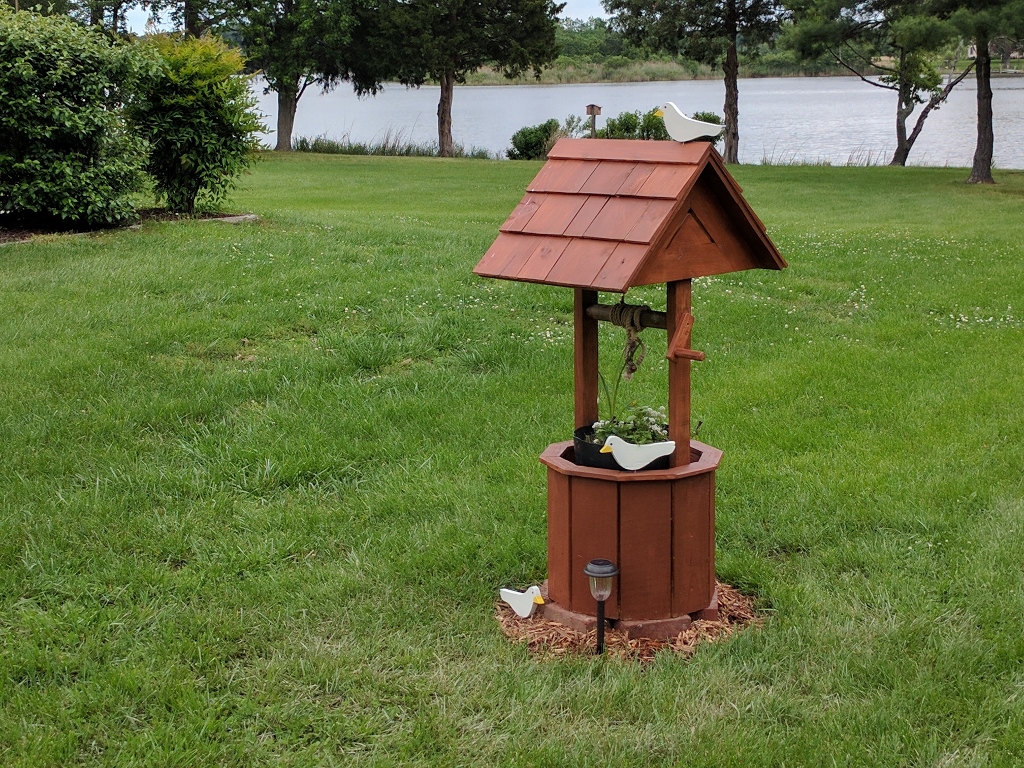
DIY cedar wishing well with bird friends