
Before one can cut, one must layout. That should be every woodworker’s mantra. And to that end, here is a list of recommended layout tools that should be sufficient to tackle most any woodworking layout task.
Tape measure
In my humble opinion, the tape measure ranks right up there with the wheel and fire as one of the greatest inventions ever. Not only can it measure both inside and outside dimensions but it retracts into a compact coil that easily slips into your pocket or shop apron when not in use.
For general purpose woodshop use, I prefer a 12 to 16 foot tape measure. This length range accommodates most any furniture project in a relatively compact package. When you get into the 20+ foot range, tape measures get wider and bulkier. Ok for general carpentry but unnecessary and somewhat unwieldy for most woodshop projects.
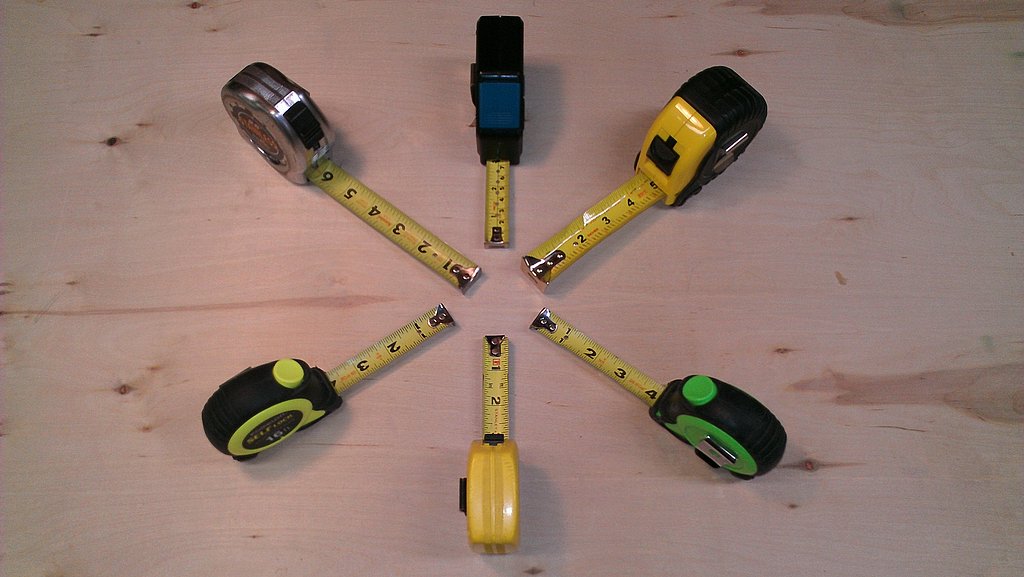
My assortment of measuring tapes
The first time you use a tape measure, you may wonder why the metal tang on the end slides back and forth. This isn’t due to shoddy construction. Rather, it allows for either inside or outside measurements because the thickness of the tang equals the distance it slides back and forth. An outside measurement is taken with the tang hooked over the end of a board and an inside measurement is taken with the tang butted up against a board. When you buy a tape measure, measure a board both ways to make sure the lengths match up. Keep in mind that the tang rivets tend to wear over time so don’t rely too much on a well-used tape measure when accuracy really counts.
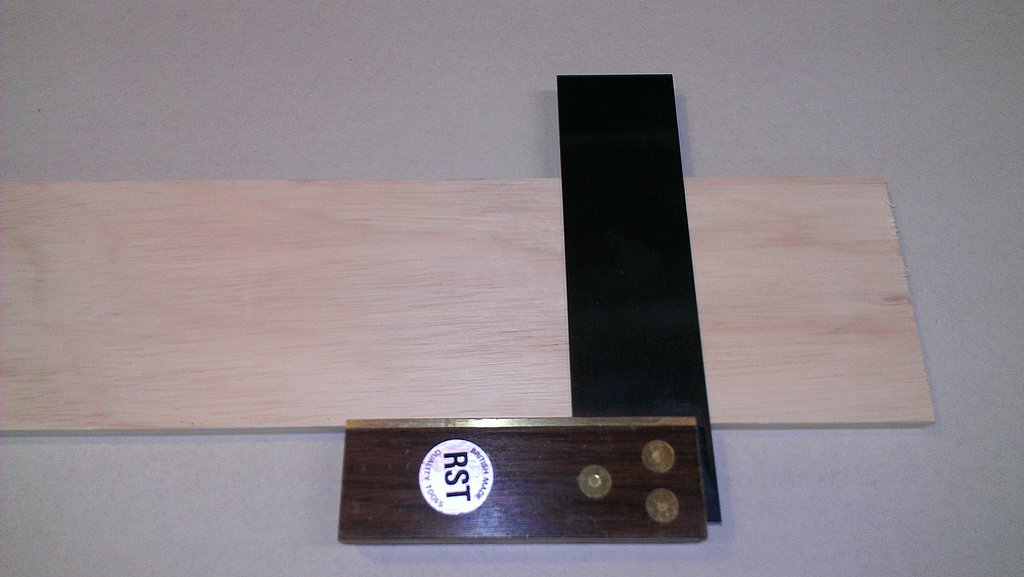
Metal Ruler
A quality steel machinist’s ruler allows for very precise measurements and will last a lifetime. Unlike a tape measure, a steel ruler will not wear out over time so it will be as accurate 10 years down the road as it was on the day it was purchased. If you’re marking out dovetails or doing other layout work that requires a high level of precision, give serious consideration to using a steel ruler.

Steel rule with hook
A useful variant of the standard metal ruler is the center-finding ruler. It is used to efficiently locate the center of a board or the center between any two points. This involves aligning the rule so the same measurement appears to the left of the “0” mark as appears to the right of the mark. The arrow above the zero then points to the exact center.
Combination square
A combination square is like a try square on steroids. Not only does it check for 90 degree angles, it also provides a precision ruler, a layout scribe, a 45 degree shoulder for laying out angles (a feature I’ve never used but probably should), and an adjustable head for marking lines or holes a fixed distance from the edge of a board.

Combination square
I’ll often use a combination square to assist in aligning one board relative to another board or a frame. For example, when positioning a table top, I’ll use a combo square to make sure each side of the top extends an equal distance from the supporting apron framework. I also find myself using a combination square to layout screw holes, mark joint lines, and measure router bit cut depths.
A good quality combination square should accurately gauge 90 degree angles. But I don’t get too hung up on this because I have an assortment of fixed blade squares to call upon when accuracy is really important.
Try square
A try square is smaller than a framing square and is ideal for general purpose woodworking “squaring” activities such as laying out lines at 90-degree angles and checking the squareness of joints and cut boards. The blade of a tri-square is made from hardened and tempered steel whereas the body is usually made from a hardwood or even plastic. The highest quality squares are made from rosewood with a brass face.
Try square
Try squares are available in a variety of blade lengths ranging from 4″ to about 12″. My personal favorite is a 6″ model. This size handles the majority of woodworking tasks in my shop but if greater length is needed, I can pull out the trusty combination or framing square. Strictly speaking, a try square is not needed if you have an accurate combination square but a try square is a classic woodworking tool and it just feels right to have one in your shop. There, I said it. I suspect some woodworkers buy fancy try squares as collectibles because they’re almost too nice to get banged around in the shop.
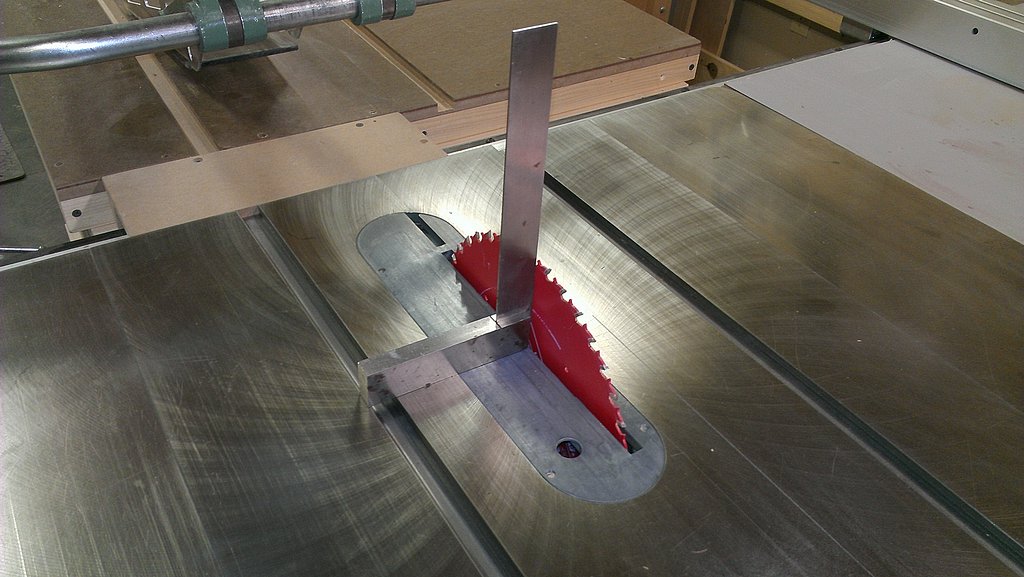
Engineer’s square
The engineer’s or machinist’s square is similar to a try square but it is made from solid steel and typically has a narrower handle. All surfaces are precision ground so, in theory, an engineer’s square is always accurate. In contrast, the handle of a try square is riveted to the blade so there’s greater potential for a try square to be out of square (something I have experienced firsthand).
Engineer’s square
Engineer’s squares can be used for the same tasks as try squares but they are particularly suited for checking fences and blades because their relatively heavy metal handles make them quite stable on edge. They are available in a variety of lengths ranging from 3″ to 12″. I have a 6″ engineer’s square and mostly use it for checking the squareness of the jointer fence and tablesaw blades.
Compass
The compass is the quintessential tool for laying out circles and curves. For most woodworkers, the compass won’t see as much action as most of the other layout tools but when you need one, you need one. I have several compasses including 6″ and 8″ wing compasses.
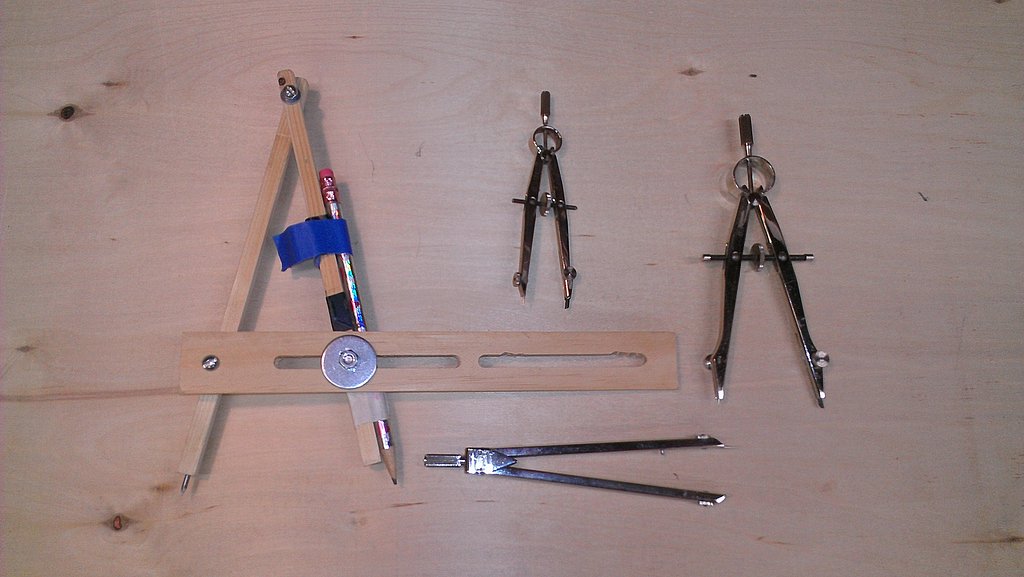
Assortment of compasses
If you need greater capacity to layout large circles (e.g., a circular table top), you can create a custom jig. For example, a piece of scrap wood with holes drilled in at defined intervals makes for an effective fixed radius compass. Or you can get a bit fancier and make an adjustable compass with a slotted radius adjustment bar like the one shown in the photo. Another solution is to mount a pair of trammel points on a piece of wood. You can then slide the trammels along the wood to create circles of almost any size. I’ve also been known to use a piece of string with a nail and pencil attached to create a makeshift compass.
Keeping it organized
Certain layout tools like a tape measure and pencil will probably be kept on your person most of the time. For all the other tools, it’s nice to keep them together and close at hand. I have a dedicated drawer in the tool chest for this purpose. It accommodates all of the tools mentioned above plus a bevel gauge, small level, a dial caliper, a three-sided architect’s ruler, a protractor, and a framing angle for laying out 45 degree angles. In addition to keeping the tools organized, the storage drawer also keeps them from getting all dusty.
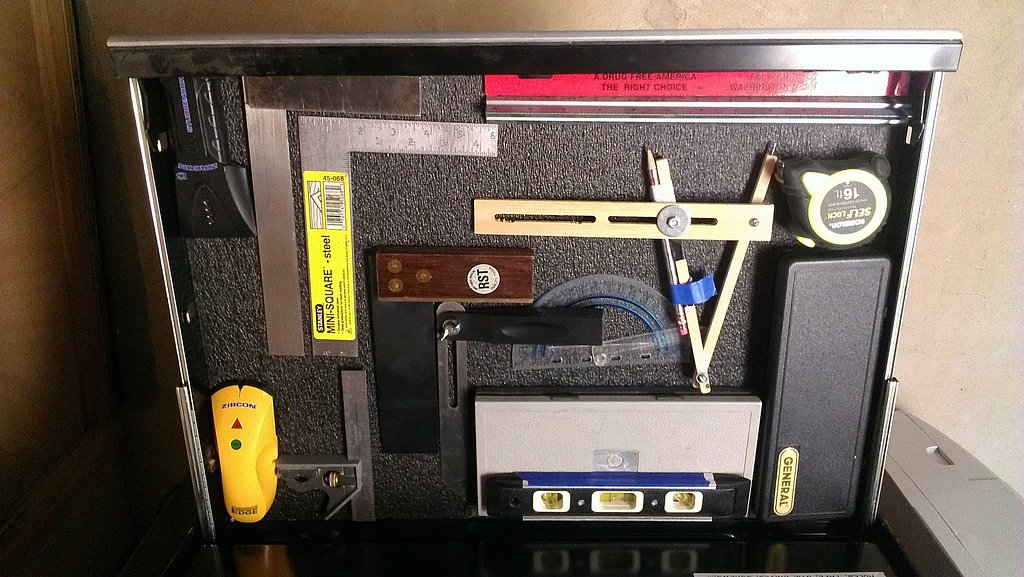
Dedicated drawer for layout tools
Marking layout lines
As far as actually marking the layout lines in the wood, the most common choices are a marking knife or a pencil. Traditionally, marking knives have been favored by woodworkers because they etch a well defined, uniform width line that does not smudge or wear away. If you’re cutting dovetails by hand or doing other precision joinery, it’s hard to argue against using the marking knife. But you have to be careful not to inadvertently mark surfaces that will be visible in the finished project. Compared to marking knives, pencils make a less precise line that is subject to smearing. On the other hand, pencil lines are easily erased and repositioned if one makes a mistake. And the pencil comes in handy for labeling parts, making annotations, etc. For these reasons, I find myself using a pencil more than a marking knife (perhaps at the expense of more time spent sneaking up on the cut and test fitting joints).
For laying out mortises, the go-to tool is the mortise gauge. These devices feature a movable metal pin that is used to scribe the cut lines. The simplest gauges have a single pin with an adjustable fence that slides along a beam and locks into position via a thumbscrew. The fancier models, like the combination mortise gauge shown here, contain two pins for scribing both sides of a mortise simultaneously as well as a single pin on the opposite side so it can be used as a regular marking gauge.
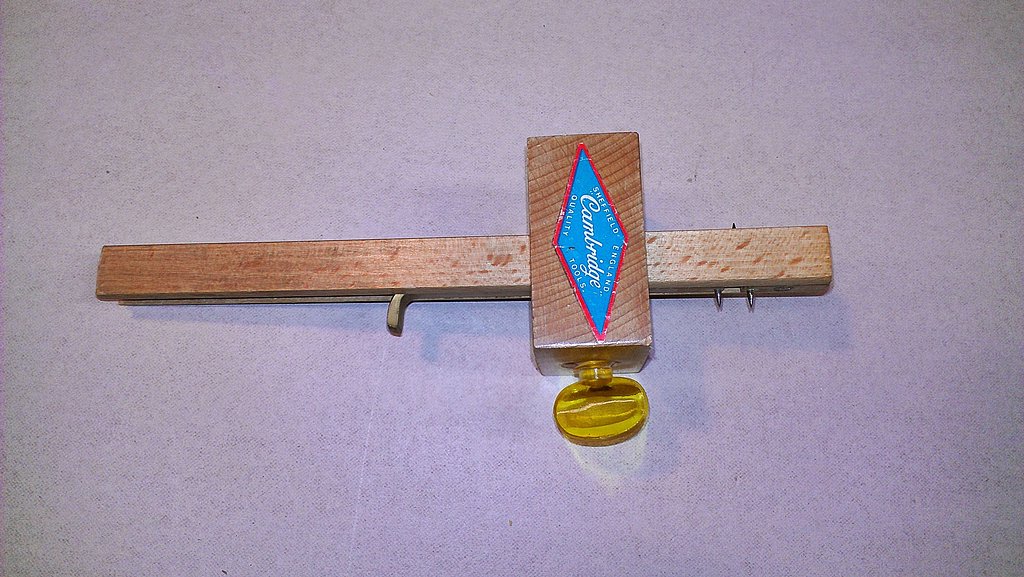
Combination mortise gauge
Chalk works well for labeling parts and laying out rough cut lines. I prefer plain old white chalk rather than blue or some other color because it is easy to wipe or sand off. It also shows up well against most woods although really white woods such as holly can be a bit challenging at times.