This desk was inspired by a plan in Issue #62 of Woodsmith magazine. It’s a fairly simple design, consisting of a three drawer pedestal, a top writing surface and side panel. The desk is lightweight, relatively small (24″ x 48″ by 29″ high), and has a clean, contemporary look to it (some might even say generic). It’s not likely to be a family heirloom but it’s certainly adequate for a kid’s study desk. And that was the goal here.
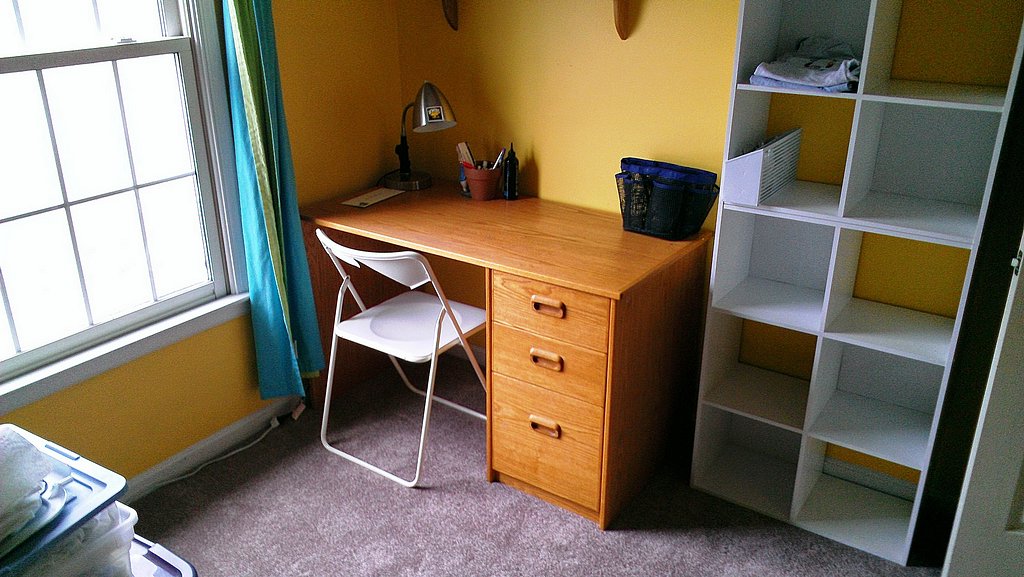
Three-drawer student desk
The desk was mostly made from plain-sliced red oak plywood (much nicer looking than radial-cut in my opinion). Solid red oak was used for the drawer fronts and as edging for all exposed plywood edges. The interior drawer components were made from yellow poplar that was planed down to 5/8″.
The original Woodsmith plan included a 4″ wide apron along both the front and back of the desk. This dual apron enhances the desk’s structural integrity and keeps the writing surface from sagging. However, the front apron makes it difficult to use a sliding keyboard tray — an essential feature of any modern student desk. For this reason, I opted to not use a front apron. To keep the top from sagging too much, a 6″ rear apron was installed and the depth of the desk was kept to a modest 24″ (versus 30″ for the Woodsmith version).
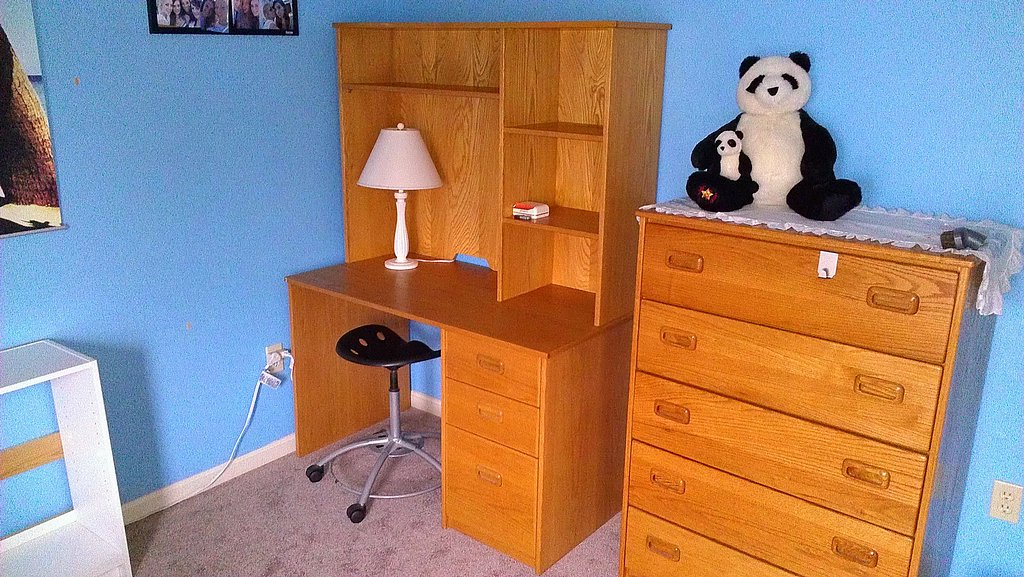
Student desk with bookshelf unit and matching chest of drawers
I built a shelf unit for one of the desks (I made three desks). It is 12″ deep and 36″ high. The left side has a large opening that could accommodate a computer monitor or a message board. The shelf above the opening is adjustable or could be removed entirely if desired. (Structural rigidity is provided by the back piece and by screwing the base of the hutch to the backside of the desk base.) The right side has one fixed shelf and one floating shelf. The top board can also be used as a shelf for trophies and assorted knick-knacks.
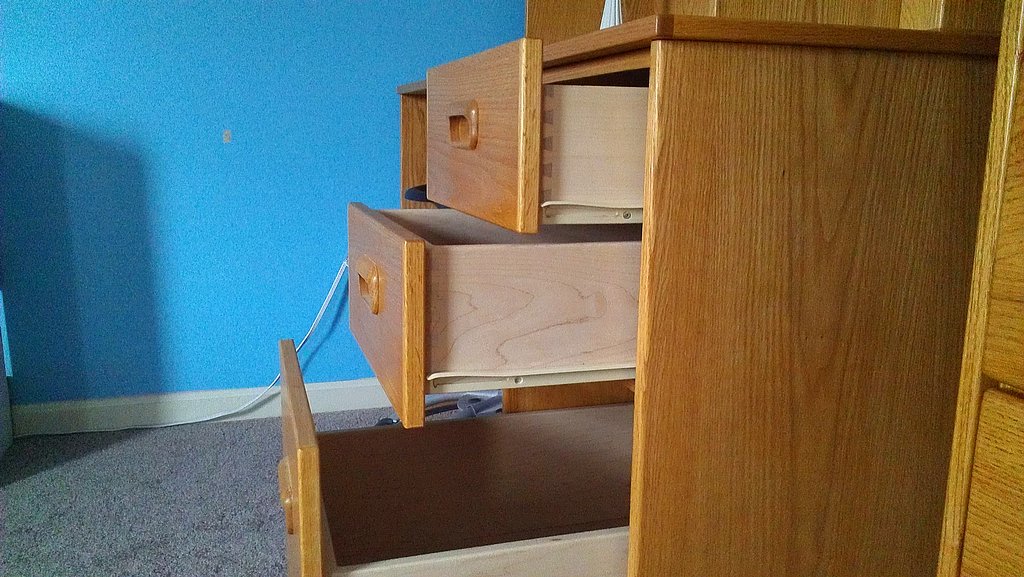
Drawer side detail
The three drawers are 15″ wide. The bottom one is a file drawer with full extension glides. It has a 13″ high front. The top two drawers are mounted on 3/4 extensions glides and each is 6-1/2″ high in front. For the drawer joinery, locked rabbet joints were used to fasten the interior drawer front to the sides. A simple stopped dado joint was used to secure the back piece of each drawer. After the drawer boxes were assembled, a solid red oak “false” front was screwed in place. (It took some trial and error to get the false fronts aligned properly but that’s the nature of the beast). 4″ wide drawer pulls were recessed into each drawer front.
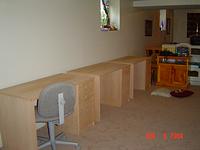
Multiple copies of student desk in production
Why make just one desk when you can make three? I’ve always found it to be much more productive to build multiple copies of a particular furniture item at the same time, rather than as separate projects. And since there were three students in the household, I decided to build a desk for each of them. For this project, that meant there were lots of desk parts filling up the shop and adjoining living space for a couple months.
To finish the desks, I wiped on a stain made from three parts Minwax Classic Oak and one part Watco Golden Oak (the Minwax stain was too dark for my liking and I had some leftover Watco from a previous project). After the stain dried, a couple coats of satin polyurethane were applied. The end result was a durable, waterproof finish that should stand up to years of heavy duty studying…
Rough Sketch and Dimensioned Drawing
When I’m designing a project, I will often create some rough sketches to get the creative juices flowing and to try out different design possibilities. Here’s one of the sketches that I came up with for the desk. The desk in the sketch resembles the final design but I ended up going with a slightly different style of shelf unit (although the general proportions were similar).
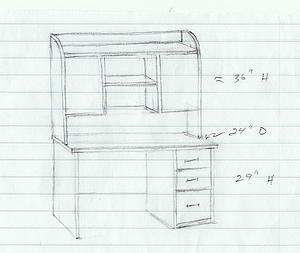
Rough sketch of student desk with shelf unit
I also created a simple dimensioned drawing. Although the design of these desks was somewhat based on a desk plan from Woodsmith, there were enough deviations from the plan that a custom drawing made sense. This desk is slightly wider and not as deep as the Woodsmith desk. The drawer front dimensions are also different. Since I was making three desks, I employed the assistance of a program named CutList Plus to come up with an efficient cutting layout for the various plywood pieces.

Dimensioned drawing of student desk